
The things we do for our art. Specifically, emptying, washing and drying used teabags. Ever since I came across Ruby Silvious and her tea bag art, I’ve wanted to have a play.
Now, you can buy unused tea bag paper, but it’s hard to find in non-industrial quantities. I did find one art place that stocks it, but what with needing to put together an order that balances out the shipping costs, I just haven’t got around to ordering any yet. I have, however, drunk a lot of tea.
Choosing a day when my other half was out — “what are you doing?” “oh, just washing used teabags” was a conversation it was easier to avoid 🙂 — I emptied, washed and dried a few tea bags for later experimentation.
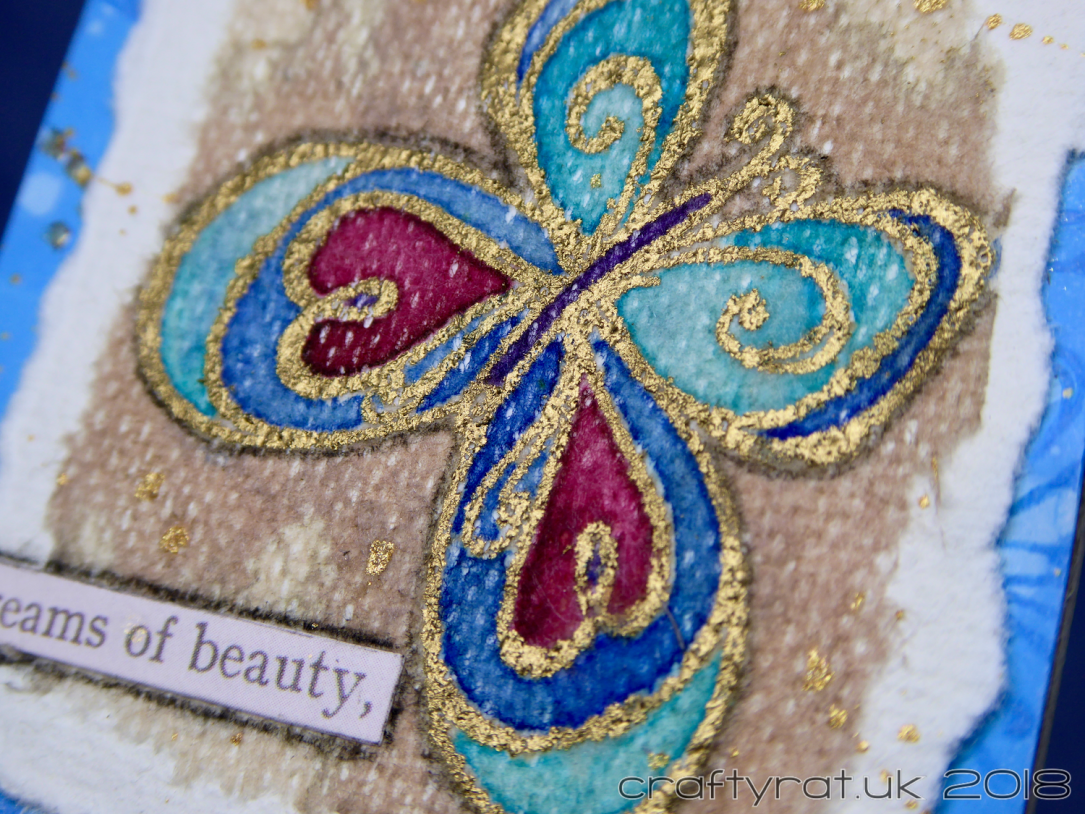
The first part of the experiment was to see if I could heat emboss on the paper. I expected the embossing powder to get stuck in the texture but, surprisingly it really didn’t. The hardest part was the actual heat embossing: the paper is so thin and flexible that it’s hard trying to keep it flat. It does tend to sink into the paper, so you don’t get the raised effect of embossing on regular cardstock. All in all, a success.
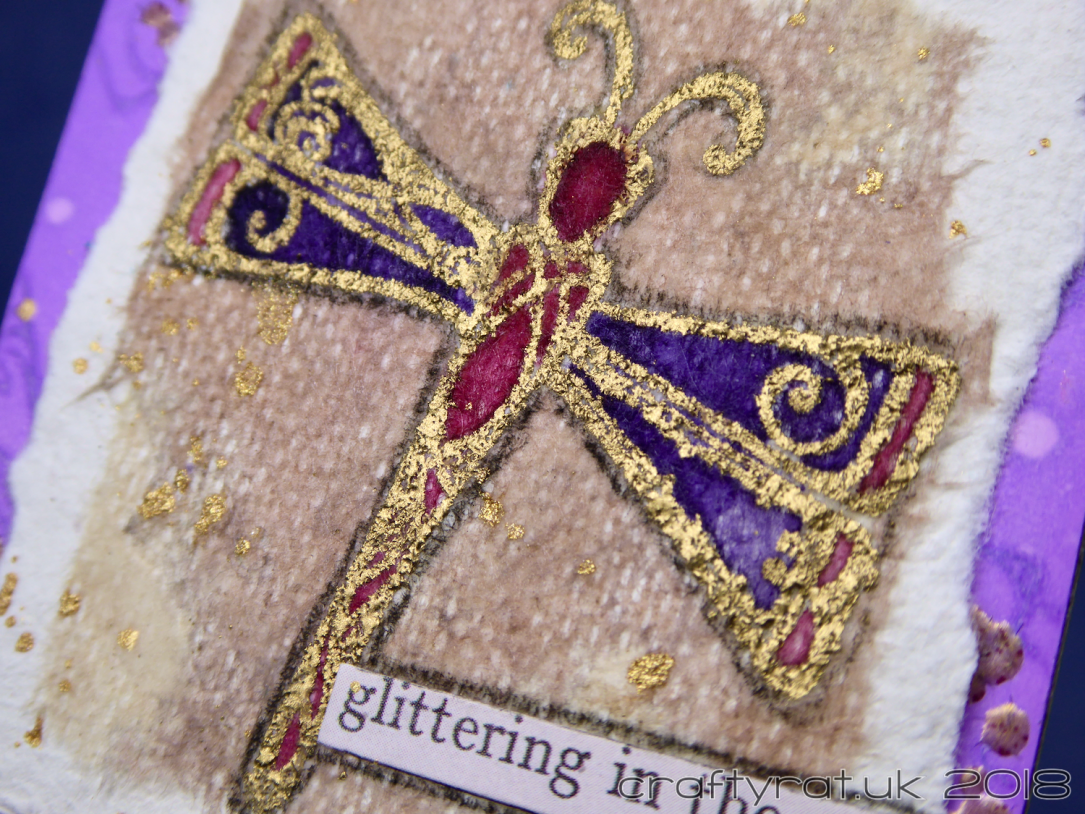
The next step was to add the colour and for this, I got out my Peerless watercolours. And again, it worked beautifully. You do have to be a bit careful if you’re the sort of person who constantly moves the surface they’re working on (raises hand) — the paint will pool beneath the paper and you could end up inadvertently mopping it up with a bit you didn’t want paint on. But it holds the colour well and loses very little of the vibrancy of the paints.
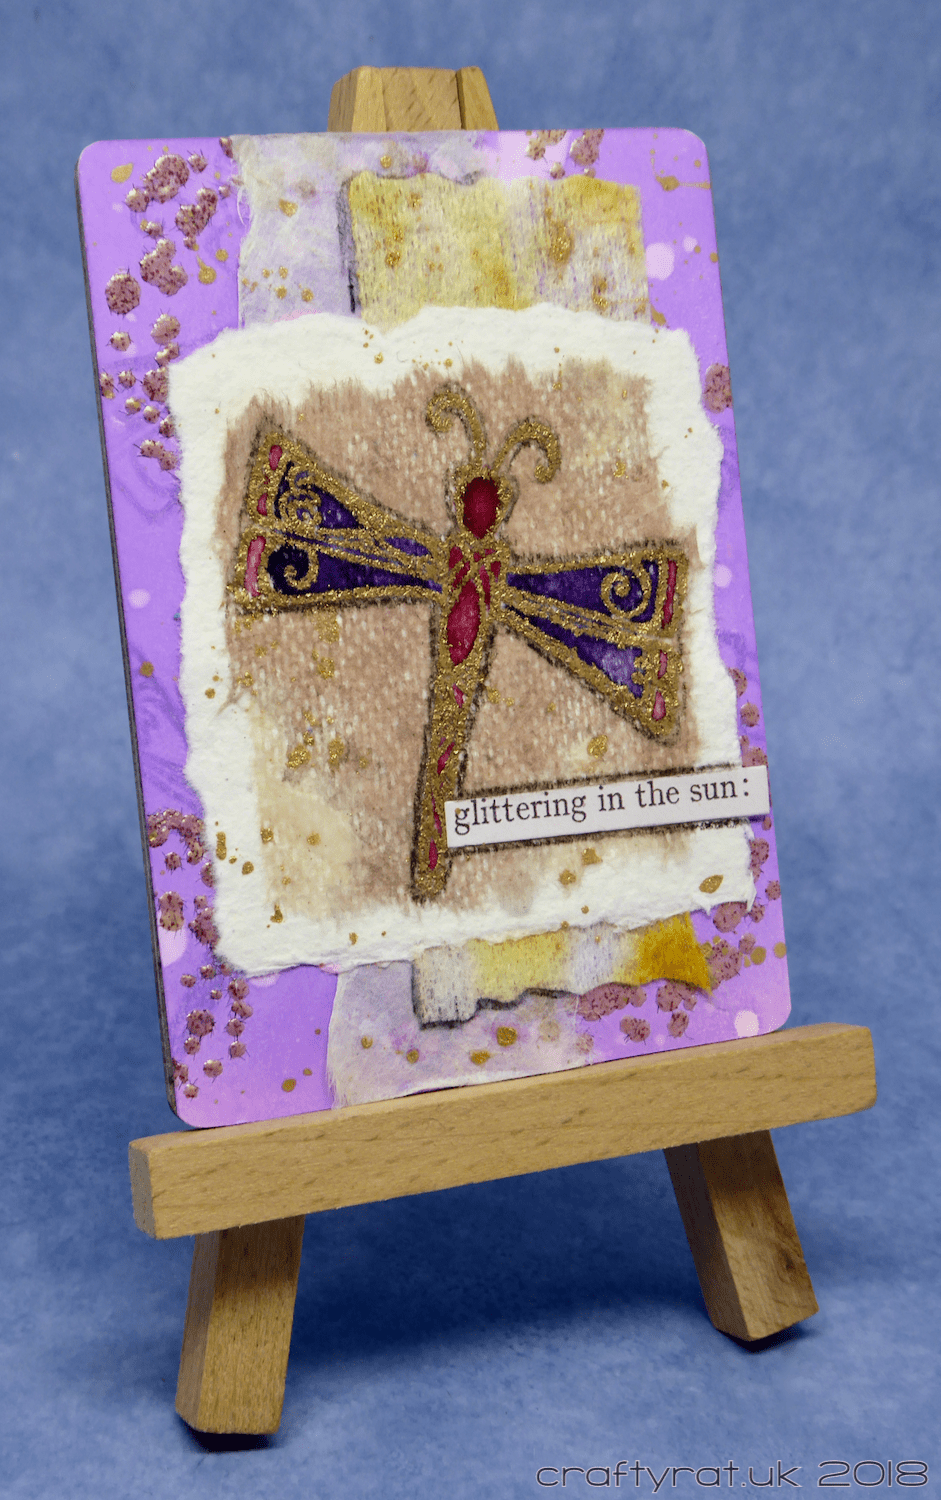
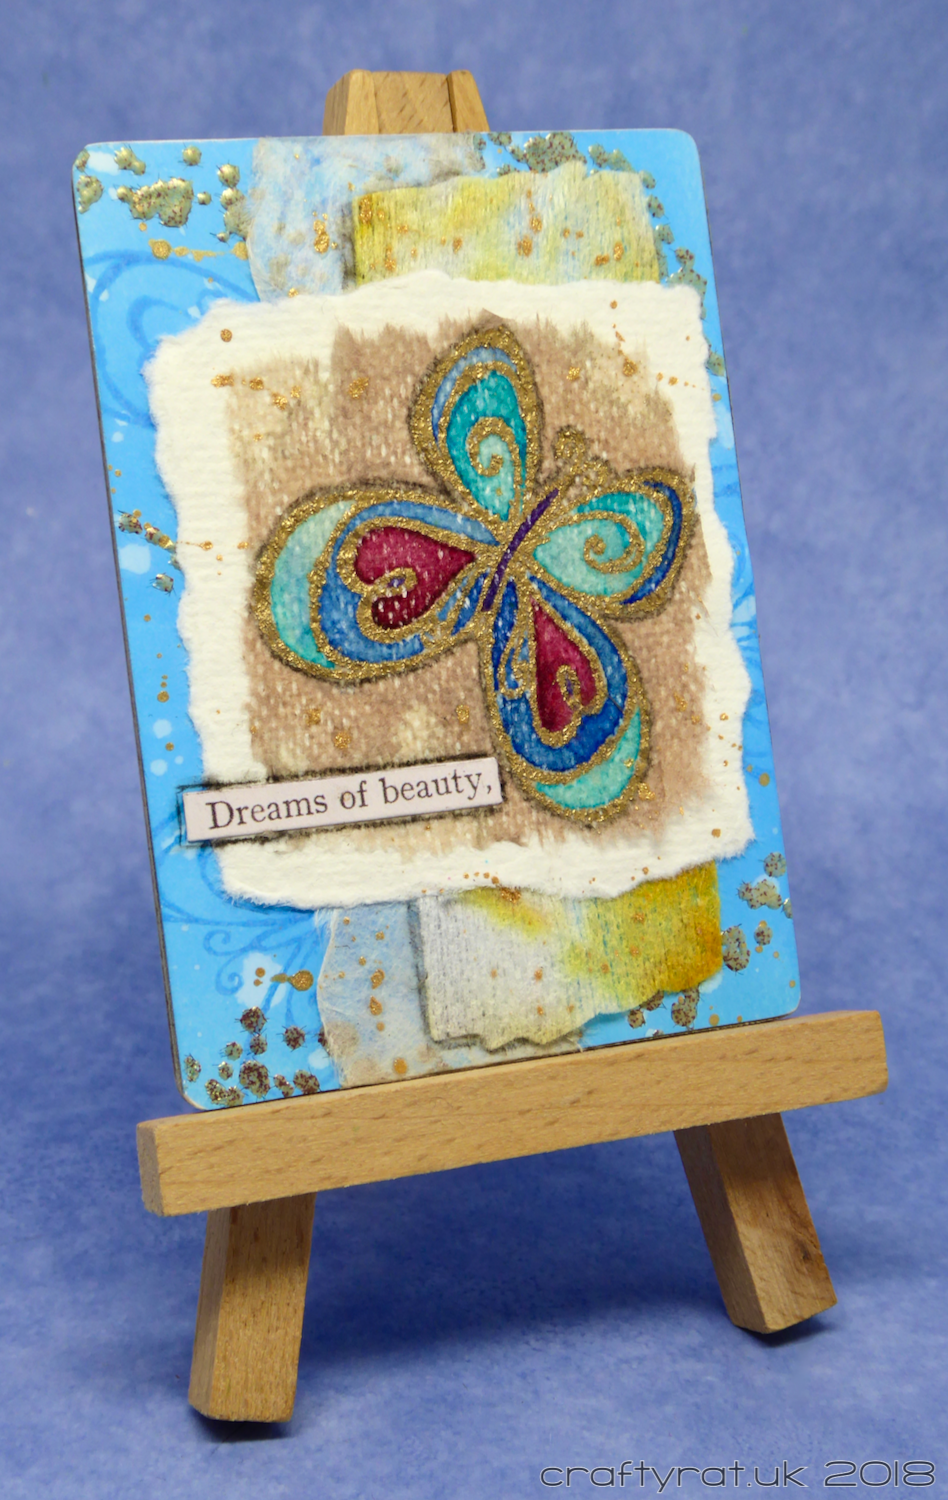
I tore the tea bag paper down to a rough square and was left with two very pretty, but quite sad-looking, painted critters.
So I raided my stash for some handmade papers to layer them over. While I was looking, I spotted an old baby wipe that had been used to wipe up some yellow inks and left to dry — another interesting texture to add to the pile.
Everything needs a base layer. I still had a few pre-cut ATCs around, which I coated with purple and blue Distress oxides and then flicked with water. I then stamped the butterfly and dragonfly on the matching ATCs (not much is visible by the end but it all adds to the overall texture). I also added some of the new Baked Texture embossing powder, which is something I must do a proper try-out with.
Time to start layering the papers. First, a strip of the Nepalese paper, followed by a smaller piece of the baby wipe, then a square of the cotton rag paper and finally the painted tea bag.
Finishing touches: a clippings sticker on each, outlined in black, and lastly some gold paint splatters.
In spite of leaving them under a weight while the gel medium dried, they still started to curl. I have some greyboard ATCs that I picked up out of curiosity but hadn’t done anything with so I used strong double-sided tape to glue the art to the board and it worked perfectly. (It worked so well that I went back and mounted earlier works.)
Supplies:
- Prep & Stick:
Finnabair soft gel - Ink:
Versamark - Colour:
Wow! gold rich pale embossing powder
Baked Texture ancient amber embossing powder
Peerless watercolours – amethyst, alice blue, butterfly wing blue, royal crimson, sepia brown, warm sepia
Distress oxide – salty ocean, wilted violet
charcoal pencil - Stamps:
Visible Image – universal - Paper & Fabric:
used tea bag paper
Nepalese handmade paper
Paperchase handmade cotton rag paper
used baby wipe with yellow pigment
Ranger specialty stamping ATCs
white/greyboard ATCs - Embellishments:
Tim Holtz clippings stickers
Discover more from Crafty Rat
Subscribe to get the latest posts sent to your email.
