
That panic when you realise that it is the last Thursday in June and you need a pair of cards for twins whose birthday is on Monday and the cards have to be posted…
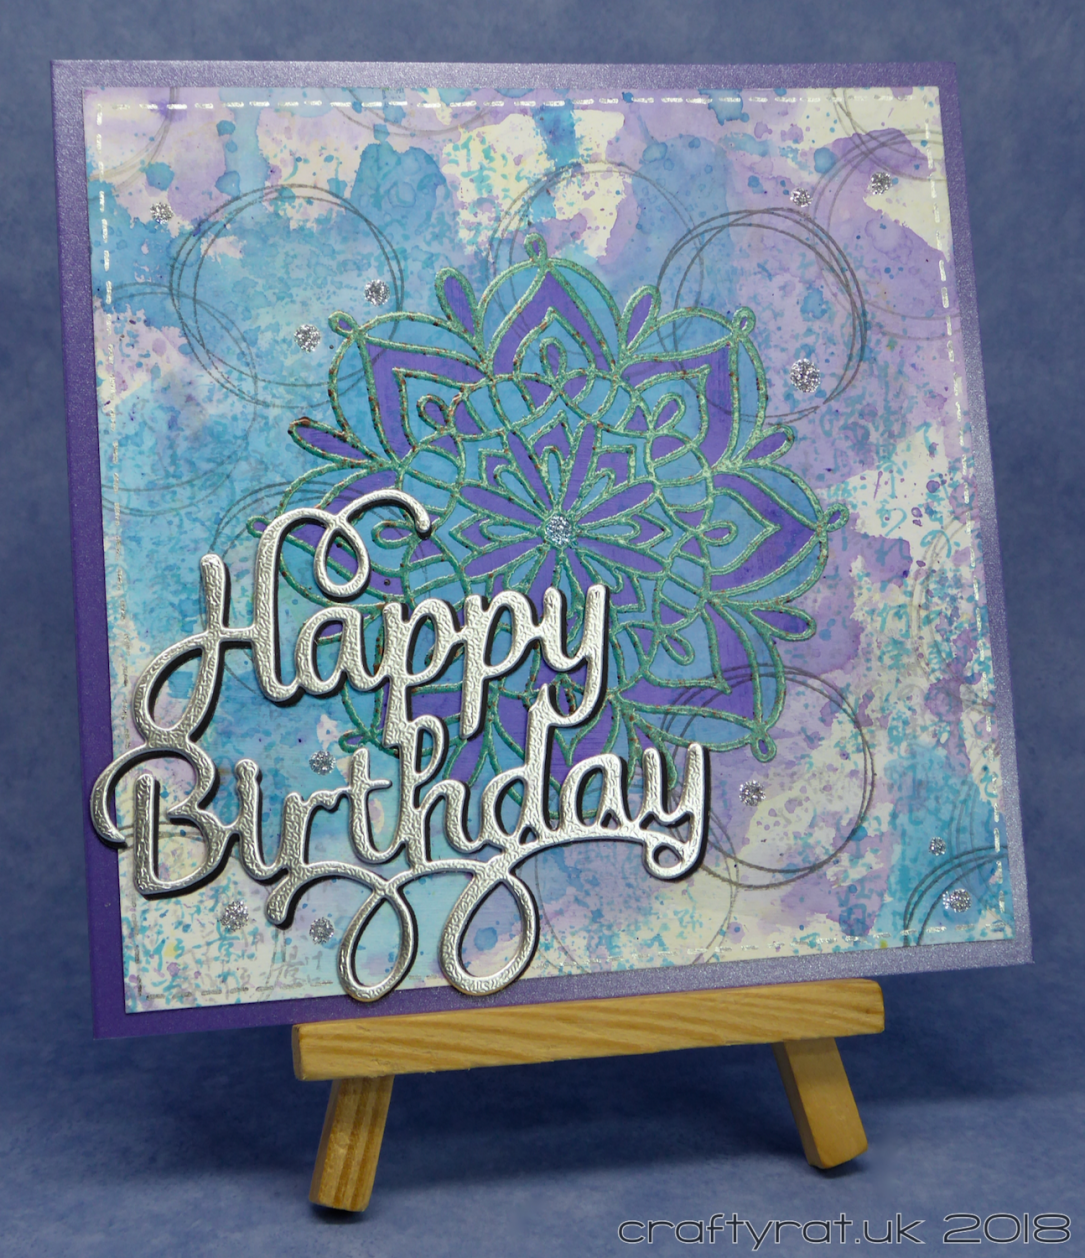
I normally try and do something clever for their cards — link them in some way — but I was short of both time and ideas so I settled for making a matched pair of cards in different palettes.
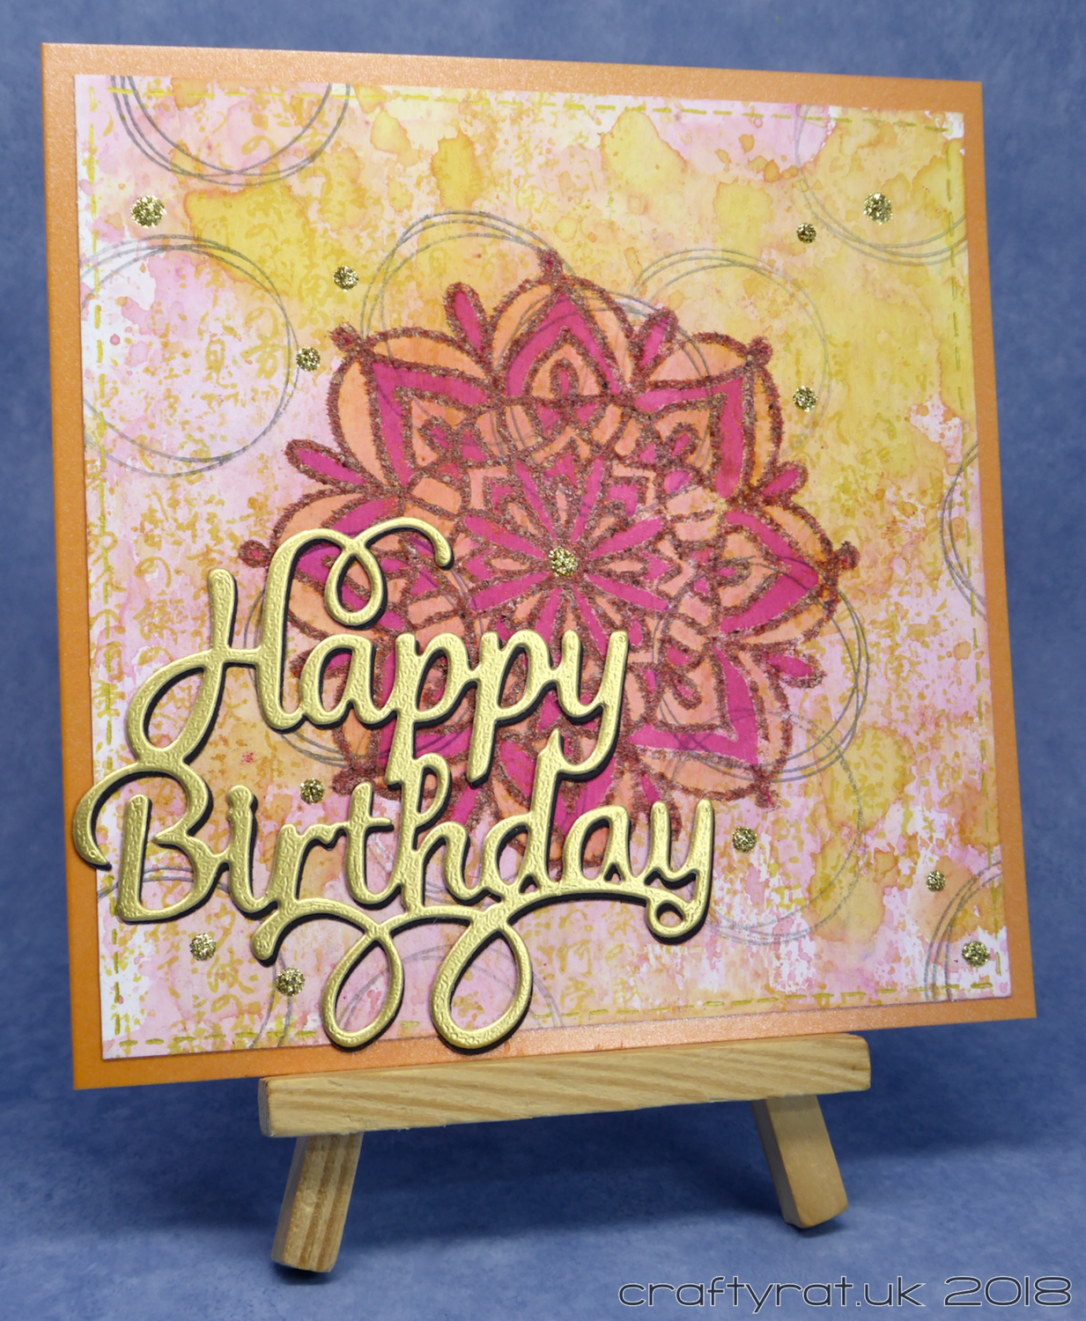
I’d been catching up with some YouTube subscriptions and came across someone using the ink smooshing technique for the base layer of their project, but using acrylic paint and pigment powder instead of ink. Well, I haven’t done any ink smooshing in a while and it’s a jolly good way to get some interesting colour onto the blank page. After priming the card with gesso, I used acrylic paint for the first layer, just to get rid of all that white, and then got out my Brusho powders for more depth of colour.
When that was all dry, I added a bit of stamping for some texture. I started with an oriental calligraphy stamp using matching inks… unfortunately they matched a bit too well so it’s only visible in a few areas — it all adds to the finished effect though. Learning from that, I stamped the scribbly circles with grey ink, arranging them so that they would lay partially under the focal image.
I stamped the lacy flower in Versamark and decided to test out the new Baked Texture embossing powders, a little foolhardy on a project with a deadline, but when you get an idea in your head… As it turned out, the patina embossed perfectly, but the rust, well, really not sure what happened there but enough of it stuck to the card to get away with it. More testing required.
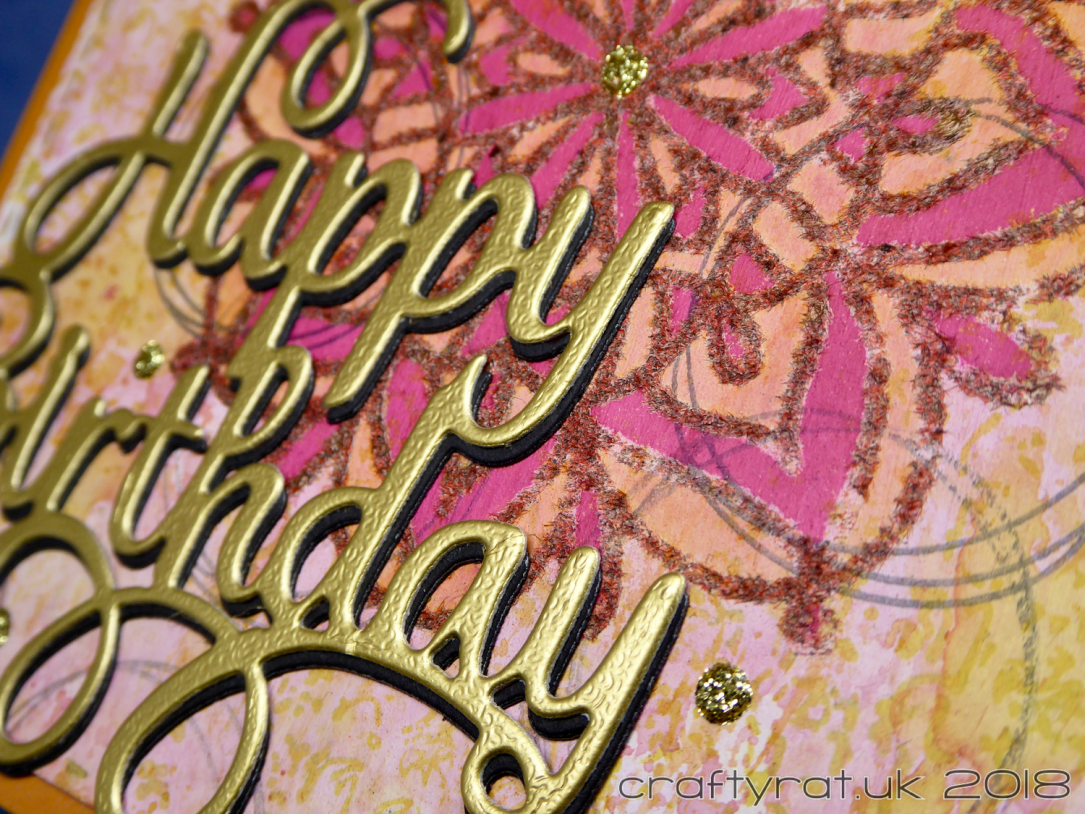
The embossing didn’t stand out very well on the background though, so I grabbed the nearest and quickest medium — my Zig Clean Color Real Brush markers — and coloured them in.
Next, a quick search for a suitable sentiment. I decided to go bold with a large die-cut: one silver, one gold and both with a black shadow layer.
Being sensible, before adding the sentiments, I used some wide double-sided tape to stick the panels to the card bases. And that’s when I realised that the Zig markers hadn’t dried properly. Luckily they’re watercolour and the smudges easily wiped off the card base. I don’t know why it didn’t dry properly, but I blotted the excess colour and then gave the whole panel a covering of Distress glaze to fix the colour.
I glued the sentiment in place and then added a few glittery drops to the card. The last addition was some faux stitching around the edge. All done in plenty of time to get them posted. Now I’m just hoping they survive the journey: I had to touch up the glue on the sentiments so now I’m convinced they’re going to fall off before they get there!

Supplies:
- stamps:
Waffle Flower – lacy flower
Visible Image – universal
Kaisercraft – oriental calligraphy - dies:
Fuzzy Lemon – happy birthday - colour:
Pebeo acrylic paint – Naples yellow hue, azo pink
Brusho – brilliant red, orange, turquoise, purple
Zig Clean Color Real Brush – 031 cobalt blue, 080 violet, 052 bright yellow, 024 wine red - inks:
Ranger archival – forget-me-not, chrome yellow, watering can
Versamark - pens:
Molotow liquid chrome 1mm
Uni-ball Signo UM-153 – gold - embossing powder:
Emerald Creek baked texture – patina oxide, chunky rust - embellishments:
Imagination Crafts detail sparkle – gold gilt, silver gilt - paper and card:
Daler-Rowney mixed media
Papermill Direct sandgrain – silver, gold
black card
Hunkydory Adorable Scorable pearly shimmer - miscellaneous:
white gesso
Discover more from Crafty Rat
Subscribe to get the latest posts sent to your email.

Beautiful! 😊☺
LikeLike
These are gorgeous! I’ve only ever “smooshed” with ink so I’ll need to try and be a bit more adventurous! Thanks for sharing x
LikeLike
It’s weird how we get stuck using the same techniques the same way – “smooshing” can be done with any liquid medium but we always use ink. Must think whether there are any other techniques that can be applied to other mediums…
LikeLiked by 1 person
These are great cards! You would never know that they were made in a “rush”. 🙂
LikeLike