Another challenge from That’s Crafty; this time the requirement is to add stitching — either real or faux — to a project. I decided almost immediately that I wanted my stitching to be real and I even contemplated getting my sewing machine out. Machine stitching is on my list of things to play with, but I couldn’t quite bring myself to dig it out from where it has been tidied away and then have to make room for it on the craft desk…
So laziness won out and I went down the hand-stitching route instead.
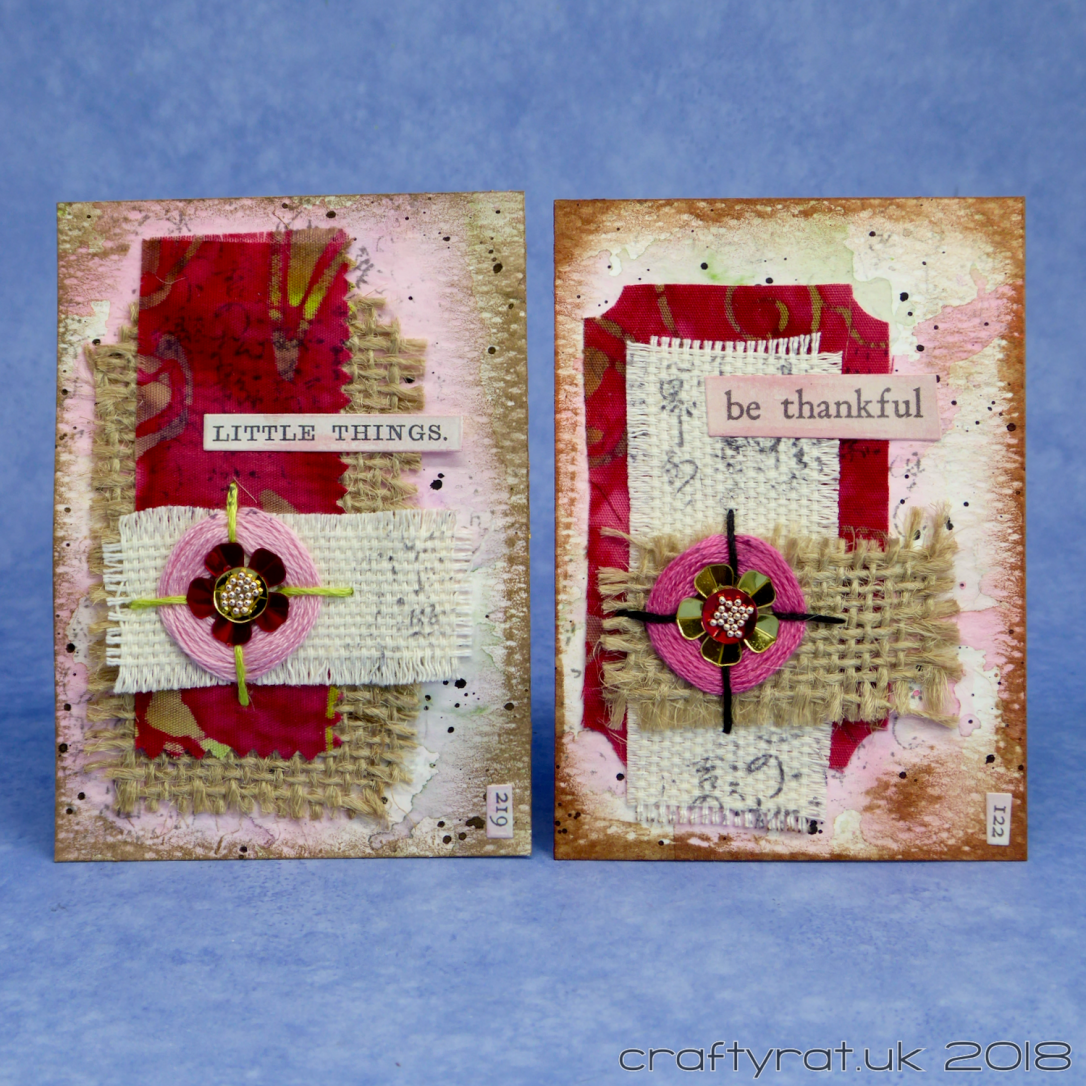
I was going to use a couple of ATC-sized pieces I cut from a recent alcohol ink and glitter experiment, but when I realised how much of the background I would end up covering up, I changed my mind and reached for my stash of backgrounds. It was at this point I realised just how many background panels I have accumulated and, well, I really must use some of them… Spoilt for choice, I picked one that looks like it was probably used to mop up some Distress ink.
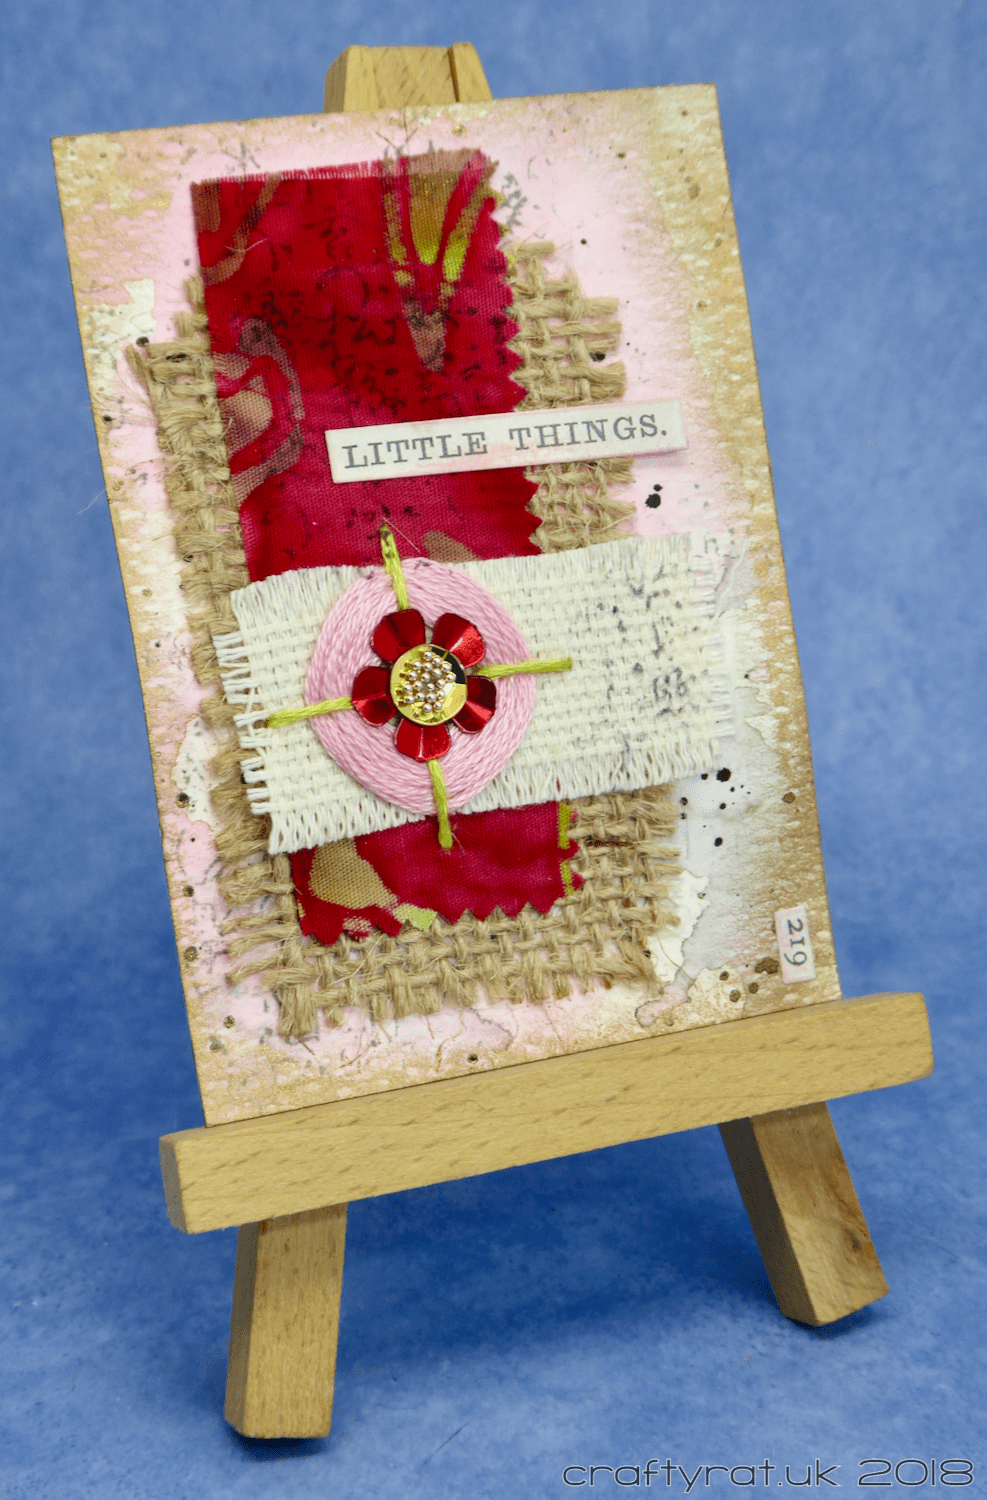
I had a dig through my fabric box and grabbed some hessian, a piece of patterned cotton and an untreated loose “canvas” that I took off a frame that was never going to get used as it was. I cut out some rectangles of varying sizes, frayed the edges a bit and then lightly glued them together in two stacks.
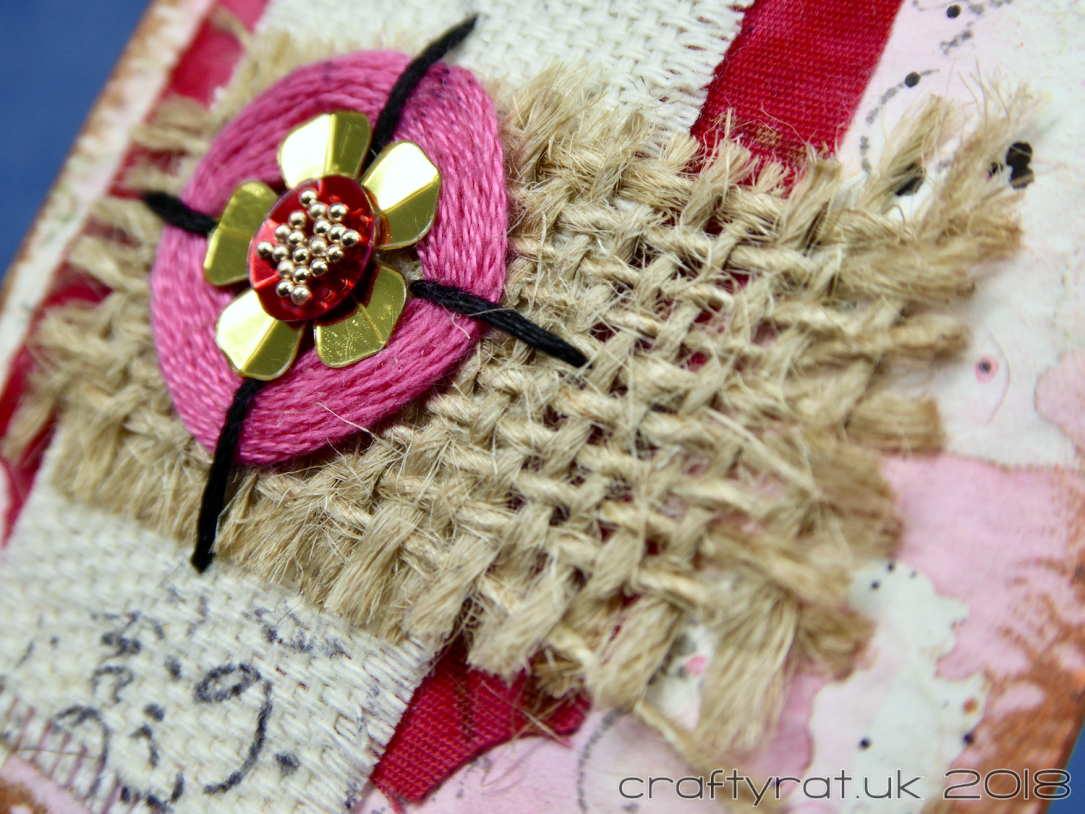
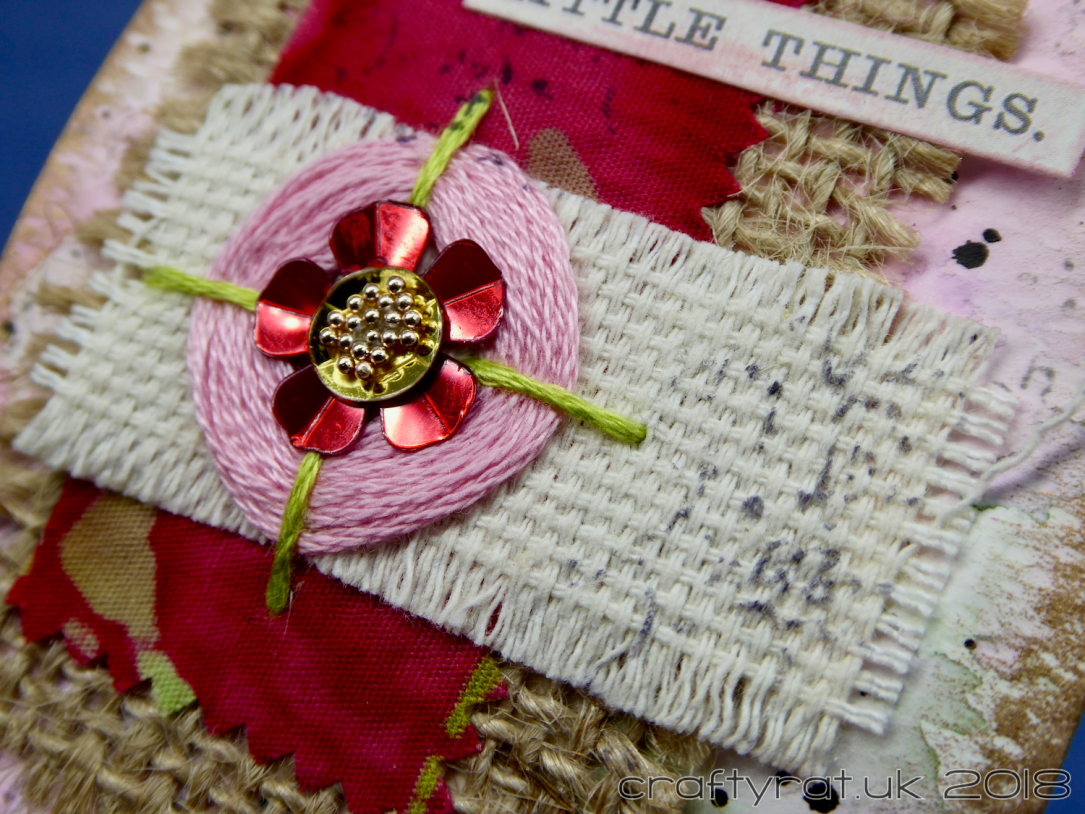
I made four large stitches in a cross (although they don’t meet in the middle) and then wrapped embroidery floss around, underneath the stitches, half a dozen times.
Then I faffed around for ages trying out any embellishment that looked like it might fit in the centre of the thread. I found some things that would have worked if I’d wanted them to be the same on both cards — it gets trickier picking suitable shiny things when you want them to be the same but different… Eventually, I settled on stacking a couple of sequins and adding some microbeads in the middle.
Even with the black splatter already on the background, it all looked a bit too clean, so I did some stamping on both the background and the fabric and then glued the fabric to the background.
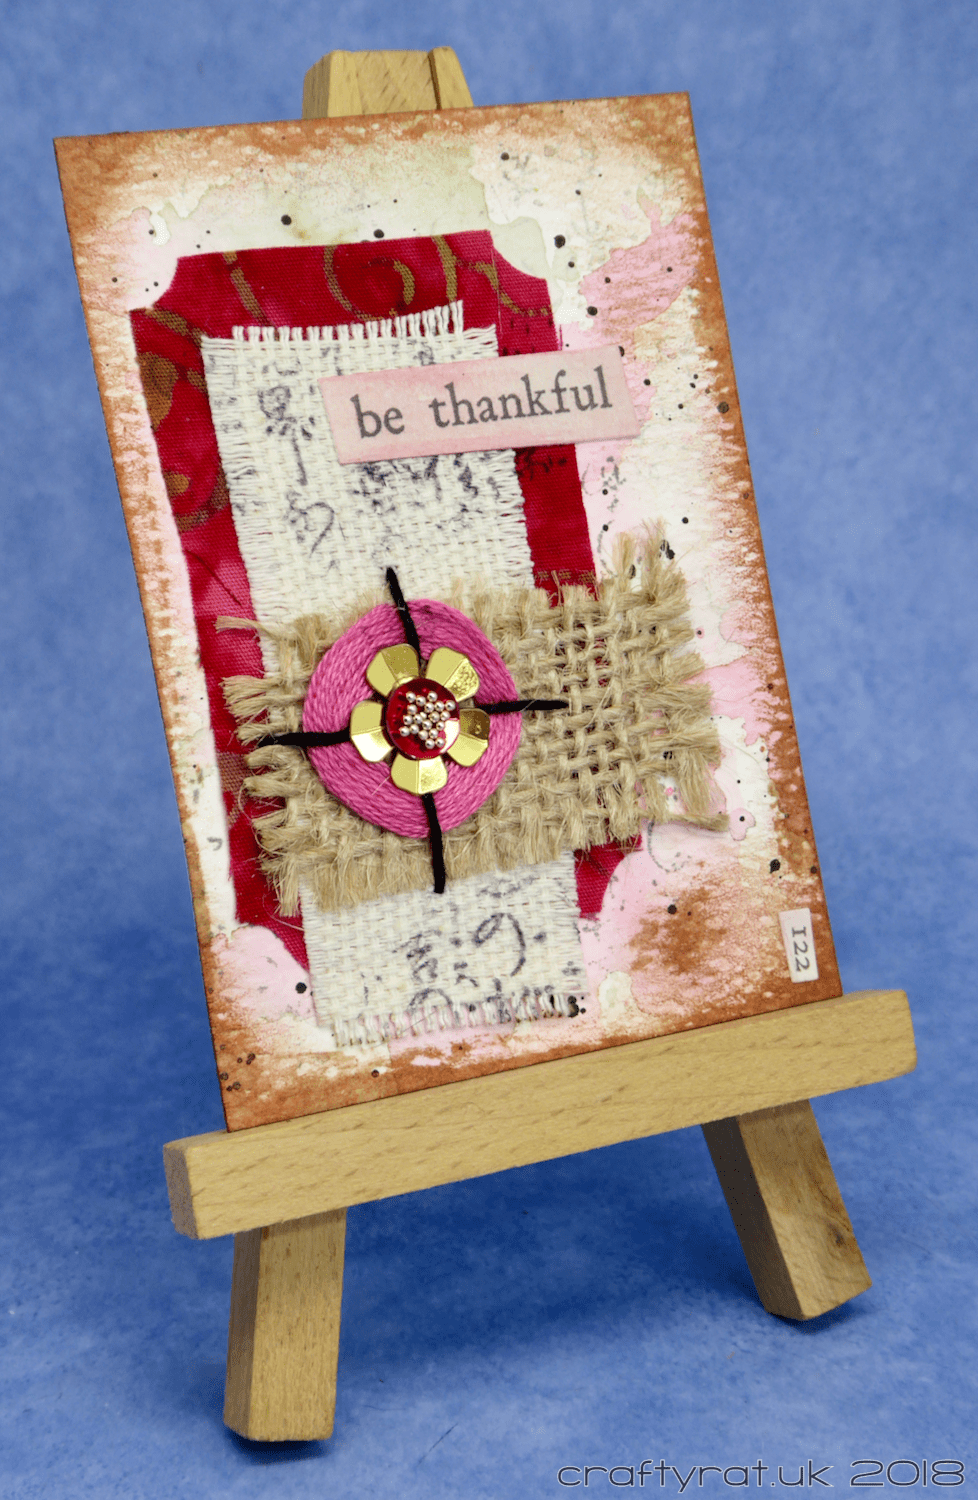
More time passed staring at words before finally settling on these two stickers and the tiny numbers. I added a bit of pink to them with a nearby Gelato, glued them in place and then left everything to dry.
Unable to leave well alone, I rubbed some wax around the edges and then declared them finished.
Challenges:
- That’s Crafty – a stitch in time
Supplies:
- Prep & Stick:
Finnabair 3D gel
Range multi-medium matte - Colour:
Gelatos – watermelon
Ranger archival – watering can, jet black
Finnabair antique brilliance wax – red amber
Finnabair metallique wax – aged brass - Paper & Fabric:
watercolour card
dark pink patterned cotton
hessian
cotton canvas - Stamps:
Kaisercraft – oriental calligraphy - Embellishments:
sequins
embroidery floss
Tim Holtz clipping stickers
Discover more from Crafty Rat
Subscribe to get the latest posts sent to your email.

Those are so cute! Thanks for sharing!
LikeLike
What a fabulous piece of mini art, there’s always a treat or two to be found at the bottom of a fabric box. Thank you so much for sharing over at That’s Crafty. Best wishes in the “Stitch” challenge.
Tracey DT
LikeLike
Wonderful and gorgeous minies, and love what you did.
Thank you for sharing over at That’s Crafty. Dorthe DT
LikeLike