I wanted to make something, but I didn’t want to have to think about it too hard. I didn’t want to have to contemplate colour blends or even basic palettes. So I reached for a handmade background from my stash — a nice mottled blue-green piece — and a flower stencil.
Roses are red: grab a bright red ink and colour the roses. Leaves are green: pick a muted green so they don’t compete with the roses too much. Gold goes well with red and is quite a neutral colour, so colour the little flowers gold and add a touch of gold to the centres of the roses for a bit of variety.
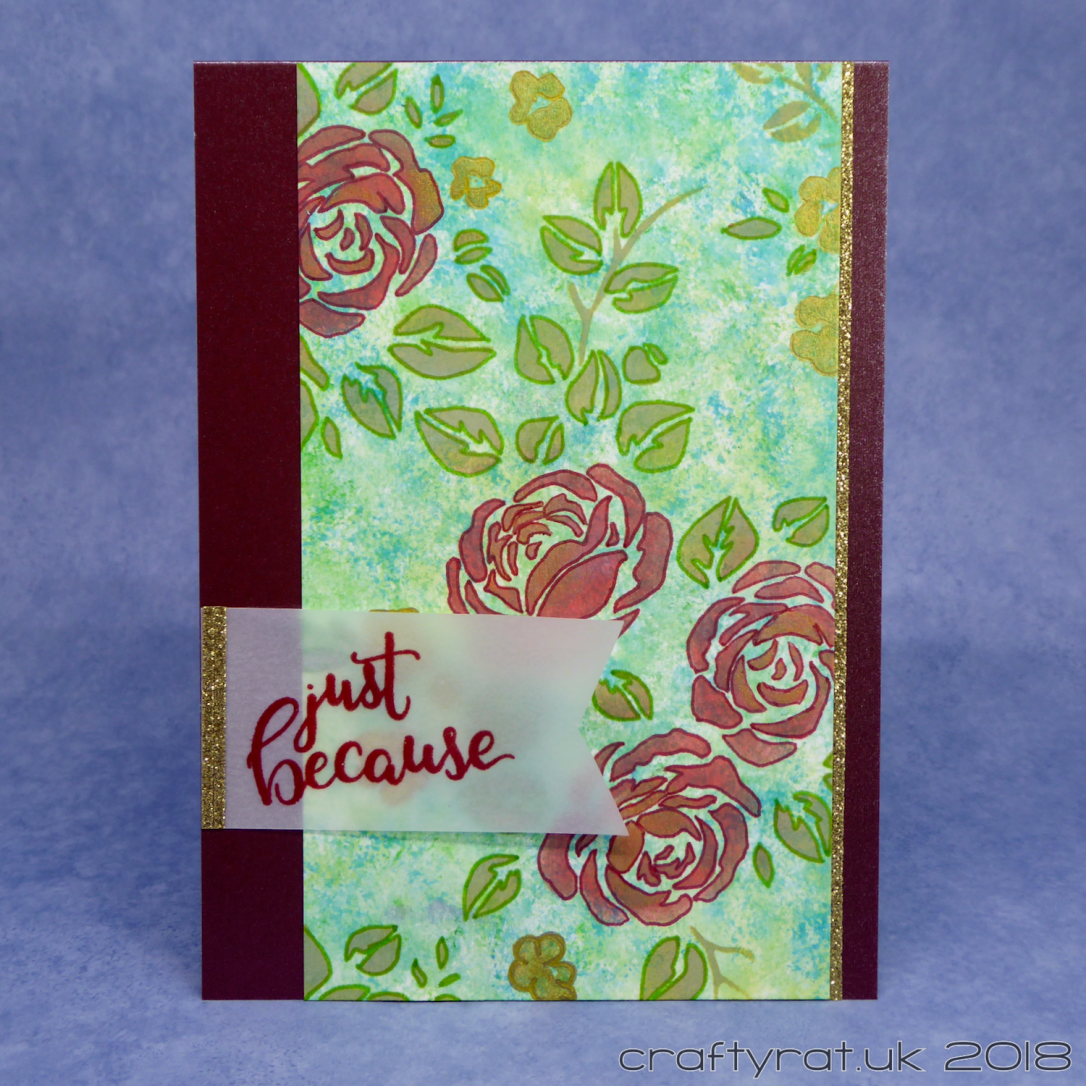
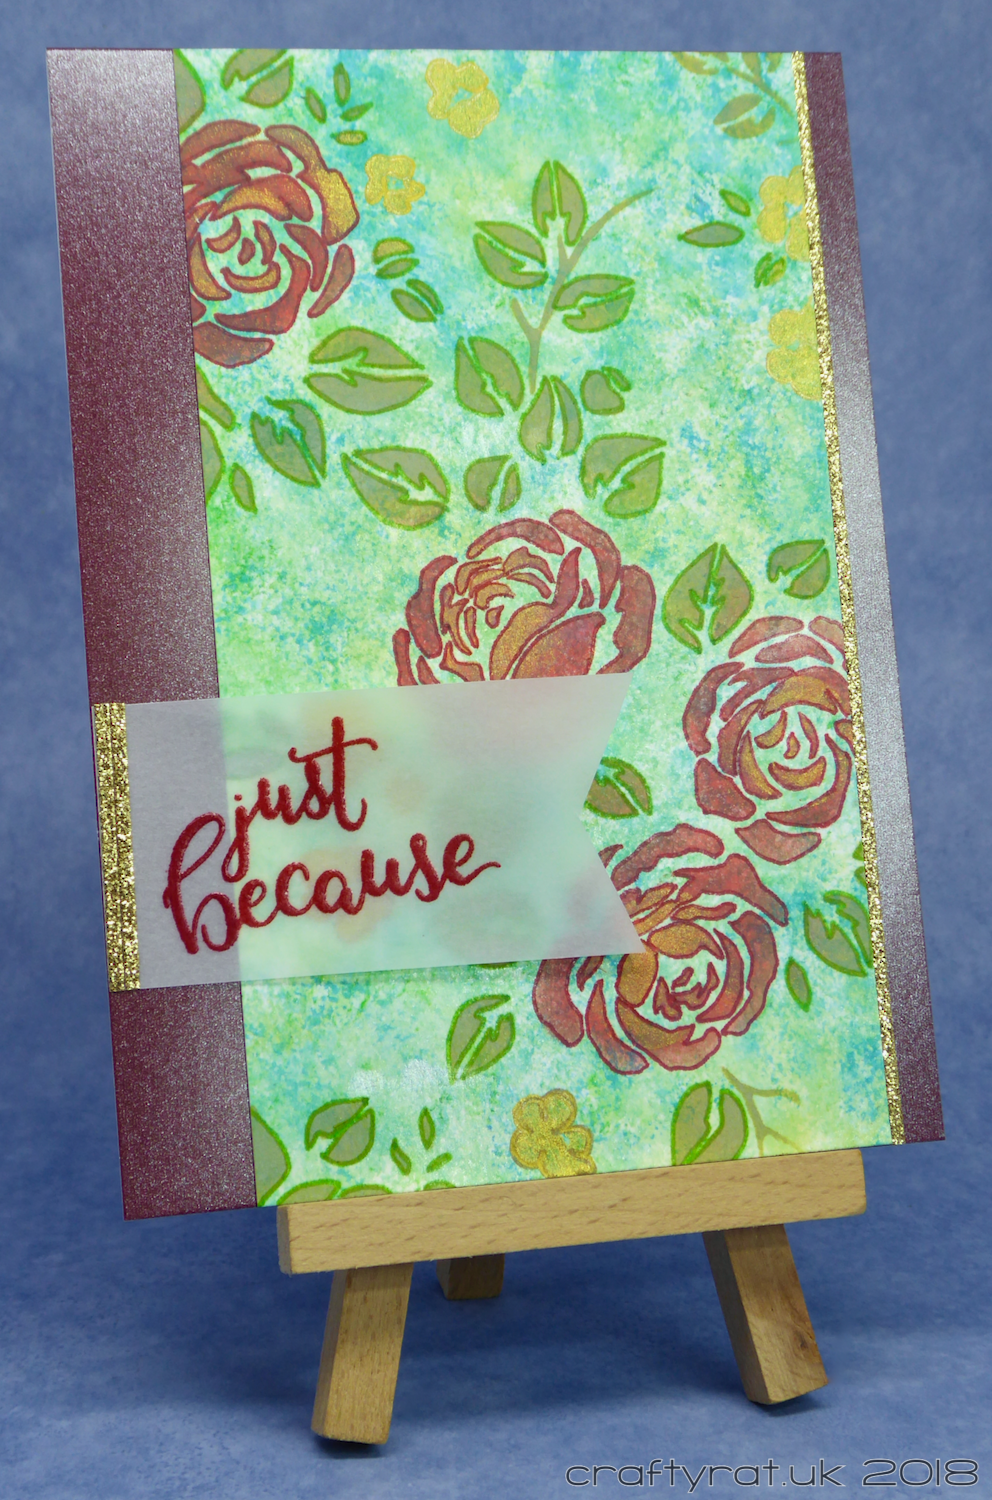
It looks pretty if a little undefined against the background. Solution: outline the roses and leaves using fine Sharpies.
Pick a card base that goes with the colour of the roses and glue the panel in place. A strip of glitter border edges it nicely.
It needs a sentiment. I have plenty of birthday cards, so I pick a neutral, multi-purpose sentiment and heat emboss it in red (to match the roses) on vellum. Add two strips of glitter tape to the end of the vellum to both balance the glitter on the other side and hide the tape used to stick the sentiment to the card.
Finished.

Supplies:
- stamps:
Create A Smile – decorated wishes mixed add-on - stencils:
Tim Holtz – roses - inks:
Distress Oxide – candied apple, peeled paint
Delicata golden glitz
Versamark - pens:
extra fine Sharpies – red, green - embossing powder:
Wow! primary apple red - embellishments:
Papermania glitterations – border – gold - paper and card:
Hunkydory Adorable Scorable pearly shimmer
Anita’s white vellum - miscellaneous:
blue-green background from stash
Discover more from Crafty Rat
Subscribe to get the latest posts sent to your email.

This is so pretty! I love the background and touch of gold. So pretty!
LikeLike