
As so often happens, something passed by in the daily stream of blogs and YouTube and caught my imagination. On this occasion, it was bottle caps. I can’t remember the context and I had absolutely no idea what I would do with them — other than “something mixed media” — but I didn’t have any in my stash and I felt the need to rectify that.
Some of the prompts in the GESSO blogging challenge are to create “Skill Tutorials” and, while I do have a couple of ideas for them, today I am stretching the remit a little: buying and prepping bottle caps isn’t exactly a skill, but it is something that benefits from a quick round-up guide.
Buying caps
I had a search around the usual places — Amazon, eBay, Etsy and a general web search — and there are options. You can buy flattened ones from China for a few pounds if you don’t mind waiting. You can buy flattened ones with clear epoxy stickers for around £10 (depending on quantity) and some of those are even available next day from Amazon. Or you can do what I did, which is to get unflattened caps — which gives me more flexibility in how I use them — for a few pounds off eBay. I ended up buying 100 silver crown caps for homebrew beer bottles for £2.99.
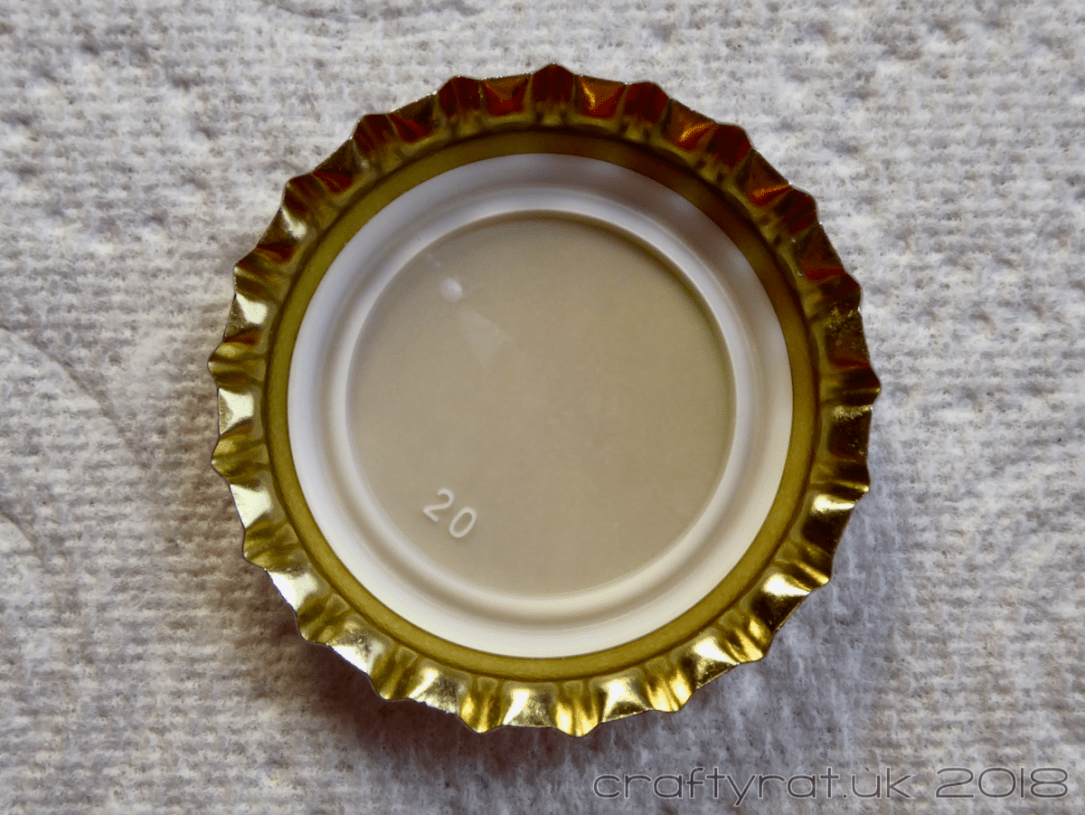
As well as the unflattened vs flattened choice, there is one other thing to be aware of when buying bottle caps: plastic liners. Caps for beer bottles have plastic liners on the inside to make the seal when they’re used for capping bottles; the liner has a ridge around it which makes it extremely difficult to glue anything flat inside the cap if you’re using it for crafty purposes. And don’t assume that unflattened caps from craft shops will be liner-free, some are and some aren’t, check first so you know what you’re getting.
A couple of days passed and my bottle caps arrived.
Removing liners
Depending on how you want to use the bottle caps, it may not matter whether they have liners, but if you want to use them like miniature frames then you will need to get rid of those liners.
Now, I assume that liners will vary between manufacturers and I have only experimented with removing these specific ones, so the options that follow are very much of the “your mileage may vary” variety, but they do sum up the suggestions I found online and will hopefully at least give you some pointers.
Option 1: Brute force
In the search for something suitable to remove the liners, I had a dig through my tools and found my lab sampling scoops; I originally got them for handling very small quantities of micro beads, but this time I was more interested in the other end, specifically the flat square one. And it did a pretty good job of lifting the edges up and, at first, it looked like the liner was coming off fairly cleanly; however, these liners somehow managed to leave a layer of the thin centre part still attached to the cap. That can be scraped off, but you expend quite a lot of effort to clean just one cap… There had to be a better way — time to search…
Option 2: Heat
I had wondered whether a bit of heat would help and searching suggested it might. Most people said that boiling caps didn’t work, though a couple said it did if you boiled them for long enough. Being too lazy to go downstairs and also not a fan of trying to handle boiling hot metal, I passed on that suggestion.
One video showed someone using a heat tool to successfully remove a liner. My heat tool was to hand, so I gave it a try. It’s possible that, with some experimenting, I might have been able to work out the optimal time to heat a cap so that the liner would peel out, but what actually happened was that I ended up overheating it and the plastic went gloopy and just welded itself even harder to the cap. The problem is there is no visual change in the plastic as you heat it, it wasn’t even obviously melty until I tried to scrape it out.

Various other videos show caps being warmed on a mug warmer or coffee maker. I have neither of these, but I did try applying less heat onto the metal side of the cap rather than directly onto the plastic, but it was still worse than the brute force method because the remaining plastic is harder to remove.
And you also have the problem of handling hot metal and so I shelved that idea.
Option 3: 100% acetone
Another video suggested using “professional nail varnish remover” (aka 100% acetone) to melt the plastic liner. After a five minute soak, she scraped a gooey mess out of the cap, soaked it some more, scraped it some more and eventually had a vaguely clean cap. I was less than impressed and wasn’t about to go buy acetone on the strength of that demonstration.
Option 4: Regular nail varnish remover
I didn’t have any full-strength acetone, but I did have half a bottle of regular nail varnish remover and some time. Having run out of suggestions from the internet and having nothing to lose, I wondered if a longer soak in a weaker solution would have any effect. I put a few caps in a jar, covered them with the remover, sealed the jar so the house wouldn’t reek of acetone, and left them overnight.

The following morning I took my metal spatula, lifted the edge of the liner and peeled the whole liner off in one piece with very little effort. Success!
The inside of my silver caps had been coloured gold and while the liners appeared undamaged, they did lift much of the gold colouring off with them. Presumably, the acetone seeped under the liner and attacked either the adhesive or the combination of the adhesive and the gold (the gold colour remained intact everywhere else).

I did a few more experiments through the day, testing how long the caps needed to be soaked for and basically, the longer you leave them, the easier it gets. An hour makes no noticeable difference. Three to four hours makes it easier, but you’re not guaranteed a clean removal. Overnight, or ten to twelve hours seems to get the best results.
A combination of forgetfulness and not wanting to expose anyone to the smell of acetone right before going to bed meant that the last batch of caps got left to soak for twenty-four hours. You definitely don’t need to leave them that long, but the liners do come out really easily and it didn’t seem to harm the caps at all.
I gave them a quick wash in soapy water afterwards to get rid of the acetone residue.
Flattening caps
You can flatten your caps with a rubber mallet and a suitable surface to put your caps on. Though, obviously, you can only do them one at a time that way.
A less time-consuming way is to use a Big Shot or other manual die-cutting machine if you have one. You can easily do half a dozen caps at a time this way without straining the machine at all.
After a quick search to check the recommended way to flatten them, I ran a couple through my Big Shot to see how well it works.
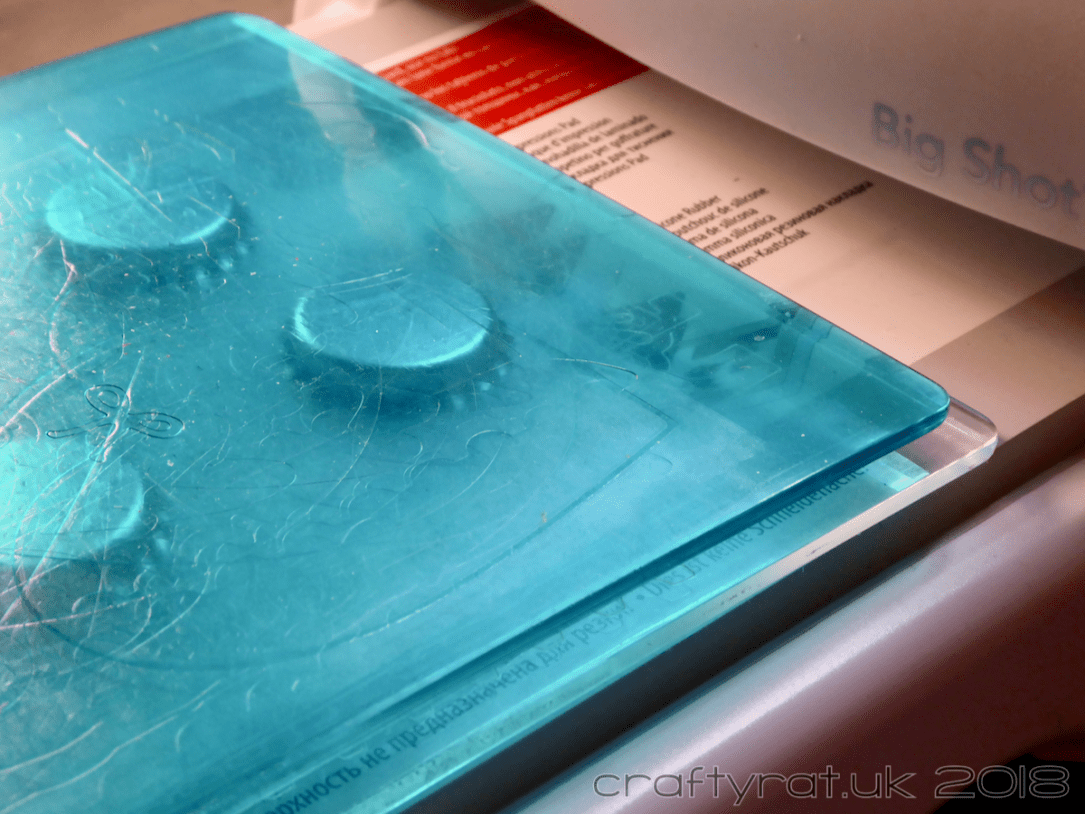
The sandwich that worked for me was
- cutting pad
- bottle caps
- cutting pad
- multipurpose platform with both tabs open
The instructions I found said to lay the caps open side down, but I tried it both ways and it doesn’t seem to make any difference. Just make sure to use your nicest pad on the smooth side of the cap 🙂 Having said that, so little pressure is needed to flatten them that I doubt it would do any real damage. If it’s at all hard to run them through the machine, stop and adjust your sandwich.

After all that experimenting I have a large pile of liner-less bottle caps, some flattened and some not. Now I just have to decide what to do with them…
Disclaimer
This method of removing the liners may not work for you. It worked really well for the bottle caps I have, which is why I linked to them up at the top.
I have summarised all the internet suggestions I found, there may be others, but brute force, heat and 100% acetone were the ones I kept seeing. The regular nail varnish was my own experiment.
If you decide to try using heat or chemicals for this or any other technique, always work safely and sensibly.
Hot plastic smells horrible and is probably full of things that are bad for you so open a window and preferably wear a mask if you try the heat method.
Likewise, acetone and nail varnish remover smell and people will not thank you if you make your whole house smell of them. Open a window or two. Acetone will dry out your skin and stings if you get it in cuts, so wear nitrile or latex gloves when fishing the caps out of the acetone and removing the liners, especially if you’re doing a lot of them.
GESSO: Primed Creatives – Teach us something that you can do well and show us how it’s done.
Discover more from Crafty Rat
Subscribe to get the latest posts sent to your email.

Thanks for sharing!
LikeLike