After finishing the back, it was time to move on to the main event: the rocket. Not 3D-printed but made out of air-dry clay instead. My other half hadn’t had any joy trying to find a design he liked so I found a likely illustration, pointed at it and asked “something like that?”. He said yes and so my challenge was set.
I’ve been trying to remember the last time I did any modelling of any sort. Thinking about it — apart from my creepy tree which mostly involved rolling clay sausages and some of those cracked as they dried — it’s probably been more than twenty years and that would have been using polymer clay, which is not the same as using air-dry clay.
Although I had managed to rescue the tree, I wasn’t very happy with what it had been like to work with; I checked some reviews and the Fimo air-dry clay (which I’d picked up, heavily discounted, on a whim) didn’t do well. So I ordered some paperclay instead. While I was waiting for that to arrive, I figured I might as well use the Fimo for practice.
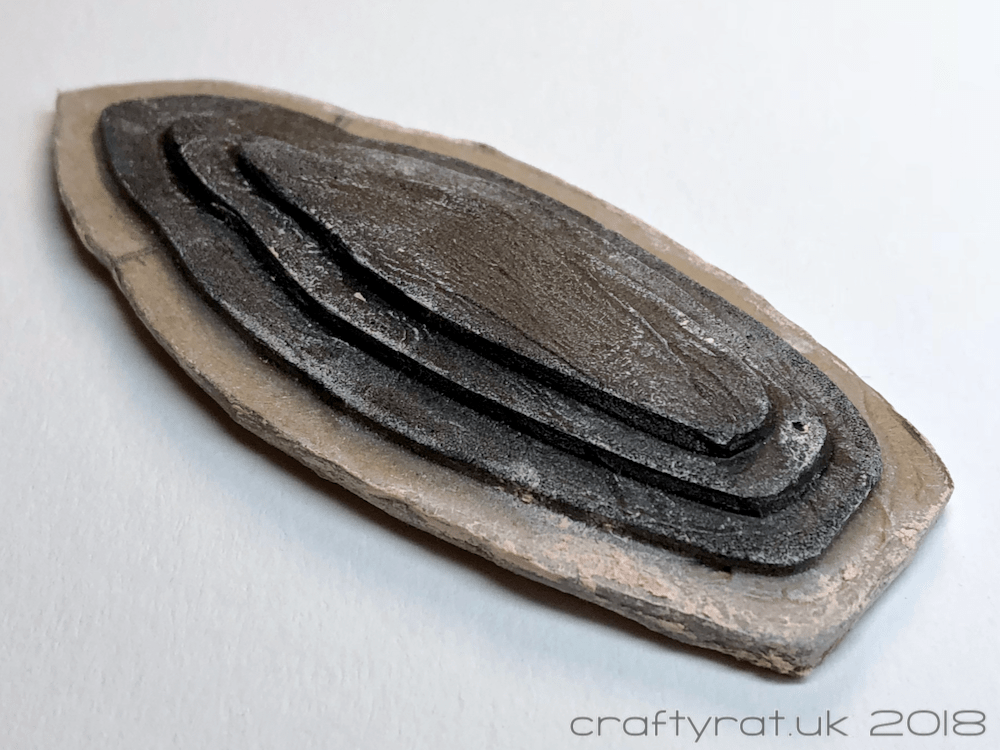
I printed out the illustration I’d found at the size I wanted my rocket to be and cut the rocket and flame out separately to use as templates. Then I cut simplified versions out of cardboard to use as a base to build on. Knowing that the thicker the clay is, the longer it would take to dry, I decided to build up the centre of the template using layers of fun foam.
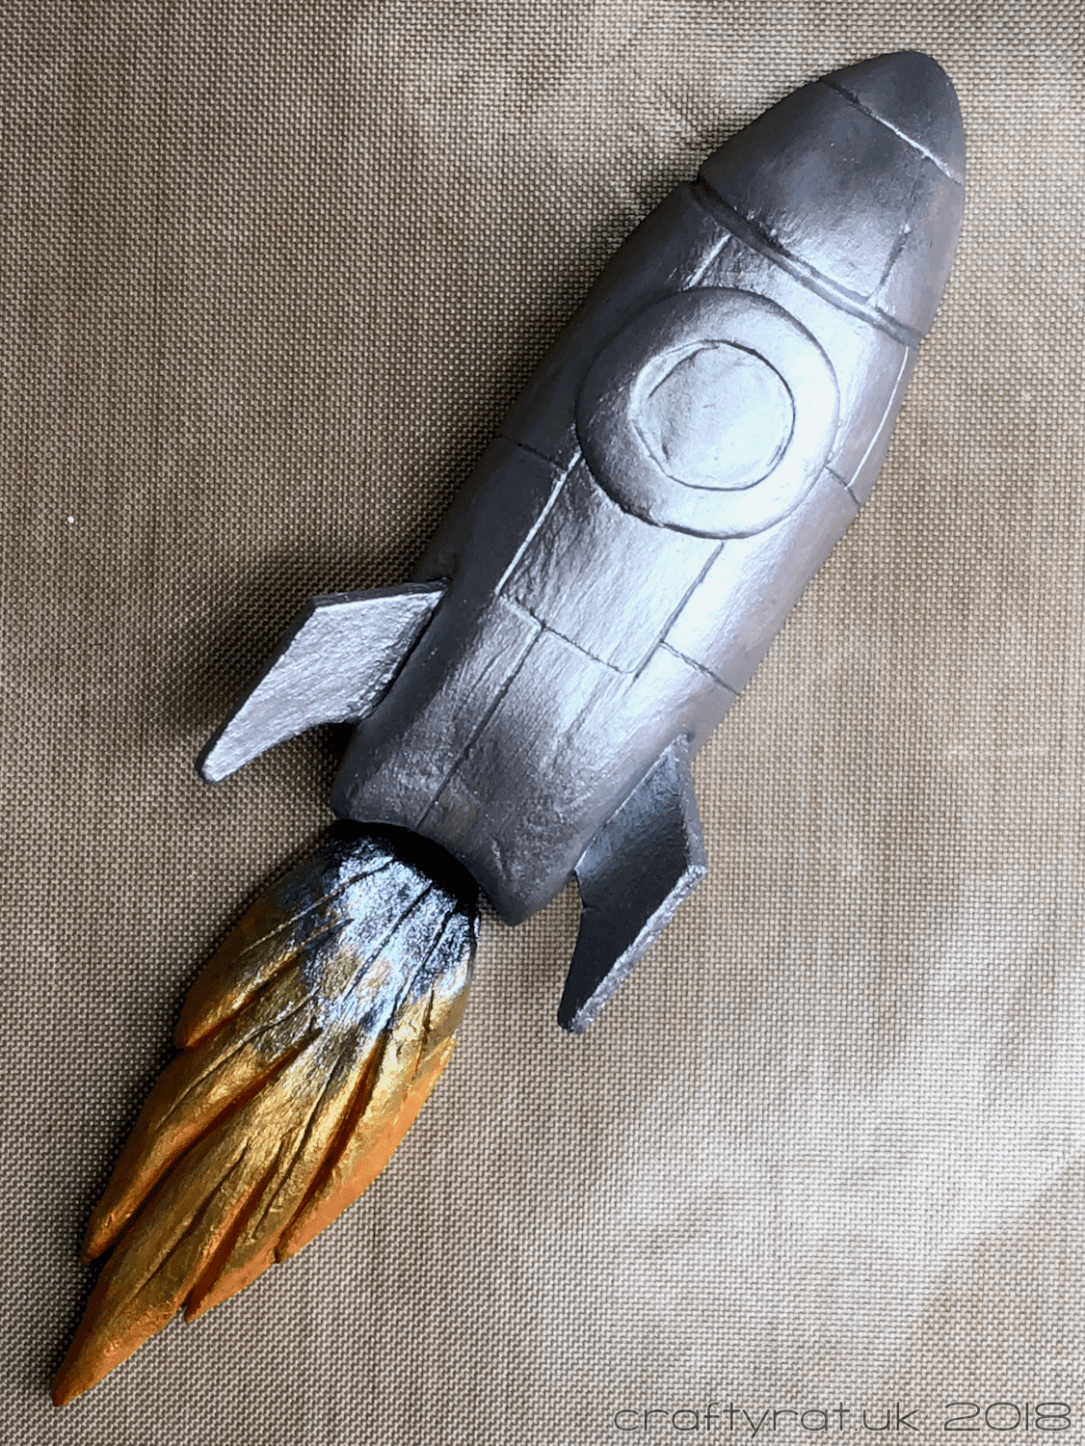
Then I just had to play around with the clay until I managed to create the shape I wanted. I added a thin circle of clay for the window and indented the thicker line above the window. The fins were cut from cardboard and pushed in the clay to make holes for them (I took them out again while the clay dried so they didn’t absorb moisture from the clay). The flame was easier to shape: just a layer of clay smoothed over the template and some lines carved in with a pointy tool.
By the time the clay was dry, my paperclay had arrived, but I was so happy with how the practise rocket had turned out — and it had dried without cracking at all — that I decided to save that for another project. I cannot not fiddle with things, and while the rocket was partially dried I started wondering if I should lift it off the support so the air could get to both side and it could maybe dry quicker. By some miracle, I didn’t damage it in the process… No idea if it took any less time to dry though…
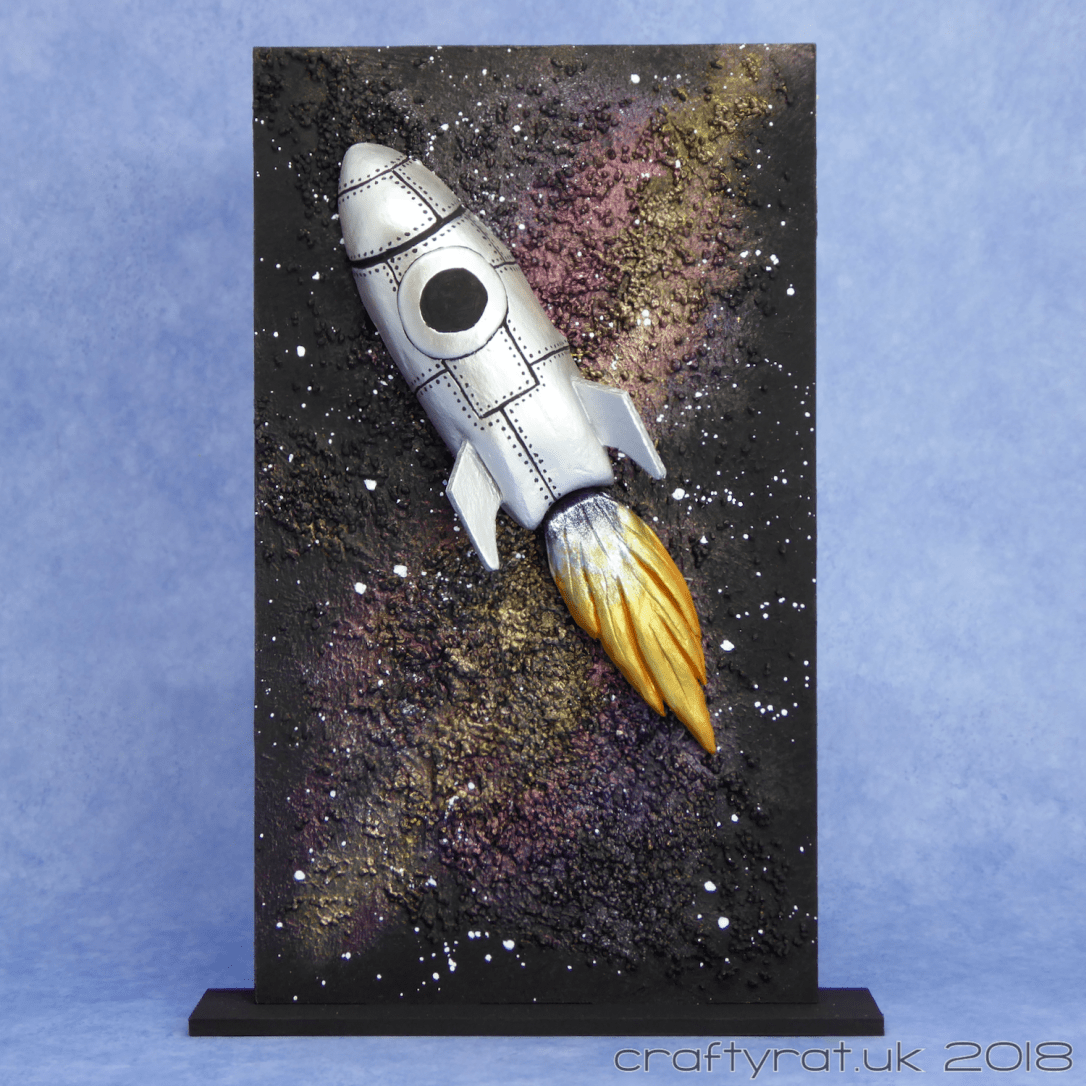
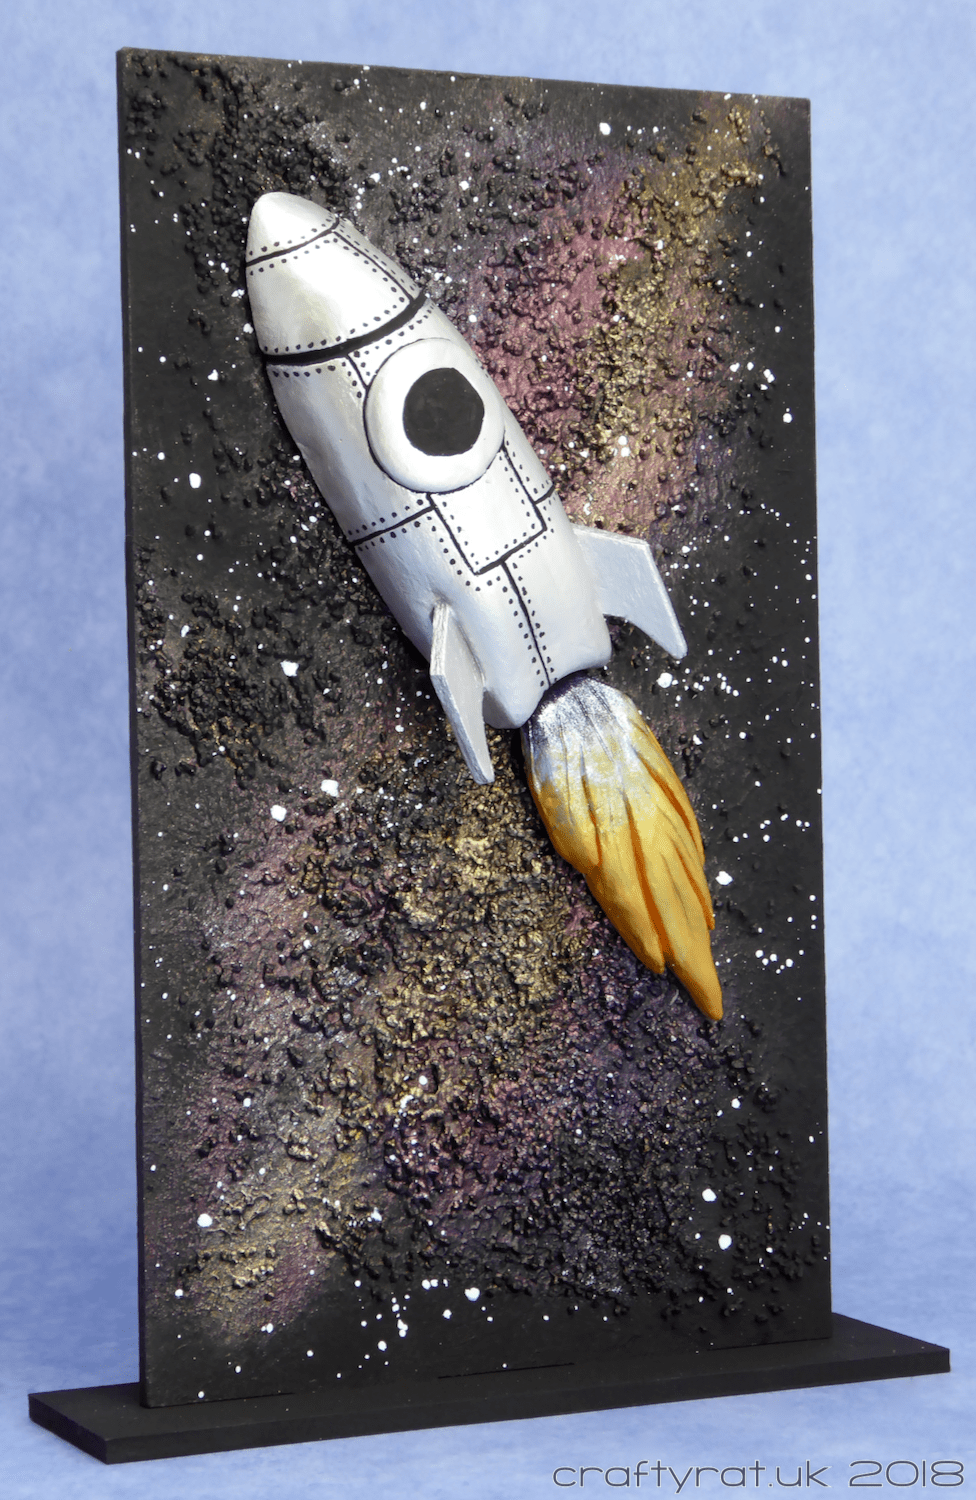
While it was drying, I turned my attention to creating the background. The monolith was already prepped with black gesso and I had added texture by roughly painting 3D gel over the surface and sprinkling on fine decoration gravel. It just needed some colour. I started by giving it a coat of (very) matt black paint and added patches of metallic paints in pink, purple, and a dull gold. I finished it off with some white splatters.
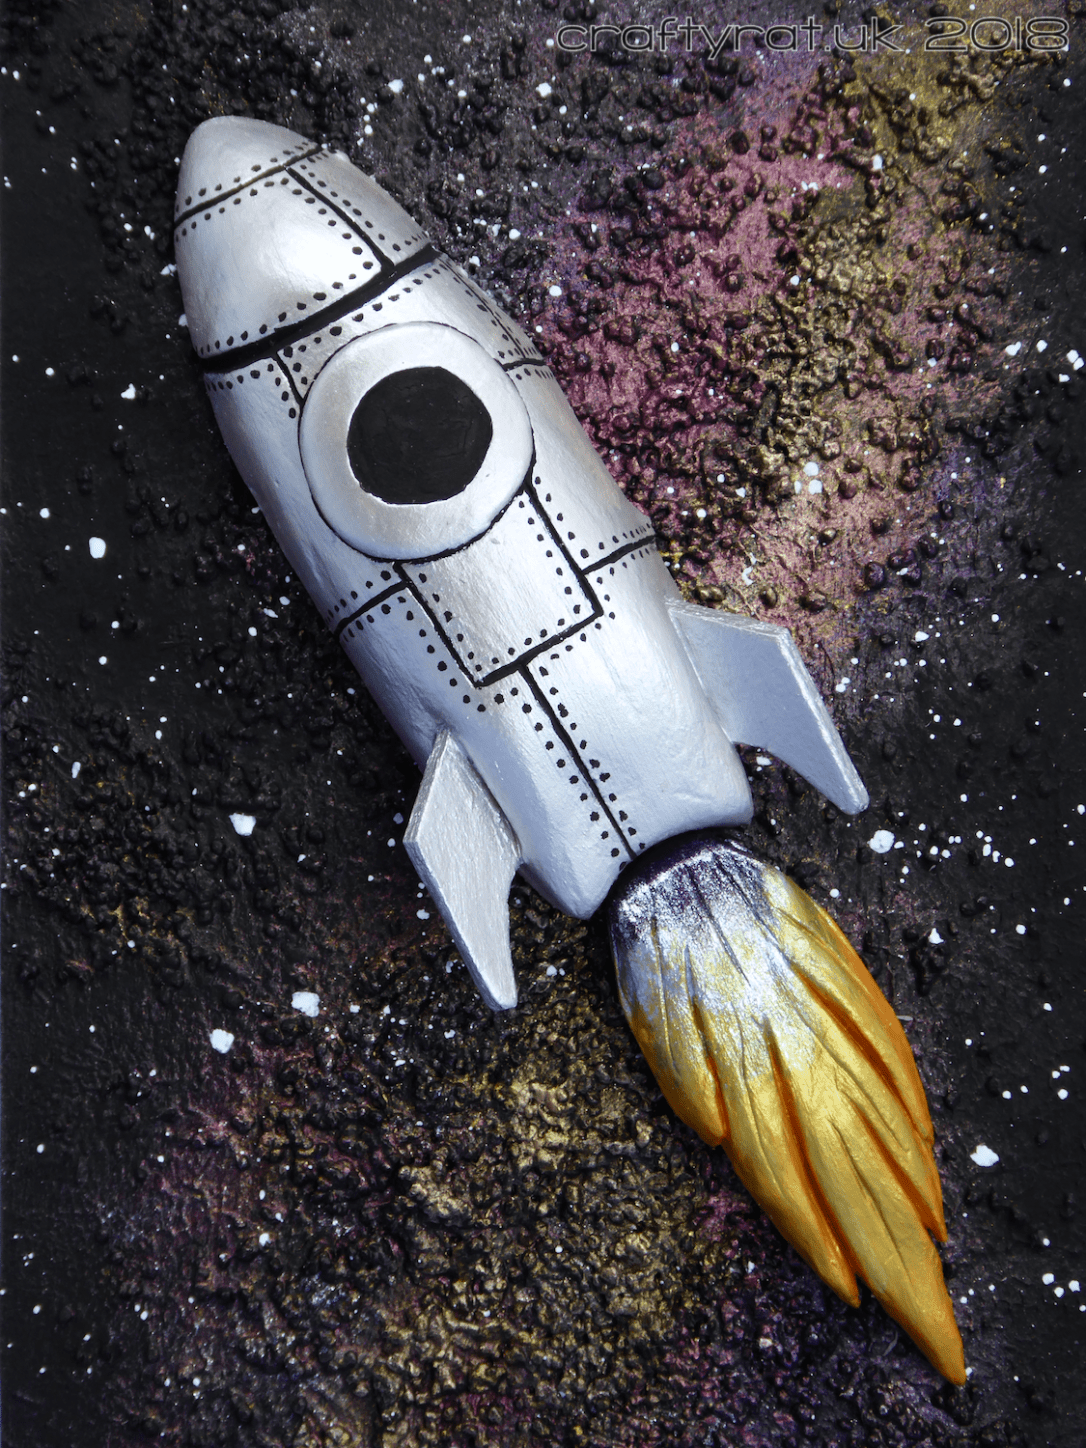
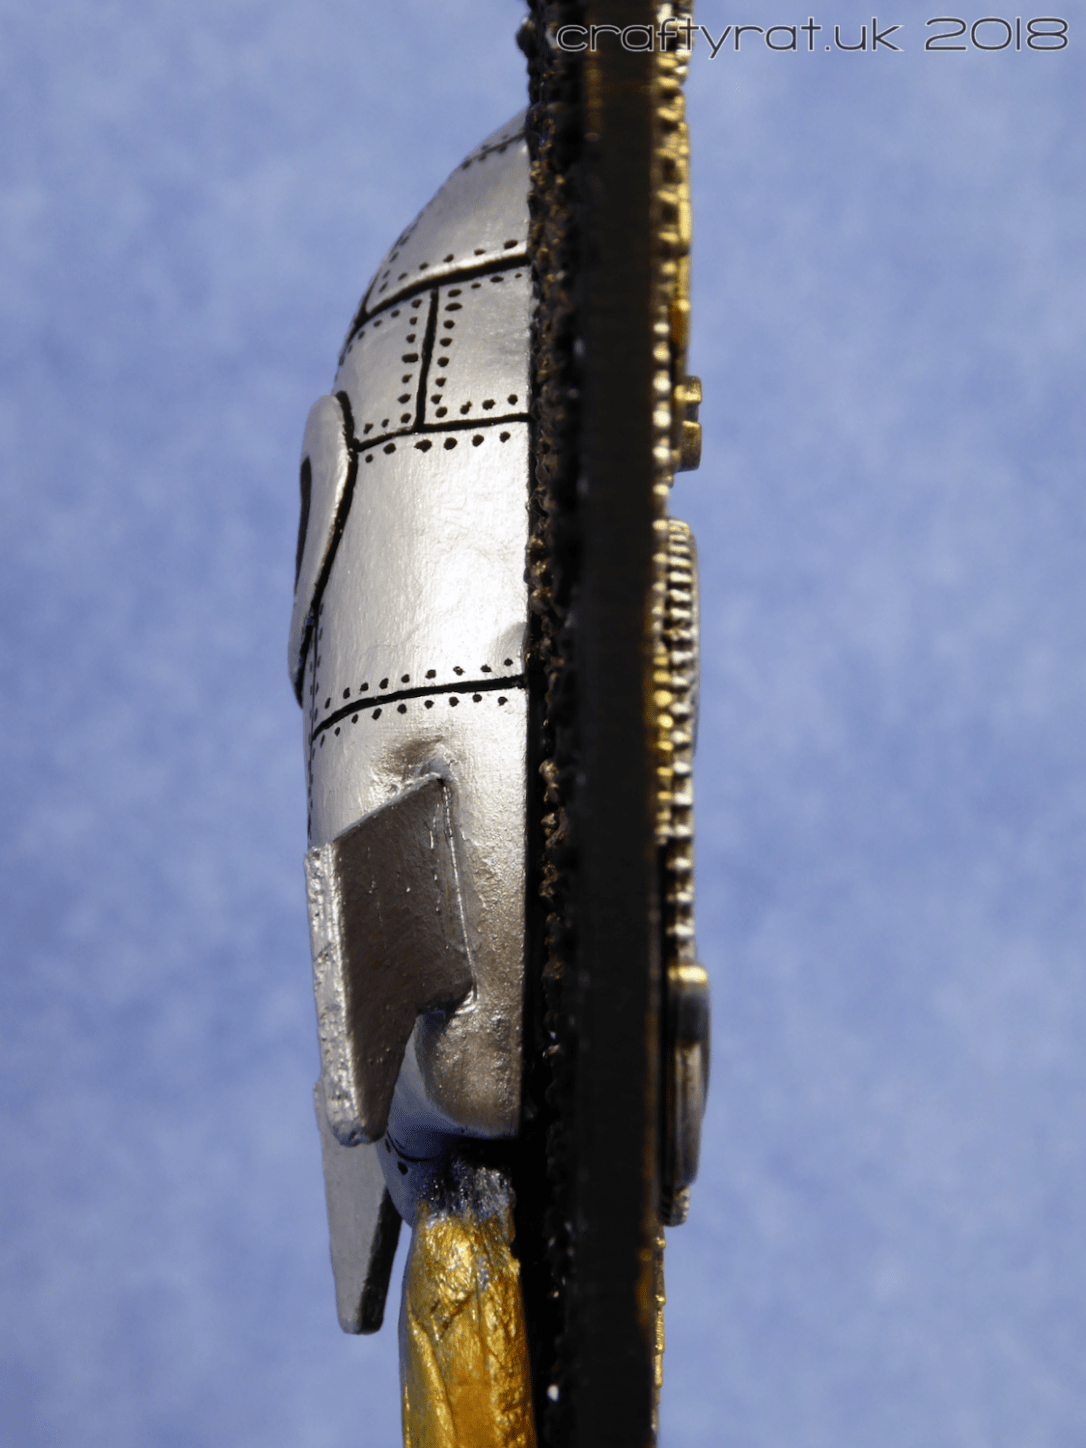
Once the rocket was properly dry, I added some detail by scratching lines for the panels with my pointy tool; I also indented the centre of the window a little by scraping a layer away. I glued the fins in place and gave everything a light coat of white gesso, over which I added a couple of coats of silver paint. A very fine brush and a surprisingly steady hand and I succeeded in painting over the scratched lines with the matt black and even adding all those tiny dots. There were a couple of bits I had to touch up with silver, but a lot less than I expected!
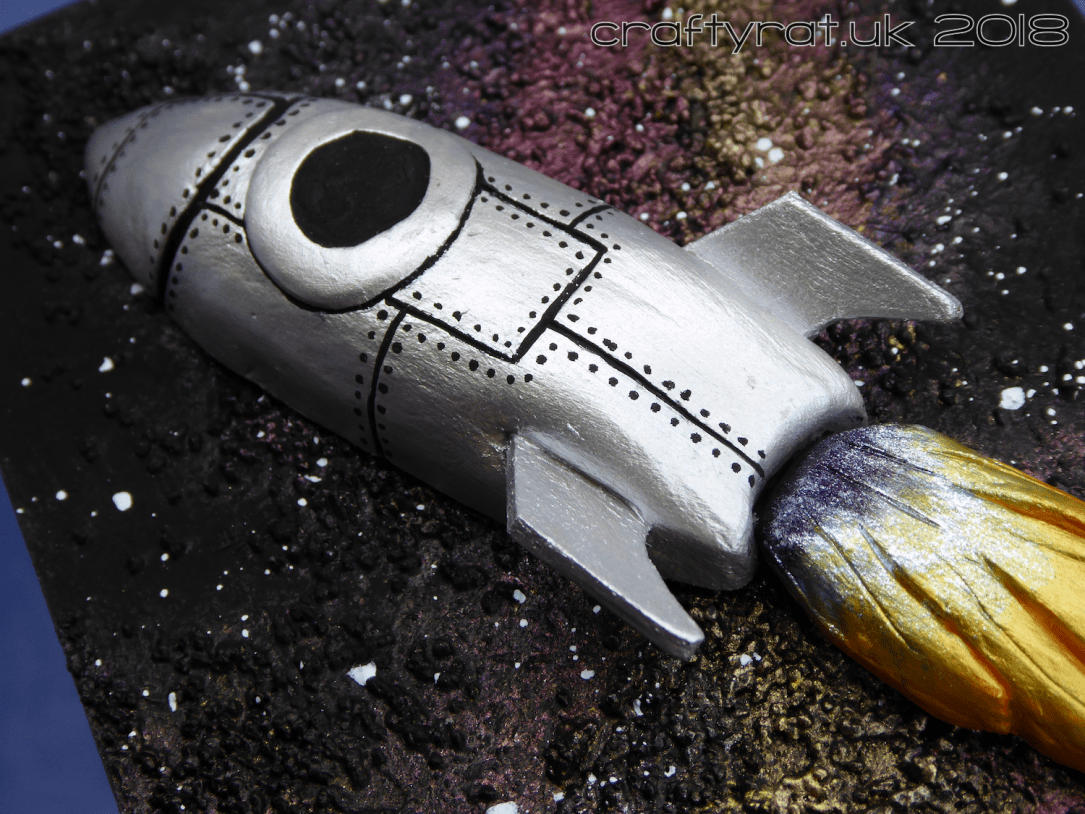
For the flame, I created a gradient of purple, blue, gold and orange. the light blue paint is one of the Finnabair sparks range and I have never come across paint with that much sparkly silver in it before: I’d wiped up a couple of drips with kitchen roll and when it was dry the blue had been absorbed into the paper leaving a solid silver layer over the top!
I used more of the 3D gel to glue the rocket and flame to the base, first packing the space created by the support with a bit of kitchen roll to give more surface area to stick down. I also use a bit of kitchen roll to support the end of the flame, lifting it a bit higher on the end of the rocket.
When that was dry I used the matte black to paint the paper supporting the flame and it did a perfect job of disguising it. I love this paint, it is very matt and it smells of black cherries.
Supplies:
- Base:
Visible Image MDF monolith - Modelling:
Fimo basic air dry clay - Prep & Stick:
Ranger black gesso
Finnabair 3D matte gel - Texture:
Colorall decoration gravel - Colour:
Stuart Semple black 2.0
Pebeo high viscosity acrylic – iridescent silver
Finnabair metallique paint – dark velvet, black berry, romance pink, ancient coin, fresh orange
Finnabair sparks paint – magical pond
Copic opaque white
Discover more from Crafty Rat
Subscribe to get the latest posts sent to your email.

Oh this turned out great! Thanks for sharing your technique! 🙂
LikeLike