This blog post is a little bit different from my usual card write-ups. Towards the end of last year Create A Smile put out a call for card tutorials for a winter mini-magazine they were planning. I made a card, wrote it up and sent it in and then, I guess, life happened and the magazine didn’t. But, rather than just do my usual quick blog post for the card, I thought I might as well publish the tutorial in full. So here we go: winter penguins in June.
Creating the elements:
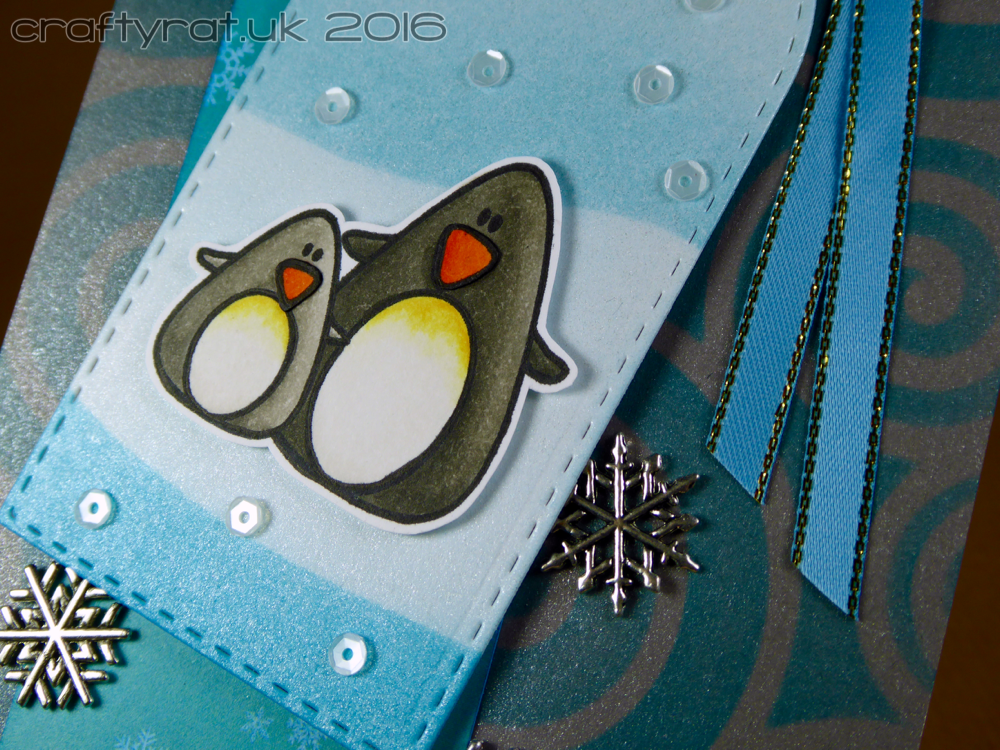
Because the two penguins are separate stamps, you’ll need to create a mask for the smaller penguin if you want them to stand this close together. Stamp the little one on some masking paper or even a Post-It note and carefully fussy cut him out, then stamp him on Copic-friendly card, position the mask over him, stamp the larger penguin and remove the mask. Now you can colour your cosy penguins; I made the smaller one a slightly lighter grey, just so they didn’t merge together too much. When I first coloured mine, I didn’t like the way their beaks looked, but rather than start again from scratch I stamped the penguins again and just coloured the beaks. Then I cut out the beaks and glued them over the originals, remembering to colour the cut edges black so they would blend in nicely. This also added the tiniest bit of dimension to their faces, which I like.
Die cut the tag from some white card; I used a pearlised card, which adds a little shimmer and takes colour surprisingly well. Then cut a gentle curve from some scrap paper and use this to mask off areas while you add colour with some Distress ink blending. I roughly divided the tag into sky, snow and water, and used three shades of blue for them.
Cut a strip of patterned paper that will sit behind the tag on the card base. I used the darkest of my Distress inks to add a layer of colour to mine; doing this toned down the white snowflakes in the pattern and made the overall colour fit better with the rest of the card elements.
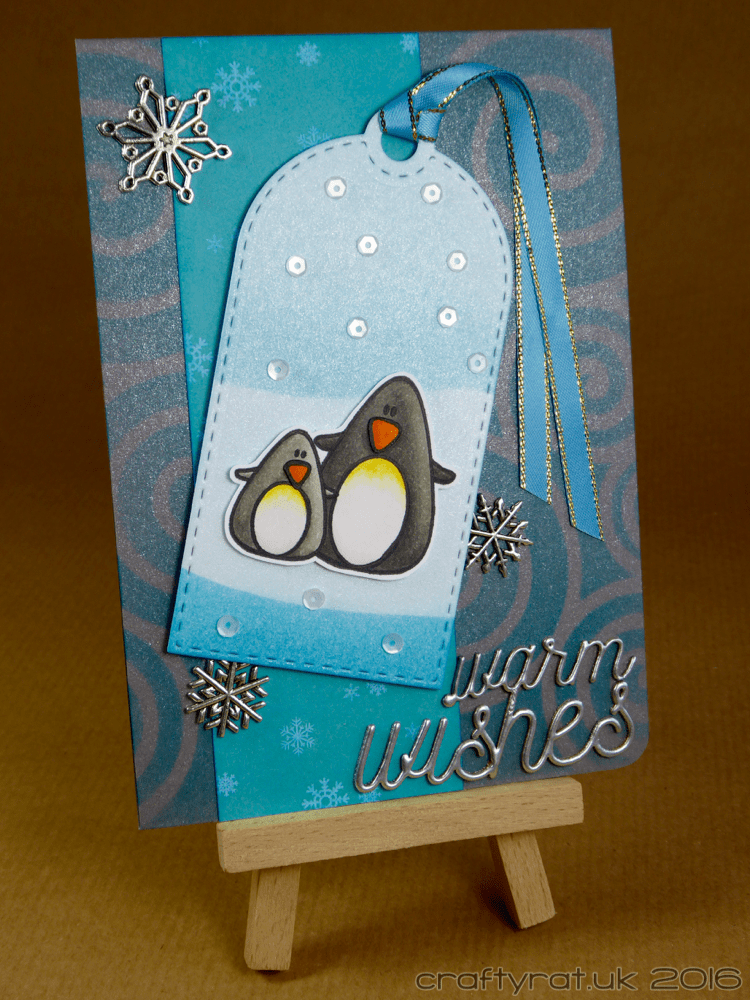
Create a standard A6 card base; I chose a nice shimmery pearlised grey card. Then use the same Distress ink again to stencil a pattern over the whole of the card base. I finished the base off by rounding the bottom right corner to echo the curve of the sentiment that will be placed there.
I could have left the chipboard sentiment with its natural wood finish, but I thought I would experiment with heat embossing it. Hold the chipboard with a pair of tweezers (not your nicest ones, they are going to get hot), smoosh it onto the Versamark pad and dip it in embossing powder. Give your heat gun 20-30 seconds to make sure it is well heated up, and melt the powder. Add more Versamark and embossing powder and melt it again. Two or three layers should produce a nice effect. Where you’ve been holding it with the tweezers will probably look a bit messy, but that is easily fixed by moving the tweezers to a different part of the chipboard and applying a quick blast of heat to the messy bit which will melt and look nice and smooth.
Assembling the card:
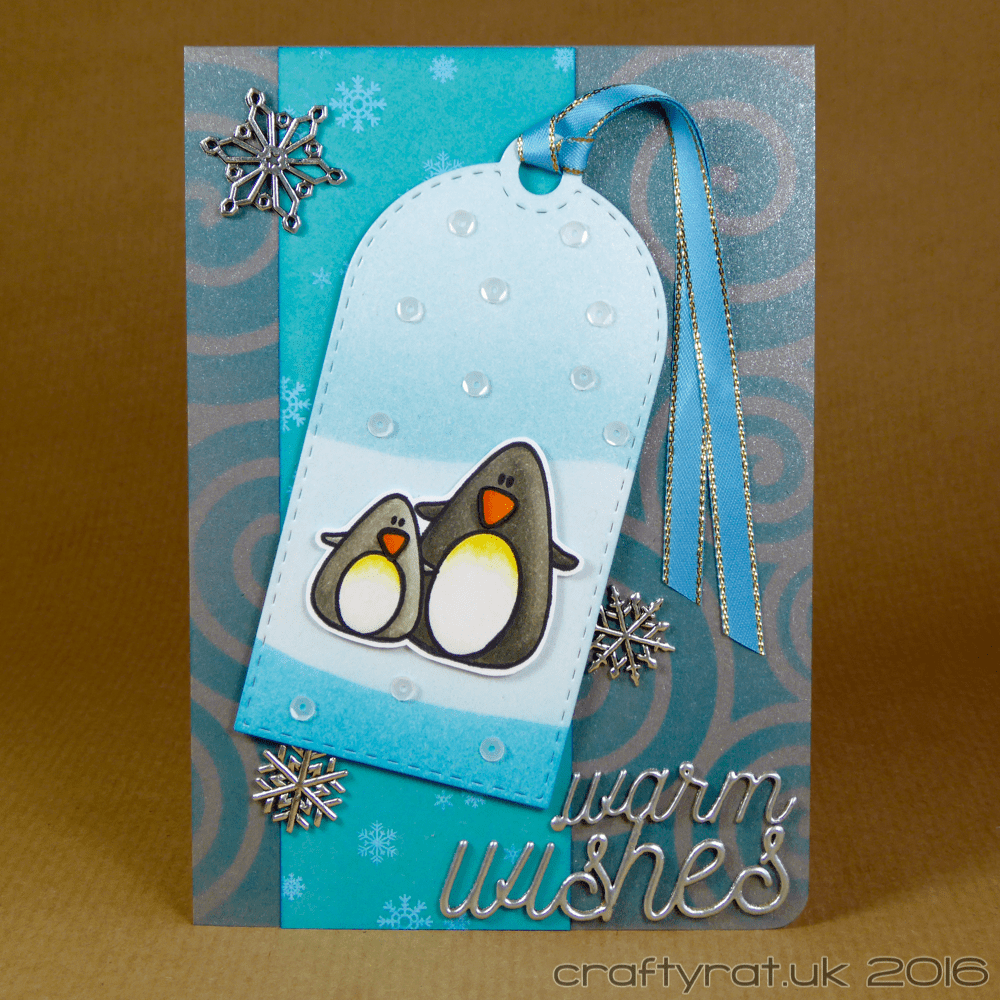
Attach the patterned paper strip to the card base with your favourite tape, tape runner or even liquid glue — I would be mortified if anything ever fell off one of my cards so I tend to use Scor-tape for this kind of thing. Thread the ribbon through the tag, add foam tape to the back of the tag and mount it at an angle over the patterned paper strip. Then use a couple of small pieces of tape to hold the ribbon in place on the card base; if you position the tape about half way along that allows the ribbon to move a little and it will lie more naturally on the card. The penguins are attached to the tag with some thin foam tape. The sentiment, snowflake charms and sequins are all glued on with multi-medium matte, which is strong enough to hold even the metal charms in place with only tiny dots of glue and if a small amount does squish out from behind an embellishment it won’t be noticeable because it dries matte.
Supplies:
- stamps:
Create A Smile – cool buddies - dies:
Create A Smile – lovely tags (medium) - stencils:
Create A Smile – swirly - Copic markers:
penguin body – W2, W4, W6, W8
penguin tummy – W00, W1, Y11, Y18
penguin beak – YR09, YR16 - inks:
Versamark
My Favorite Things – hybrid – black licorice - Distress ink pads:
tumbled glass, broken china, mermaid lagoon - embossing powder:
Judikins – detail silver - embellishments:
Create A Smile – warm wishes chipboard (from snow dance kit)
Pretty Pink Posh – 4mm sequins – marshmallow
blue ribbon
snowflake charms - paper and card:
Papermill Direct – pearlised grey
Papermill Direct – pearlised ultra white
Create A Smile – patterned paper (from snow dance kit)
Neenah solar white 216gsm - miscellaneous:
foam tape
This card was created in September 2016 and was written up as a tutorial for submission to Create A Smile’s crafting magazine Treasures #1.
Discover more from Crafty Rat
Subscribe to get the latest posts sent to your email.

Oh what a great card! I love those penguins! Thanks for sharing exactly how you did everything! 🙂
LikeLiked by 1 person
It was an interesting experiment, writing up the whole process, but it did take a while to do. I might try it again sometime, though I am always happy to answer any questions about any of my creations.
LikeLiked by 1 person