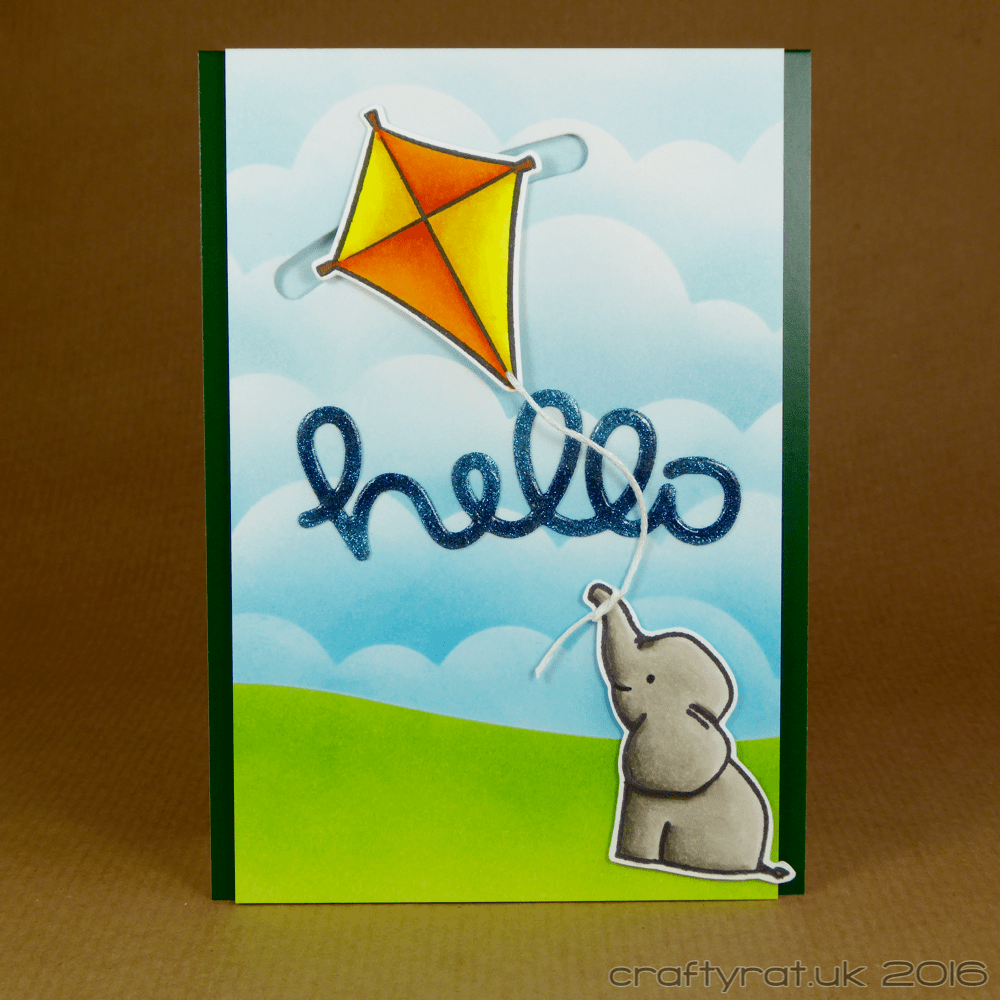
When it comes to interactive cards, the trickiest thing for me is coming up with a design that makes good use of the movement — I don’t want to add moving parts just for the sake of it. Then I had the idea of having a kite floating in the sky.
The background was created with Distress ink blending and masks made using border dies. I coloured up Ellie to hold the kite, which was one of the first pieces of Copic colouring I ever did and had been sat in my PHD box for, literally, years. The sparkly hello is coloured with microfine glitter covered with glossy accents.
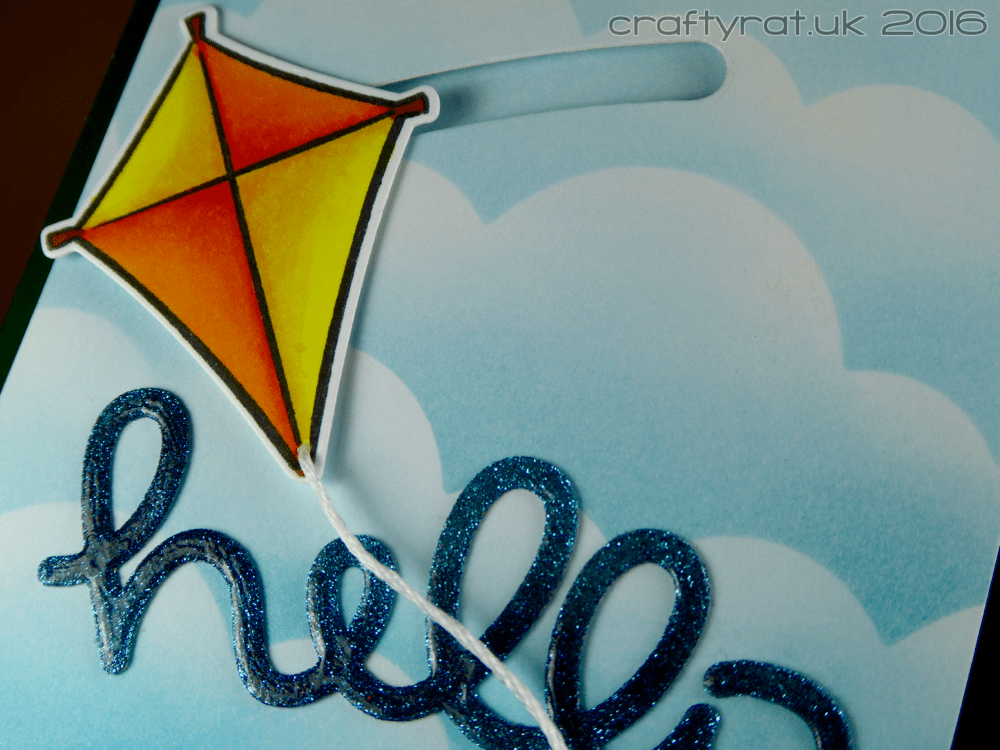
Making the slider mechanism is pretty straightforward, made even easier by having the die to cut the track. If you don’t have the dies a craft knife will do the job perfectly well.
The important thing to remember is to put some powder over all of the moving parts: put it on the edges of the foam tape that you use to mount the kite to the coin to stop it sticking to the edges of the track, and put it on the coin and track base to help it run more smoothly. You don’t need a lot, a fine layer is enough to keep it all moving easily.
Supplies:
- stamps:
Avery Elle – Ellie
Lawn Fawn – sunny skies - dies:
Mama Elephant – landscape trio
Lawn Fawn – slide on over
Lawn Fawn – scripty hello - inks:
My Favorite Things – hybrid – black licorice - Distress ink pads:
sky – tumbled glass, broken china, mermaid lagoon
grass – twisted citron, mowed lawn - Copic markers:
elephant – W1, W3, W5, W7
kite – Y06, Y15, Y19, Y38, YR09, YR16, E39 - paper and card:
Neenah solar white 216gsm
Strathmore Bristol 300
Hunkydory adorable scorable – evergreen - embellishments:
Elizabeth Crafts – silk microfine glitter – teal
glossy accents - miscellaneous:
white embroidery thread
penny
foam tape
Another catch-up post. This card was created on 20th July 2016 as part of The Daily Marker 30 Day Colouring Challenge.
Discover more from Crafty Rat
Subscribe to get the latest posts sent to your email.

So cute! I’ve never made a moving card like that before, I should really try it.
LikeLike
Thanks for sharing! That “hello” really pops! How did you put the glitter on, if I could ask? 🙂
LikeLiked by 1 person
Always happy to answer questions 🙂 My usual method is:
– Cover a piece of card with double-sided adhesive sheet and then die-cut it.
– Peel off the release sheet and sprinkle on one or more colours of glitter.
– Rub the glitter firmly into the adhesive with your finger and brush off any excess. (Or you could lay a spare bit of release paper over the top and burnish it with a bone folder if you don’t want glitter on your hands.)
For this hello I added a layer of glossy accents over the top – that’s just for a bit of extra shine though, the microfine glitter doesn’t shed at all.
A tip: if you have a particularly intricate or flimsy die-cut that could get pulled out of shape as you are rubbing the glitter in, die-cut the shape from a piece of scrap card and temporarily inlay your adhesive-covered die-cut to hold it steady.
LikeLiked by 1 person
Thanks for the tips! 😀
LikeLiked by 1 person