Maybe I was influenced by the “spring” weather when I put this little jar together. Growing up in Lincolnshire I was quite used to seeing snow — there were even times when we had deep snow drifts on my birthday at the end of March — but it’s not often that snow settles and lingers in London (even in winter).
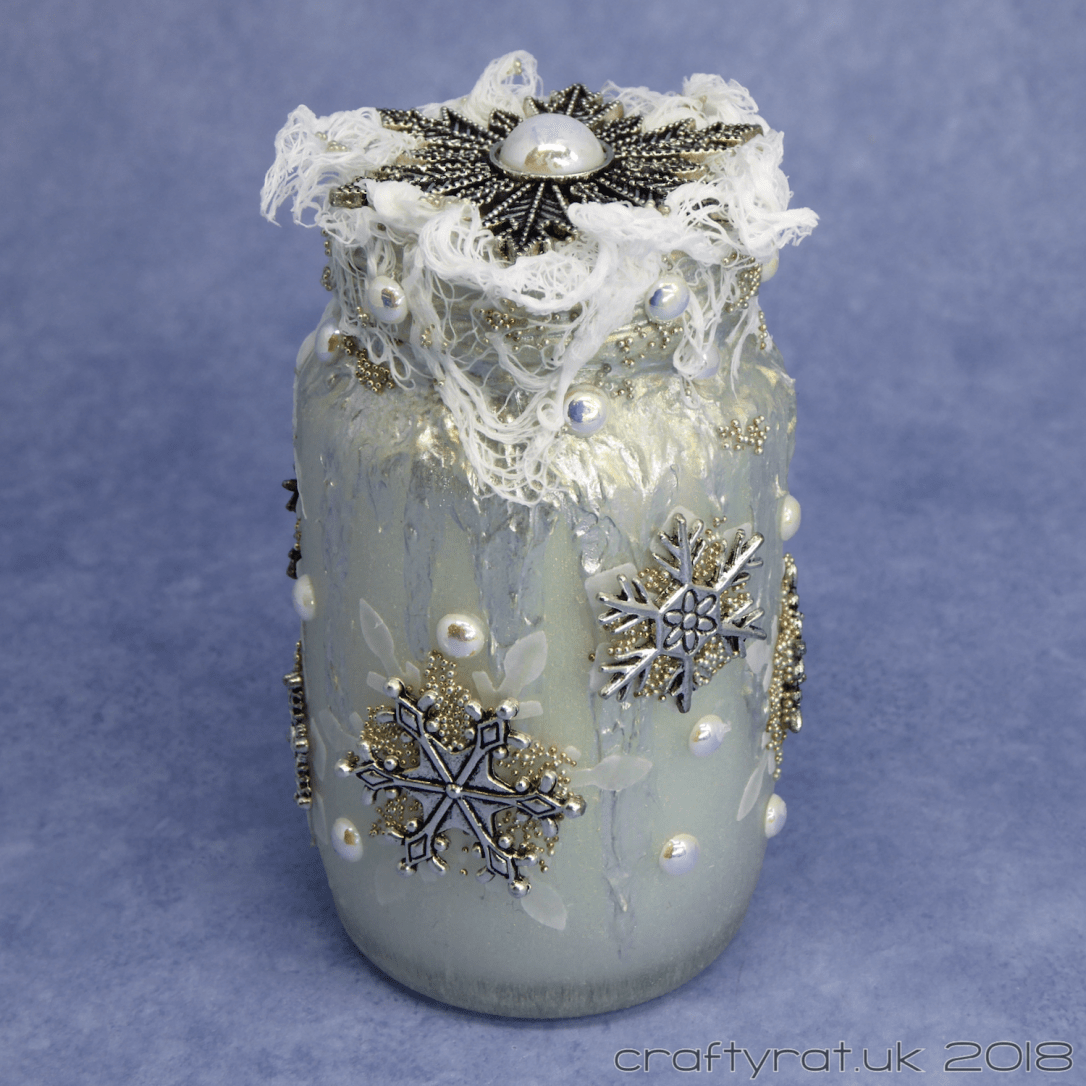
I am still finding my feet with the whole 3D mixed media altered items thing, so there’s a lot of experimenting to be done with both supplies and techniques. Considering this is a tiny jar — only around 8cm tall — I managed to try out quite a few things on it.
The process went something like this (just add in “and let it dry or dry with a heat tool” in between most steps):
Clean the jar and coat with glass and tile medium. This gives it a slightly textured, almost frosted finish that helps paint stick to the glass.
Use translucent texture paste to create the drips.
Paint the jar with the platinum paint; a thin coat of this acts more like a glaze than an opaque paint.
Paint the drips with brushed pewter Distress stain.
See something online about coating the inside of jars and bottles with paint. Have a bright idea for another experiment. Paint the inside with glass and tile medium.
Mix up some LIT — a glow-in-the-dark powder — and coat the inside of the jar.
Add textile hardener to a couple of small pieces of gauze and arrange them in the top of the jar.
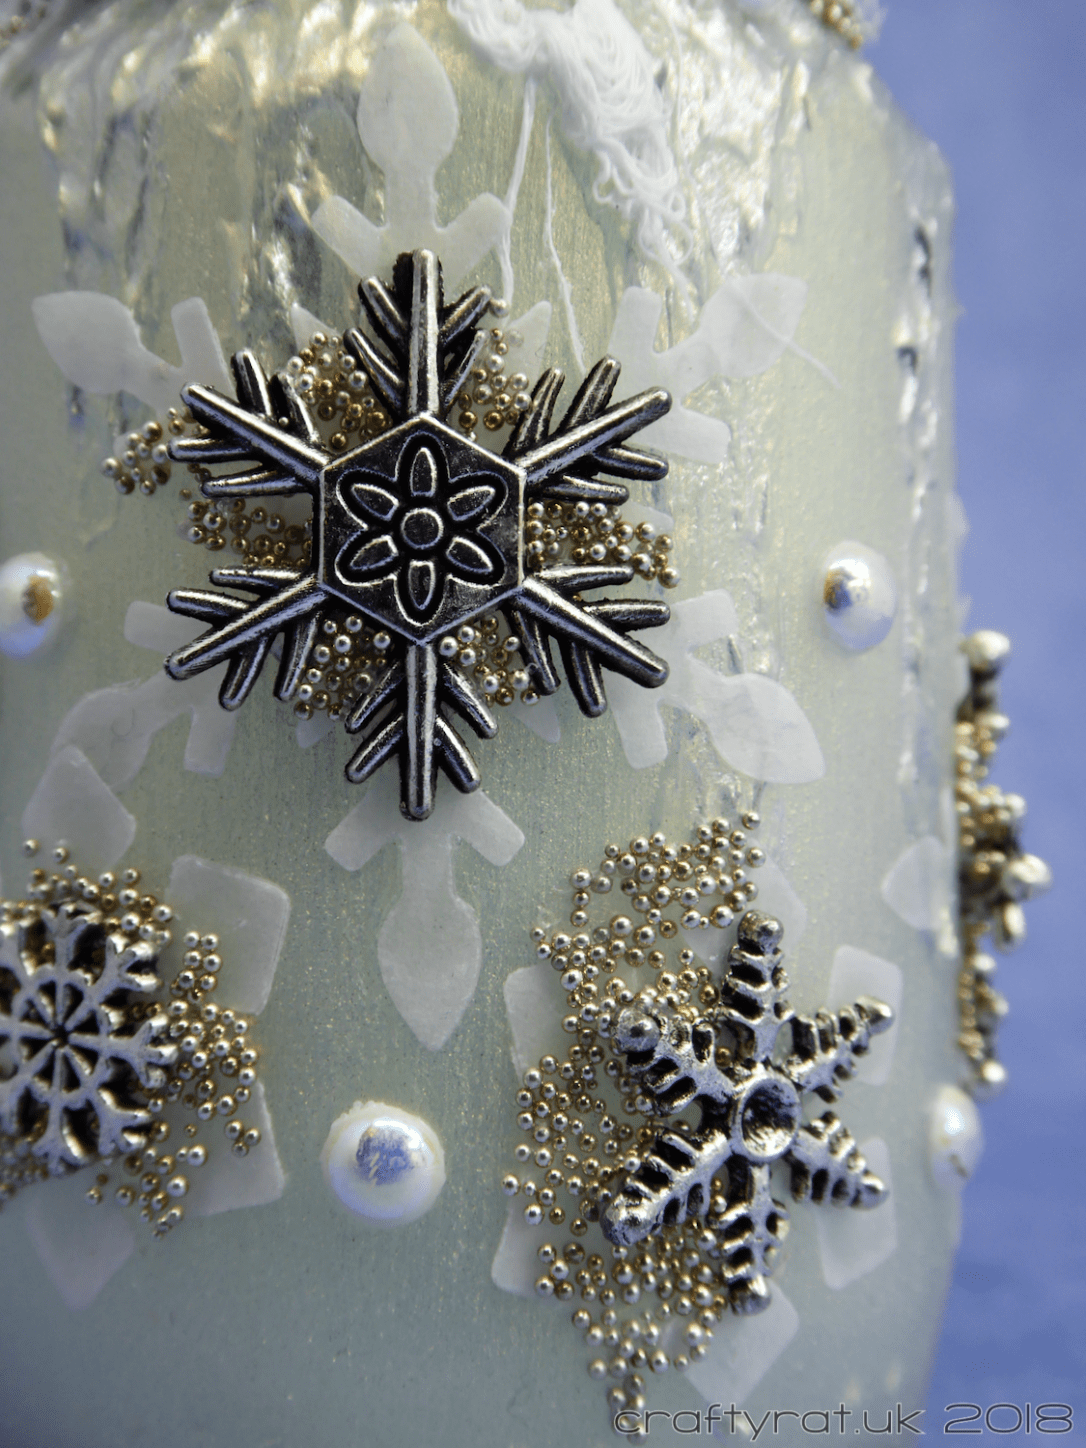
Die-cut some vellum snowflakes and glue to the jar.
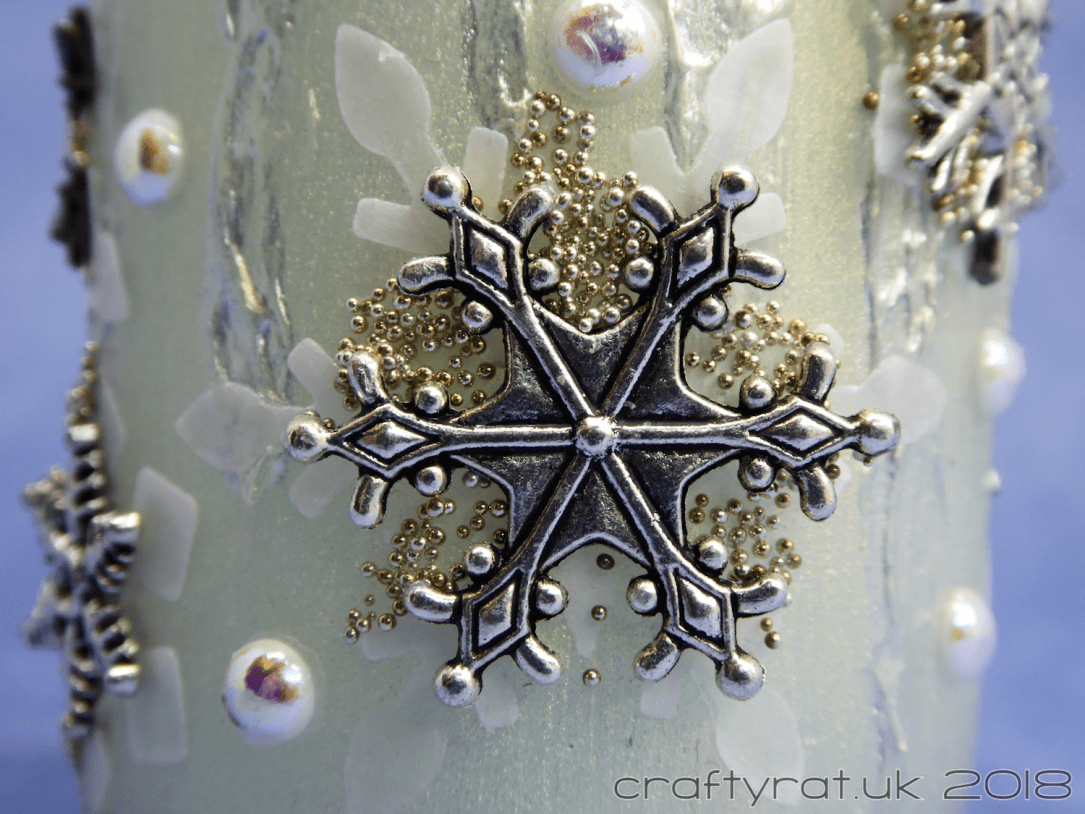
Stick metal snowflake charms on top of the vellum ones.

Stick a large metal snowflake on top of the gauze.
Add half pearls in the gaps between the snowflakes and around the neck of the jar. And a larger one in the centre of the big snowflake.
Add microbeads.

Leave everything to dry and spend days picking up microbeads that have escaped. I love using microbeads, but honestly, they’re as bad as glitter! [Actually, they’re worse… glitter doesn’t roll away.]
There are things I would change if I made this sort of the design again (mostly around the top, though I’m not quite sure what I’d do instead), but given that its main purpose was to let me experiment with creating what started out as a translucent jar and to test out some products I hadn’t used before, I’m really happy with the end result.
Got to love the glow-in-the-dark…

Supplies:
- Prep & Stick:
FolkArt glass & tile medium matte finish
Ranger multi medium matte
Aleene’s fast grab tacky glue
Collall textile hardener - Texture:
Dreamweaver embossing paste – translucent - Colour:
Tattered Angels high impact metallic paint – platinum
Tim Holtz Distress stain – brushed pewter
Stuart Semple – LIT powder - Dies:
Clearly Besotted – snowflake trio
Lawn Fawn – stitched snowflakes - Paper & Fabric:
vellum
gauze - Embellishments:
metal snowflake charms
half pearls
silver microbeads
This jar was created in March 2018 during my month of mixed media experimentation.
Discover more from Crafty Rat
Subscribe to get the latest posts sent to your email.

Oh this is so pretty! I love the glow in the dark!
LikeLike