Time taken to finish this jar? Months. Or about five days. Or a few hours. Depending on whether you’re counting time spent working on it, the number of days it was worked on, or the time elapsed between starting it and finishing it.
I think this project fits quite nicely with Country View Craft’s April theme so I’m entering it in their Pimp it up! challenge.
Day 1: So, yes, I started this sometime last year; so long ago I really can’t remember when. I got as far as covering it with crinkled tissue paper and painting it with black gesso. To be fair, it actually looked pretty good like that 🙂

Day 2: I’d caught up with all my other crafting and even got ahead on my card making, so I had no excuse. This was the first jar I had altered and they have their own special challenges. Unlike panels and boxes — stating the obvious here — they are curved, so the metal filigrees I added as the first embellishment layer had to be shaped to match the curve of the jar. And on a design like this, you end up working on the whole jar at once which means you’re forever trying to avoid knocking off the bits you’ve glued on one side while sticking bits on the other.

Along with the filigrees, I added half pearls across the background and wrapped baker’s twine around the top to cover the jar screw thread.
While I had the twine to hand, I created linked coils around the filigrees. No real pattern in mind, just making it up as I went along.

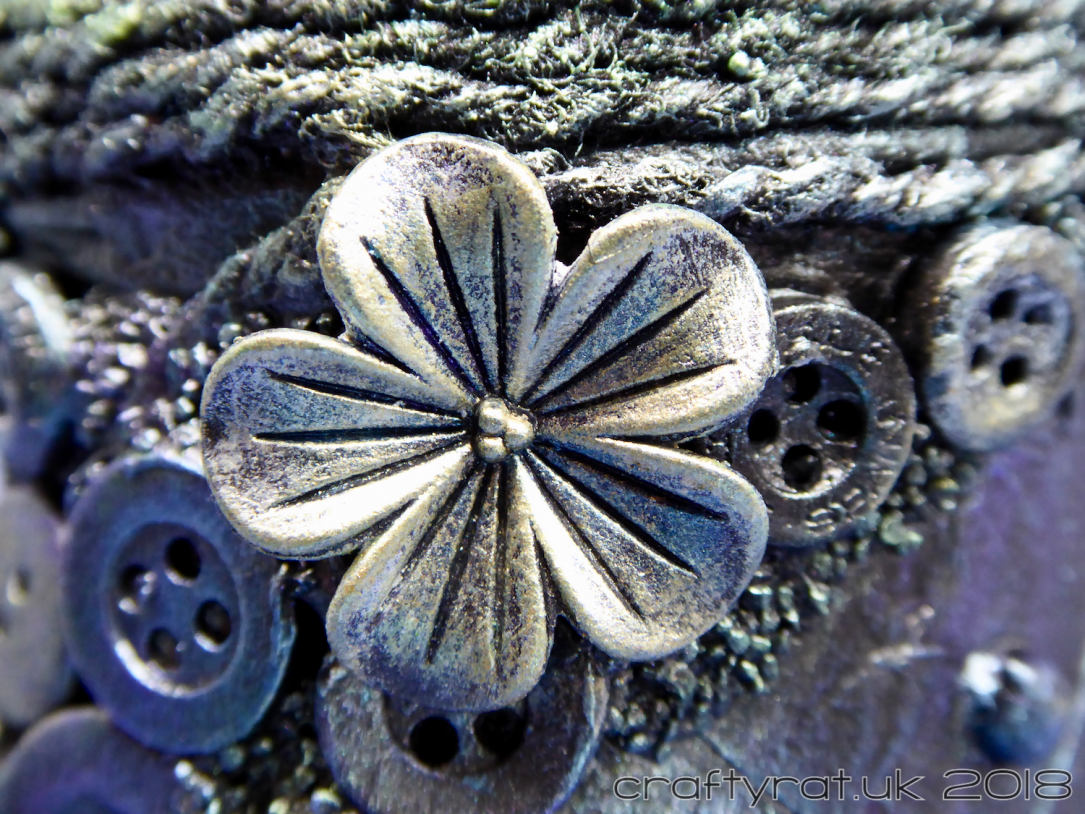
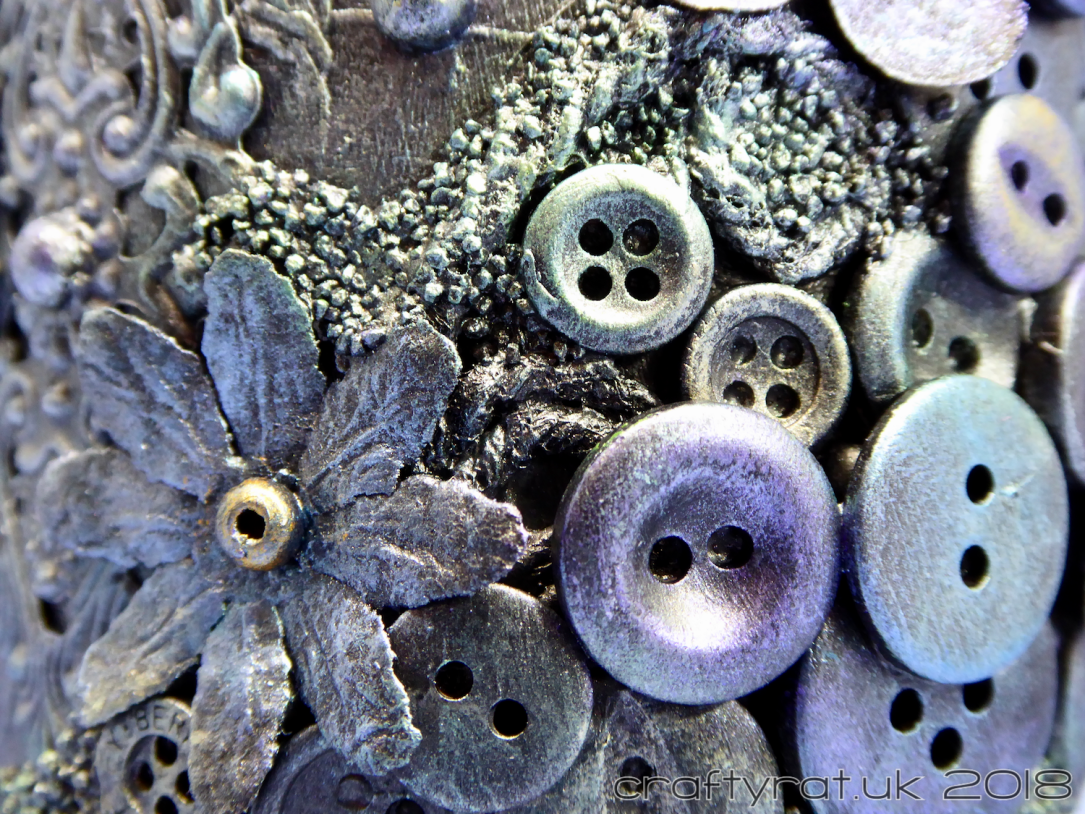
Day 3: With the glue all thoroughly dried, I set about adding the next layer: the buttons. I knew I wanted to have a diagonal swoop the full height of the jar on one side, but once that was in place I just added random clusters of buttons to balance out the rest of the jar. I also picked out a metal flower for a focal point on the rim. I wasn’t in any hurry to finish the project so I left the glue to dry.
Day 4: Black gesso over everything. It didn’t take long to dry — especially with a helping hand from my heat gun — so I could continue by adding the paper flowers. And some flat-domed “candi” paper embellishments. Once those were dry, more black gesso.
The last bit of texture was some fine gravel added in the corners and along some edges.
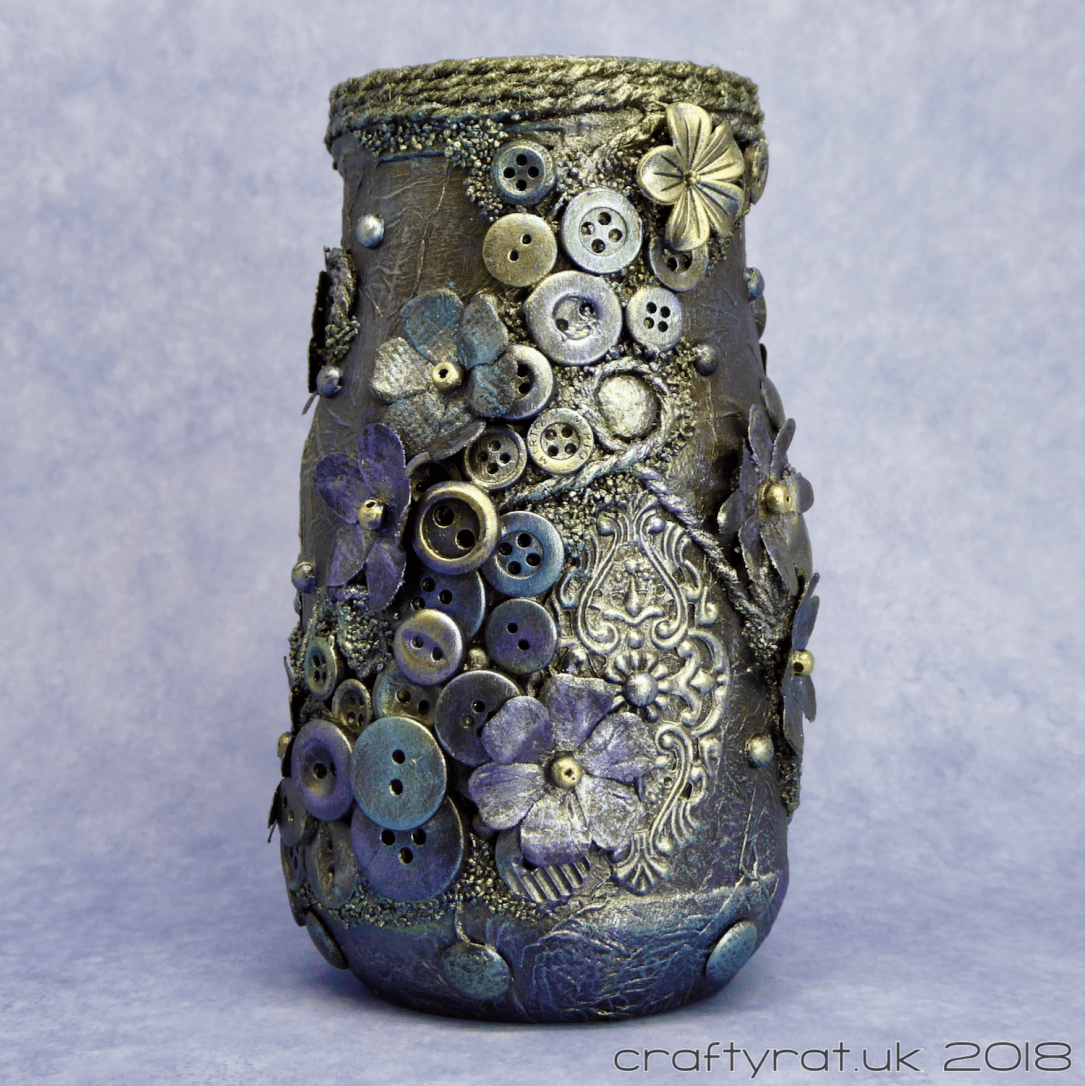
Day 5: A quick dab of black gesso over the gravel and the only thing left to do was to add some colour. I used a dry brush to build up layers of gilding polish and waxes — mostly blue and purple with a little silver and a touch of green — until I was happy with the effect.
And I absolutely love the finished piece; all those textures with the soft shine and subtle variation in colour. It’s come a long way from the empty pasta sauce jar I started out with.

Discover more from Crafty Rat
Subscribe to get the latest posts sent to your email.

It looks amazing, definitely worth the effort and time! Thanks for joining us at Country View Challenges this month!
LikeLike
Wonderful transformation!!! I love how you decorated the jar!!! I also love the metallic paints and colours!!! Thank you for joining the April challenge of the Country View Challenges!
LikeLike