This nearly ended up in the bin.
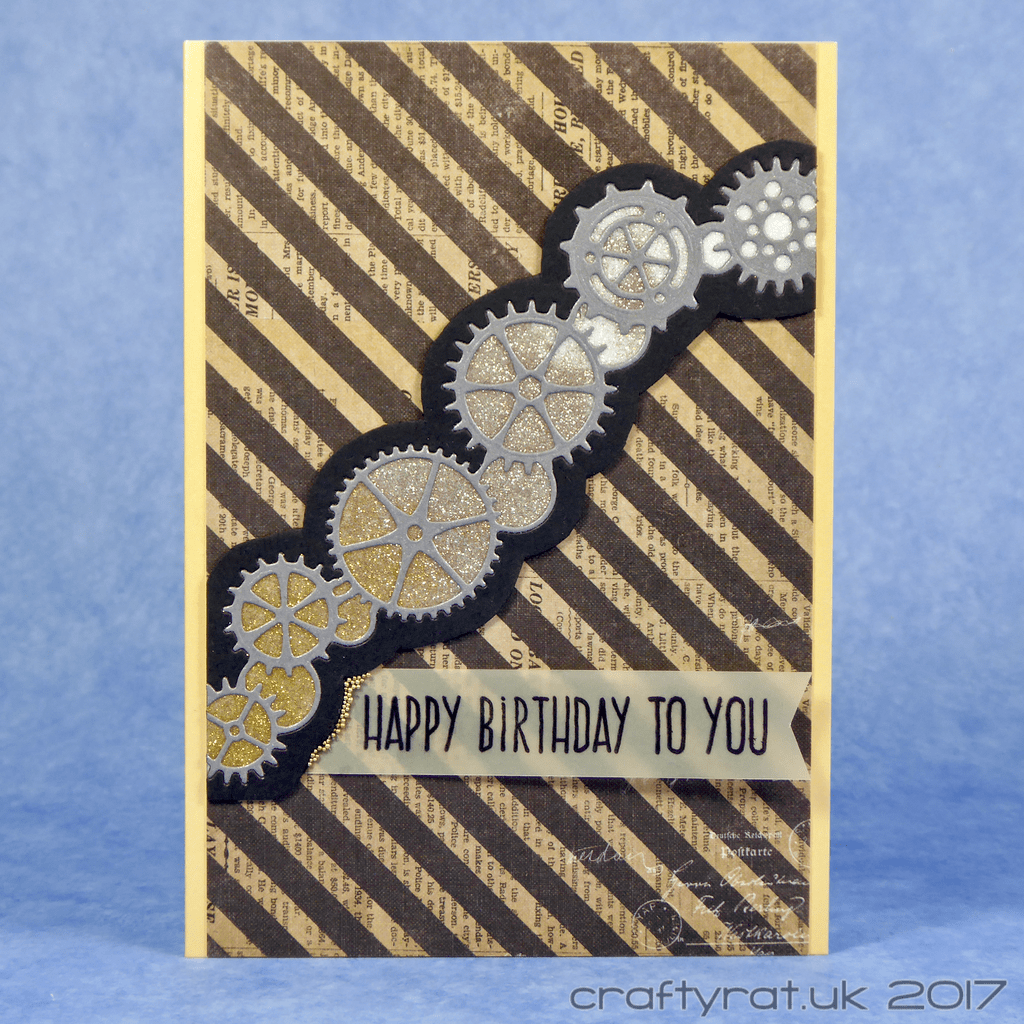
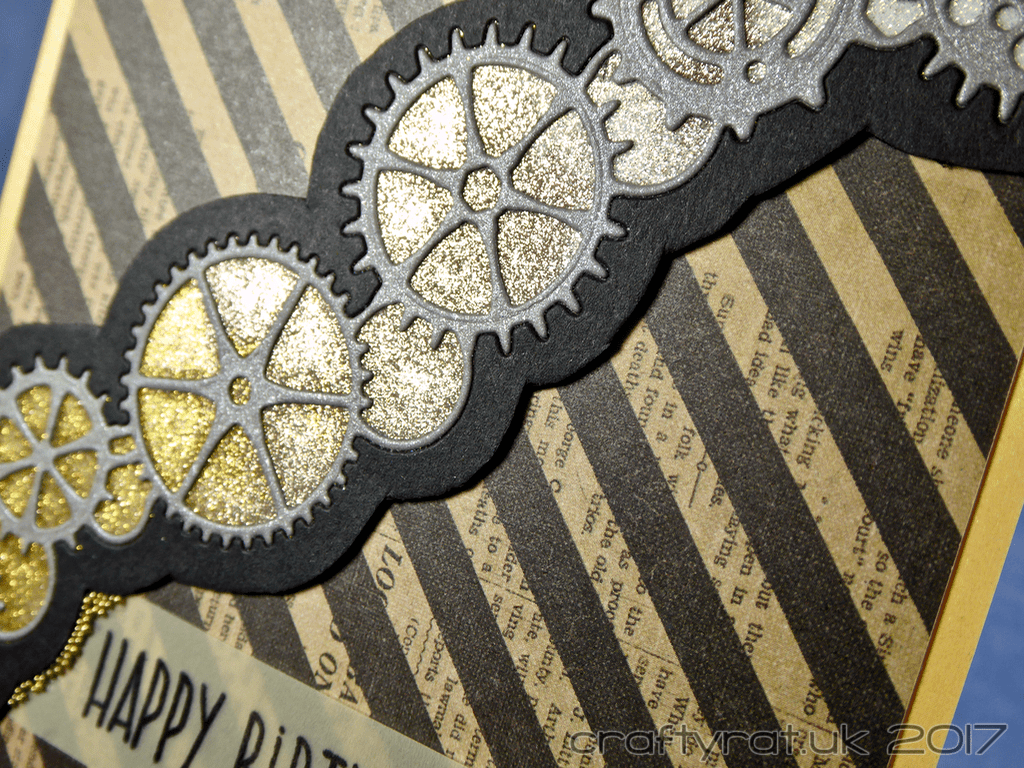
I had die cut the cogs from both pearlised grey and a panel of black card, layered them over some double-sided adhesive sheet and added an ombre glitter effect inside the cogs. But I wasn’t very happy with the result and, try as I might, I could not come up with anything that I liked at all. I hate throwing things out though, so it sat on my desk for a day while I did some other sparkly things and pondered.
Eventually I gave up trying to add to it and, instead, took my scissors and fussy cut a black border around the cogs. Now I had something I could use.
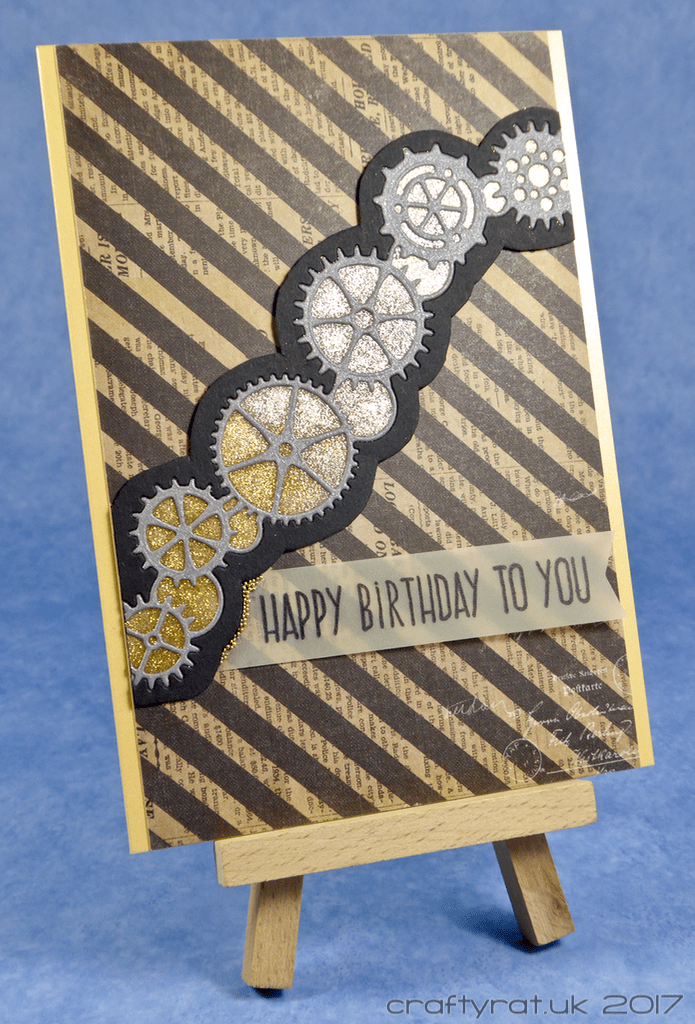
I had a dig through my patterned paper pads and found this striped text sheet which matched nicely with the gold glitter and black card. I also found some pastel yellow vellum and stamped a sentiment on that.
The final touch — the gold micro beads at the end of the sentiment strip — are actually a fix-up. When I went to glue the sentiment in place, a bit of adhesive spread from under the cogs and, as is the way with adhesive and vellum, it looked horrible. Luckily only a tiny bit was visible, but it annoyed me so I fixed it by carefully gluing a few micro beads over it.
Supplies:
- stamps:
Altenew – birthday greetings - dies:
Memory Box – gearworks border - inks:
Ranger – archival – jet black - Elizabeth Craft silk microfine glitter:
solar gold, antique silver, warm diamond - embellishments:
gold micro beads - paper and card:
Prima – paper pad – stationer’s desk
Papermill Direct – plain – black
Hunkydory Adorable Scorable pearly shimmer
Anita’s – plain pastel vellum pack
Class:
Online Card Classes – Sparkle & Shine
Discover more from Crafty Rat
Subscribe to get the latest posts sent to your email.

This is great! I love how you inlaid the dies into the background over the glitter! Great effect! 🙂
LikeLiked by 1 person
Thanks! I had to be extra careful doing the inlay – I’d normally use Stick It with a detailed die, but had to use something stronger to hold the glitter – it was definitely worth the effort though.
LikeLiked by 1 person