Another catch-up post; this card was originally made on May 6th as part of the Clear and Sheer class.
A magic slider card has been on my list of techniques to try ever since I first saw one. I’ve come across a few tutorials, but the one from Kelly Marie Alvarez in Online Card Classes’ Clear and Sheer class is so well explained it actually gave me the confidence to try it myself. If you have any interest in using vellum and acetate on your cards, I would really recommend this class — so many ideas…
How:
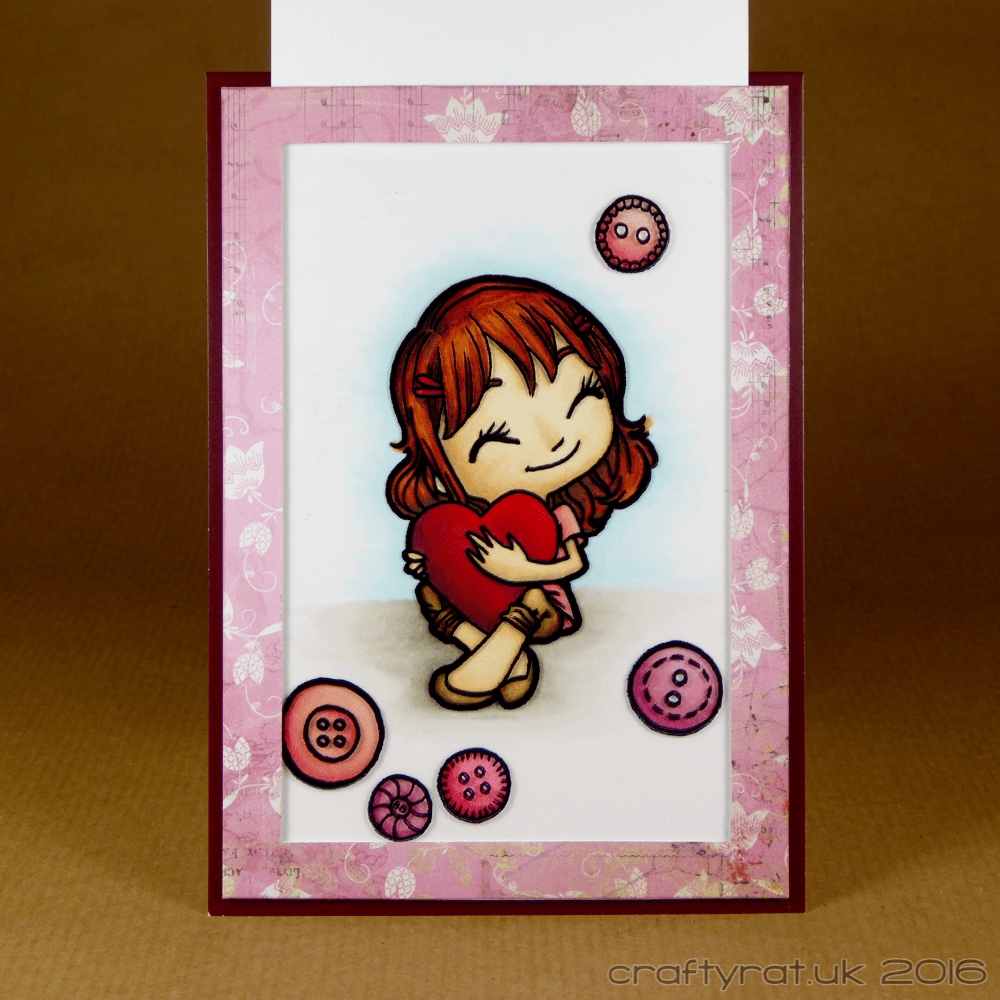
I am not going to attempt to write up the exact steps involved in creating this card; that would require diagrams at the very least! Essentially you create a pocket with a window on the front and a piece of plain white card sandwiched in the middle. The coloured version of the image goes on the inside back of the pocket and the outline image is stamped on acetate and mounted in the window lined up over the coloured one. The white card slides in and out of the pocket, hiding and revealing the colours.

The trickiest part of this style of card is making sure the two images line up correctly, but creating a folded pocket rather than trying to align separate layers does make it much easier.
The magic slider card takes a bit more time to make (especially the first time you do it) and requires more precision than a lot of card designs, but it’s an interesting technique and definitely worthwhile giving a go.

Class:
Online Card Classes – Clear and Sheer
Supplies:
- stamps:
Some Odd Girl – in stitches Tia - inks:
Stazon – jet black
My Favourite Things – hybrid – black licorice - Copic markers:
skin – E50, E51, E21, BV20
hair – E97, E09, E29
heart – R35, RV29, R39
top – R30, R20, R32
trousers – E51, E55, E25, E29
shoes – E53, E55, E25
buttons 1 – R20, R30, R32, R43
buttons 2 – RV11, RV32, RV34
buttons 3 – RV21, RV23, RV25
shadow – W00, W0, W2, W4
outline – B0000 - paper and card:
Crafter’s Companion – heat resistant acetate
Neenah – solar white – 216gsm
Studio Light – paper pad – PPSL14
Discover more from Crafty Rat
Subscribe to get the latest posts sent to your email.

I’m a,ways in awe of people who can do these kinds of cards – they do look really impressive, but I’m not sure I could do the fiddliness required! Love the image and your colouring is fab as usual. Xx
LikeLike
Although I did spend an age making sure I understood what I was doing and was cutting everything to the right size (but that’s just the annoying way my brain works), I have to say that the method demonstrated in the class was the clearest and most straightforward I’ve come across.
LikeLike