Quite often I’ll be inspired by a card I’ve seen; I’ll get a flash of an idea triggered by a layout or a technique or just the way someone has used a particular stamp. But I always try to put my own interpretation on it, to use it as a springboard to something completely different. So the idea of CASEing someone else’s style is a tricky concept for me, but I wanted to give it a go, and who better to be inspired by than Kelly Latevola.
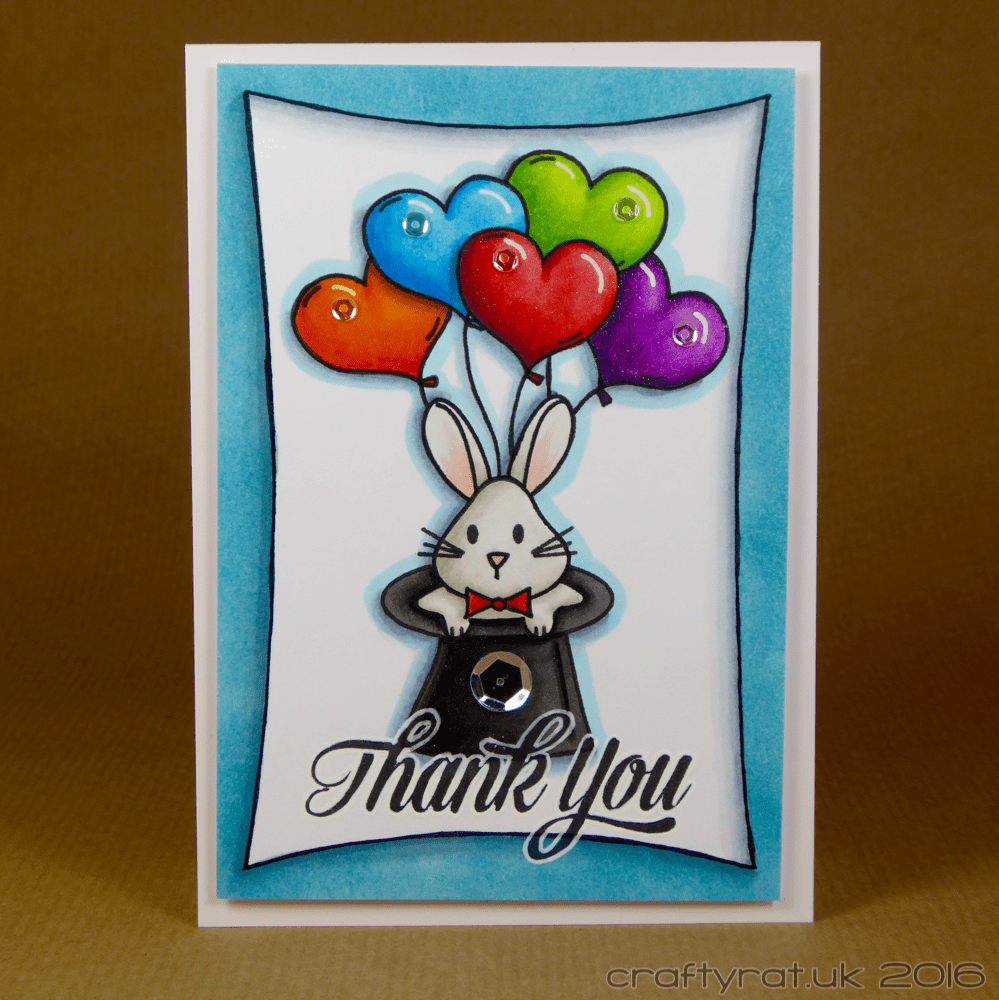
Strong colours, shadows, blue outline, emphasising black lines, outlining text in white, and much shininess… I like the result and I think I achieved what I set out to do. It’s not completely “me” (obviously), but there are definitely elements that I will adapt to my own style. All in all, an interesting experiment.
Inspired by:
How:
First, be surprised that all your balloon stamps are solid and then find one outline stamp lurking in your stash. Create a couple of masks using it. Stamp the bunny and arrange some balloons over him.
Create a mask to make a frame for the whole image, colour around the outside with Distress ink blending, and draw the outline using a Copic-friendly marker.
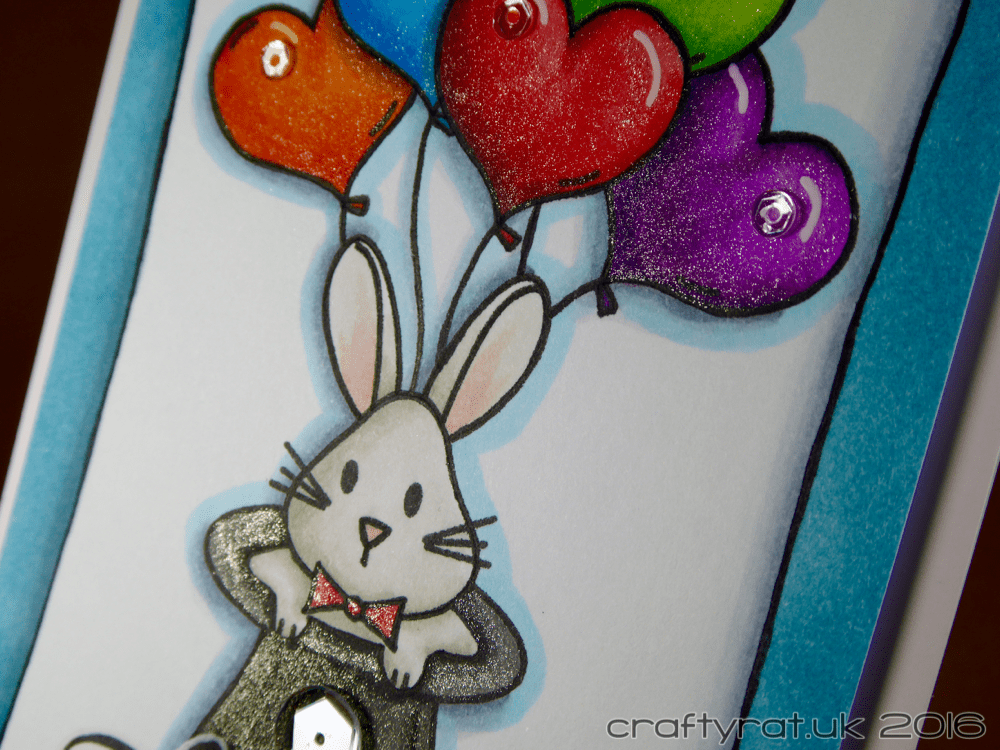
Choose some strong, contrasty colours for the balloons and create as much dimension with the colouring as possible. I wish I had managed to get a little more shape and contrast into the bunny and hat, but at least this way it acts to balance the strength of the balloons.
Add shadows to everything including the frame. Add a blue outline around everything apart from the frame. (I should have gone over the shadows again as they did get a little faded by the blue.) Stamp the sentiment several times (the MISTI is so useful) to get a good solid black impression, wait for it to dry completely and then outline with a white gel pen. Add some white highlight lines to the balloons.
Now for the shininess. Carefully coat the balloons and hat with clear Wink of Stella — carefully, in case the white pen reacts with the shiny, which I have had happen before, but I can’t remember which white pen that was, or you could just add the white gel pen last — and add a small sequin to each of the balloons and a large one to the hat.
Trim the panel down to size and mount it on a top-folding card base using some fun foam for added dimension.
Challenges:
Supplies:
- stamps:
Avery Elle – pure magic
Avery Elle – Ellie (balloon)
Justrite – extra grand sentiments - dies:
Spellbinders – wonky rectangles - pens:
Memento – tuxedo black – dual marker
Uni-ball Signo UM-153 – white - colour:
Distress ink pad – broken china - Copic markers:
hat – T4, T6, T8, T10
rabbit – W00, W1, W3, E93
bow tie – R35, R29
red balloon – R32, R35, R29, R59
orange balloon – Y38, YR04, YR09
blue balloon – B00, B02, B04, B06
green balloon – YG01, YG03, YG17
purple balloon – V01, V04, V06, V09
shadow – C0, C1, C3, C5
blue outline – B00 - embellishments:
Pretty Pink Posh – 4mm – sparkling clear - paper and card:
Neenah solar white 216gsm
Hunkydory – adorable scorable – cotton white - miscellaneous:
fun foam
Discover more from Crafty Rat
Subscribe to get the latest posts sent to your email.
