This is more of a paint and stitch and stitch card than previous cards. I went through the same “transfer design – add paint – stitch outlines” process as the others, but then I kept on stitching. As well as the back stitch and whipped back stitch, I also added a little satin stitch on the hidden numbers and some turkey rug stitch for the hair.
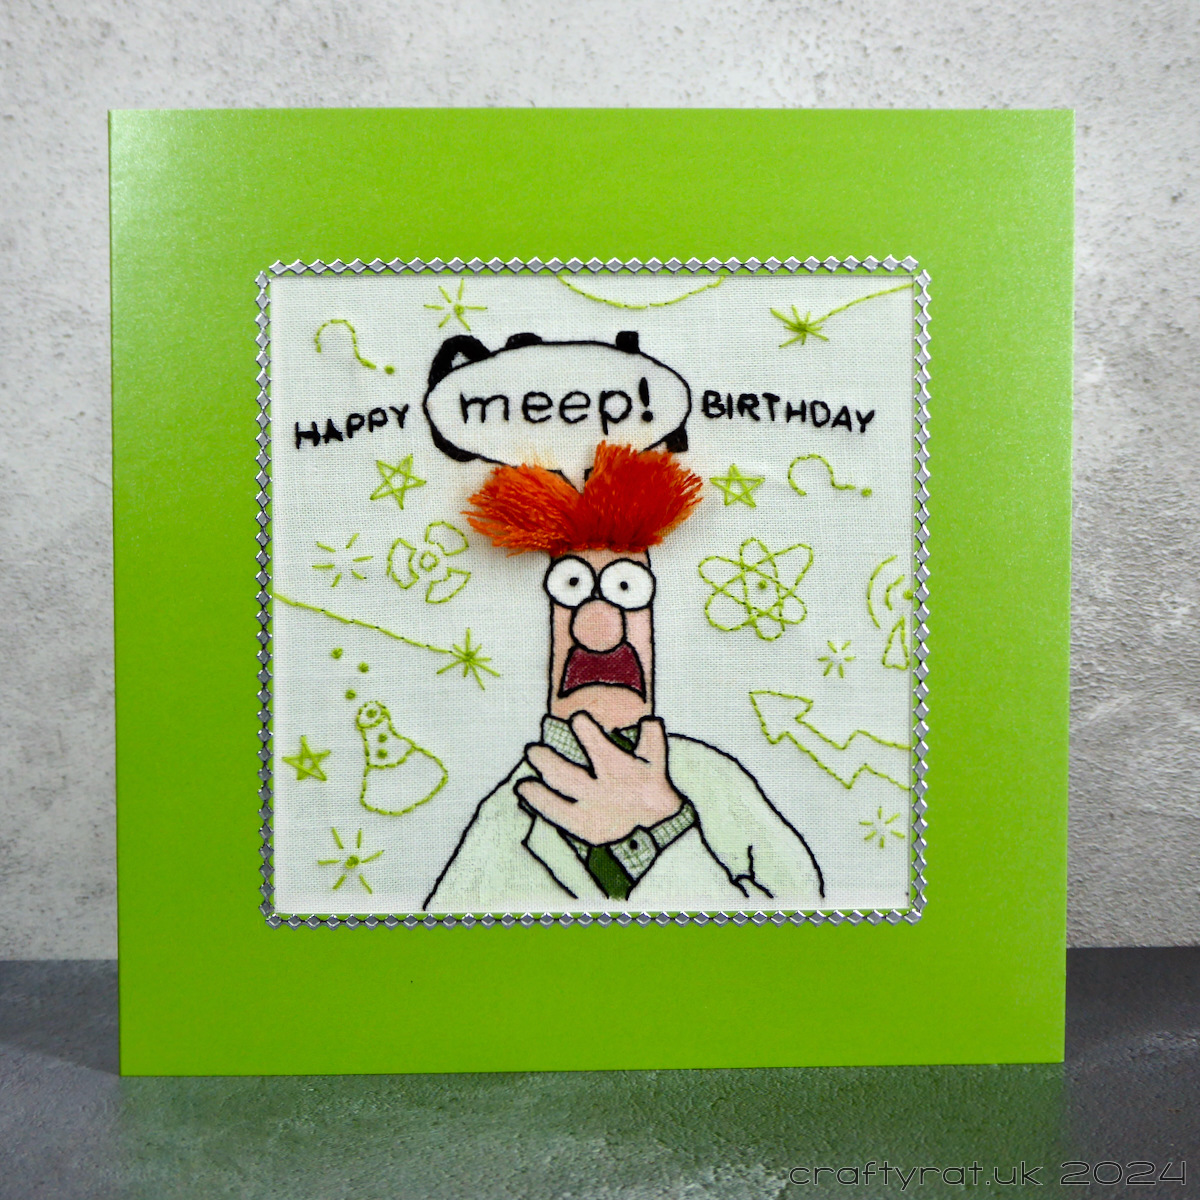
I made this for my other half, for a milestone birthday whose number we will not mention. Which gave me a problem. It’s an important birthday, which I wanted to recognise, but I couldn’t put the number front and centre on the card. Then, somewhere in the process of trying to come up with a design, I realised that I could obscure the number, and that led to the idea of Beaker saying “meep!” over it.
I worked out a design that would position the number behind a speech bubble and set about getting it onto the fabric. I need to work on stitching tidier letters, but I’m happy enough that it is spelled correctly. (I checked so many times before starting stitching.) Once I’d got Beaker and the “happy meep! birthday” painted and back-stitched, then I got to play with some turkey work in bright orange for his hair. This is the first time I’ve used this stitch on a finished piece and it’s a great way to add volume.

At this point I could have stopped. I’d already done more work on this than on any of the other paint and stitch cards, but this was for my other half and I wanted to carry on and fill out the background. While I was looking for Beaker reference photos, I’d spotted a poster (I think) that had various scientific symbols in the background and I wanted to make something similar in stitch. The hardest part of this was minimising the number of threads stretched across between the elements. In the end I simply had to stitch each element individually (unless they were very close together).
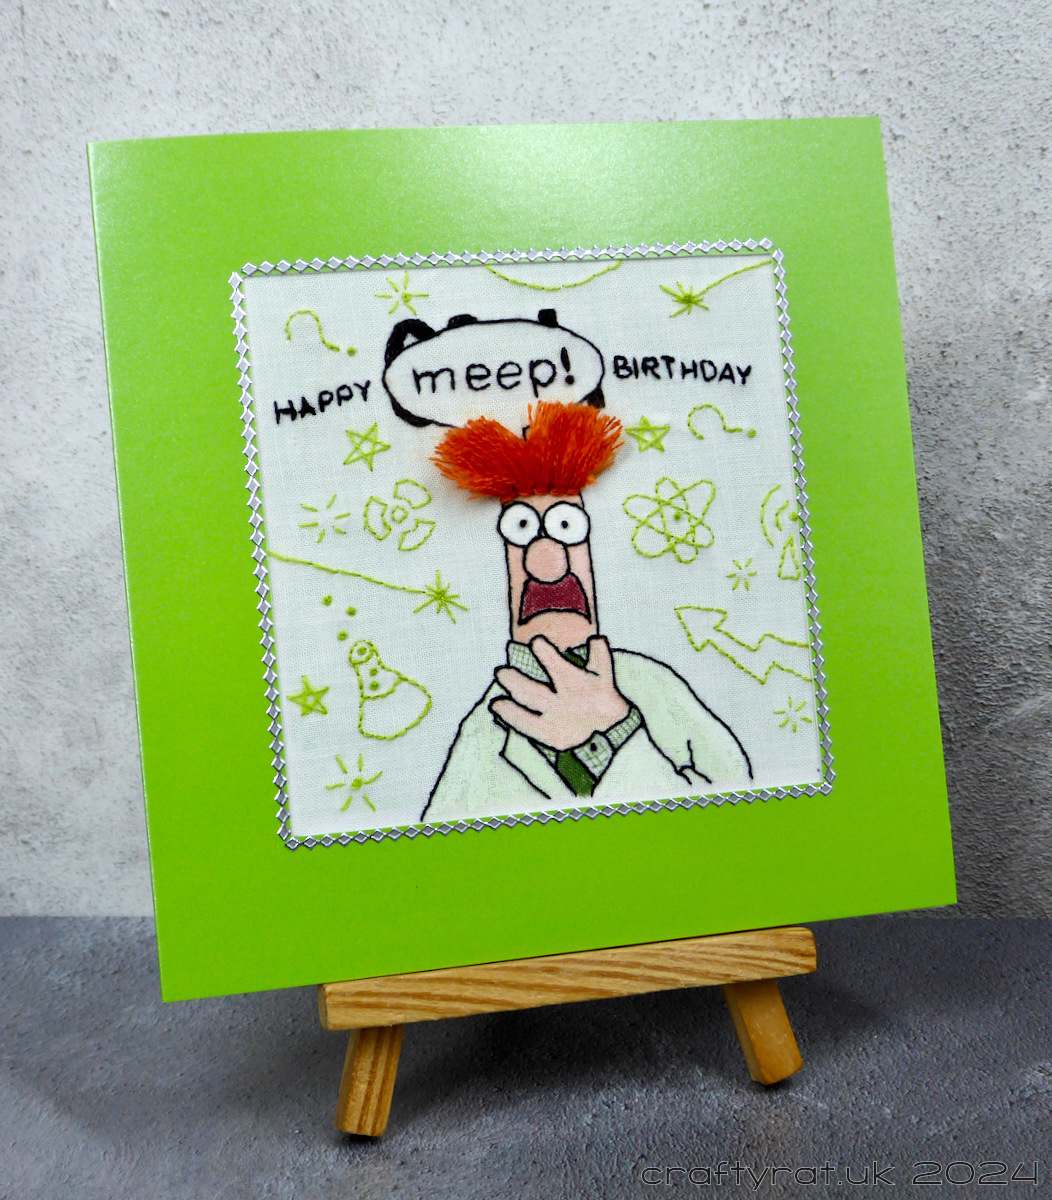
There’s only one thing that I’m not happy with. This was only the third paint and stitch card I’d made and I hadn’t worked out the best way to assemble the card yet. Unfortunately I ended up misaligning things so there’s a small gap at the bottom. No-one else notices, but I do, and it annoys me. And I’ve just realised that the problems I had mounting the fabric on the card are also the cause of some confusion: I was sure that I remembered being pleased with how the letters turned out when I stitched them, but that doesn’t match up with what I’m seeing in the photos. I now realise that they must have been distorted when I was mounting it… I have a better process now, so that won’t happen again.
Apart from that, I’m happy with how it turned out and my other half liked it.
Stitches
I’ve included links to the Royal School of Needlework’s Stitch Bank pages for the stitches I’ve used on this card:
back stitch – all the outlines
whipped back stitch – the thicker outlines on Beaker
satin stitch – the hidden numbers
turkey rug stitch – Beaker’s hair
Discover more from Crafty Rat
Subscribe to get the latest posts sent to your email.

! I love this! 😀
LikeLike
That is so cute! I love your design! I know when we make something, we are our own worst critic. I even had trouble finding the place you were not happy with, even when you pointed it out. I think it is perfect! Thanks so much for sharing!
LikeLike