This has finally made it to the person it was made for, so I can blog about it now. For a start, not all elements were ready in time to post it to Ireland — and I wasn’t sure how well it would survive a trip through the post anyway — so we decided to wait until he came over to visit a short while later and give it to him then. We forgot. So we had to wait until the next time he was over (luckily he comes to London fairly regularly for work) and this time it was hand-delivered to his hotel by my other half. I even got an appreciative video call!
I’ve been feeling a bit uninspired when it comes to card-making this year, or rather, it’s been taking me longer to find the right starting point. So I asked my other half to come up with an idea for this particular card [I ought to know better really, last year I asked for suggestions for this same person and ended up having to design a steam duck digi stamp] and his suggestion was to incorporate some electronics into it: specifically a ring of LED lights. Now, you might notice that this card does not have a ring of LED lights on it and that’s because a few days later he changed his mind and wanted to use an electronic badge with a screen instead. Cue rethinking design from scratch.
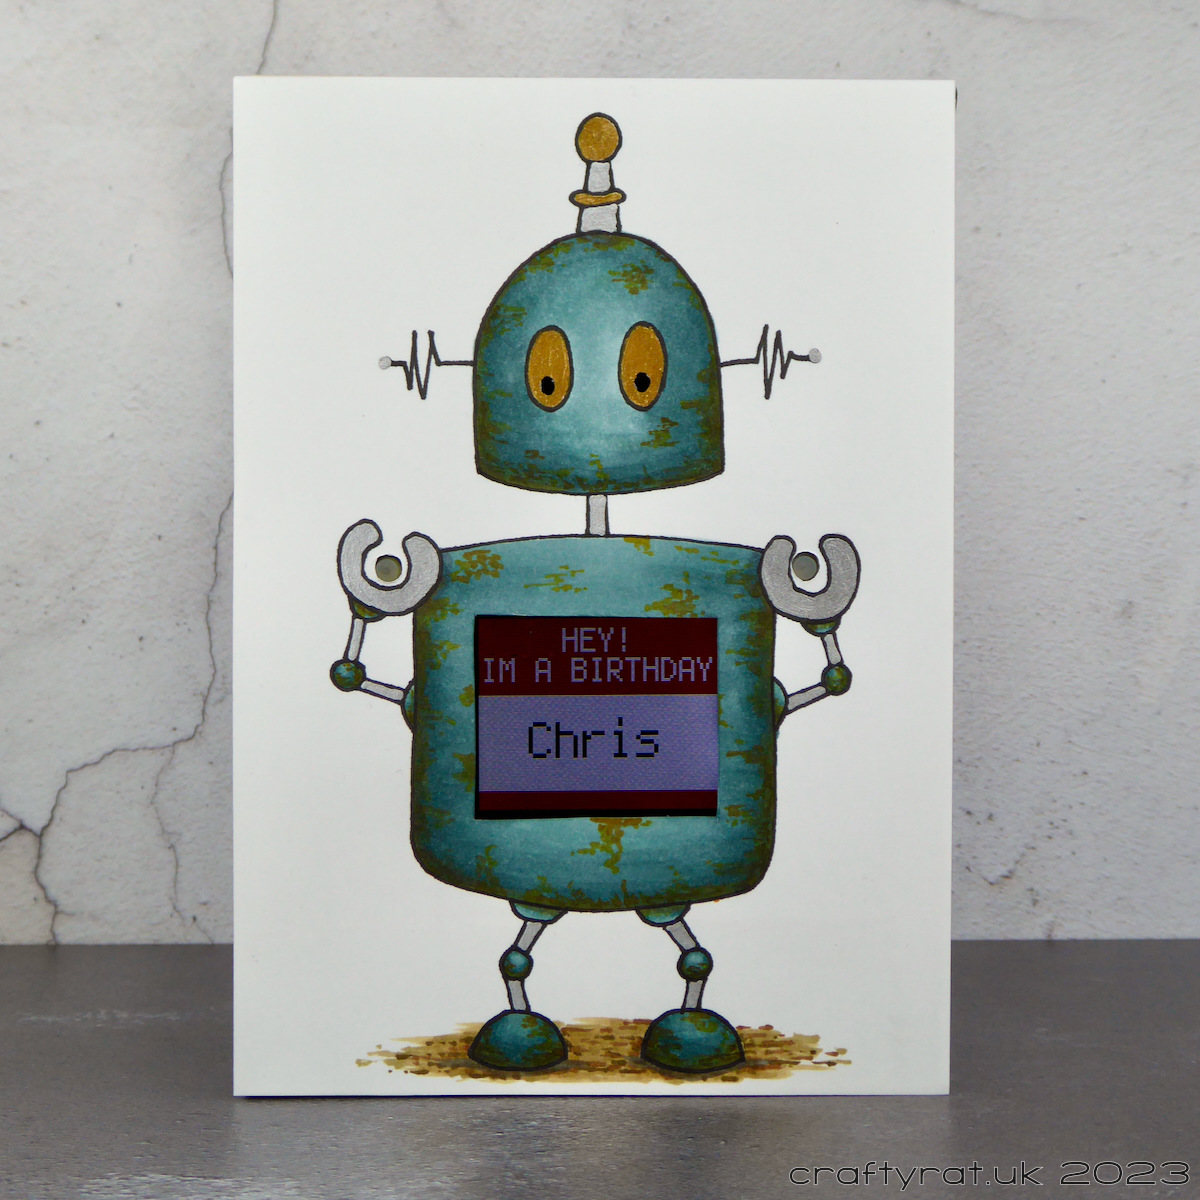
I quickly came up with the idea to have a robot with the screen visible in its body and a couple of the buttons accessible through the card. Now all I had to do was work out how to make it. Not a simple task given how large the “badge” is: it only just fits within the width of an A6 card.

First I had to figure out where the badge needed to be so that I could map out where the screen and buttons would be on the card front and then design the robot so it would all line up accurately.
Then I had to build a frame to support the badge and make sure it would stay in position as the card was moved around. This basically involved cutting strips of mount board and creating a shallow box with the card base as the back of the box, making sure to leave enough space to get the badge in and out at the side. Extra strips were glued in place to support the badge on three sides along with a couple of small ramps to keep the badge level (the back is far from flat). Luckily the Aleene’s turbo tacky glue was perfect for holding everything firmly together.
The moment of truth came once I’d coloured the robot with my Copic markers and was ready to put the front panel on. I’d checked it all many times as I was making it, but until it was actually all glued together I really wasn’t sure whether it would work. Luckily it did. It’s a little bit fiddly getting the badge in and out because the buttons catch on the holes in the card, though this does also stop the badge from just falling out so, swings and roundabouts…
I hid the joins in the mount board frame by adding a strip of black glitter wash tape all the way around the edge, which tidied it up nicely. Then I just had to wait for my other half to program the badge…

Copic markers:
robot base – BG78, BG75, BG72
rust – YR27, YR24
ground – E84, E87, E55, E57
shadow – N5
Supplies:
- pens:
Copic multiliner 0.5 black
Uni-ball Signo UM-153 silver\
Sakura Glaze – black - colour:
Stuart Semple gold - paper and card:
Neenah solar white 216gsm
mount board
Hunkydory Matt-tastic pebble grey - miscellaneous:
black glitter washi tape
Aleene’s turbo tacky glue

Discover more from Crafty Rat
Subscribe to get the latest posts sent to your email.

So cute but seemed like it was a lot of work! I’m sure he loved it! Thanks for sharing!
LikeLiked by 1 person
It was a lot of work and I certainly wouldn’t rush to make another one, but I enjoyed solving the puzzle of how to make it. And it was for someone who genuinely appreciates the cards I make for him which is a definite bonus.
LikeLiked by 1 person