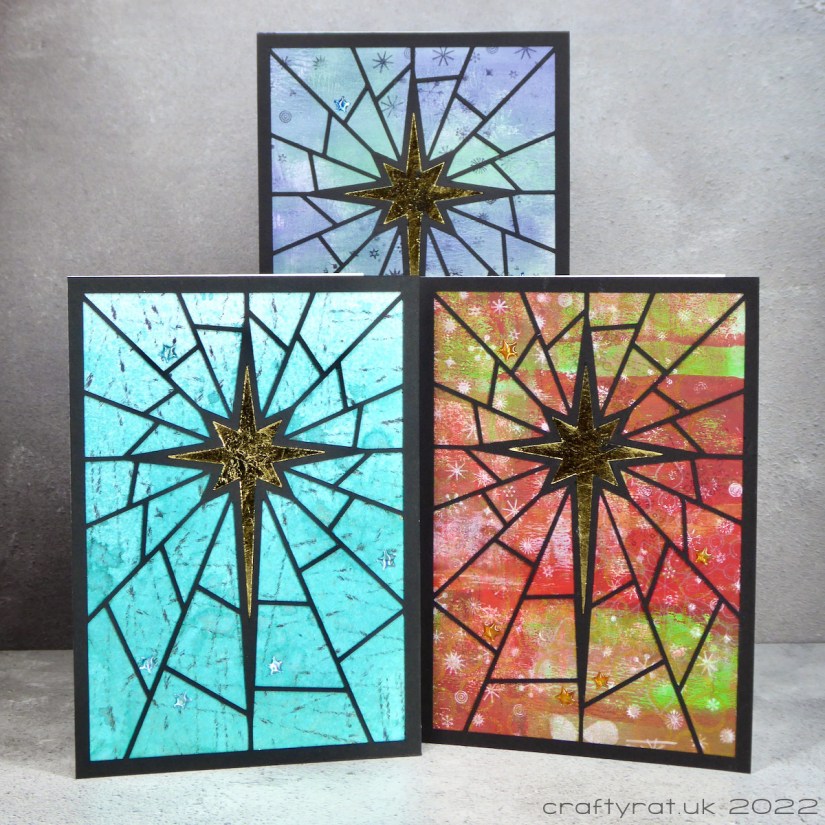
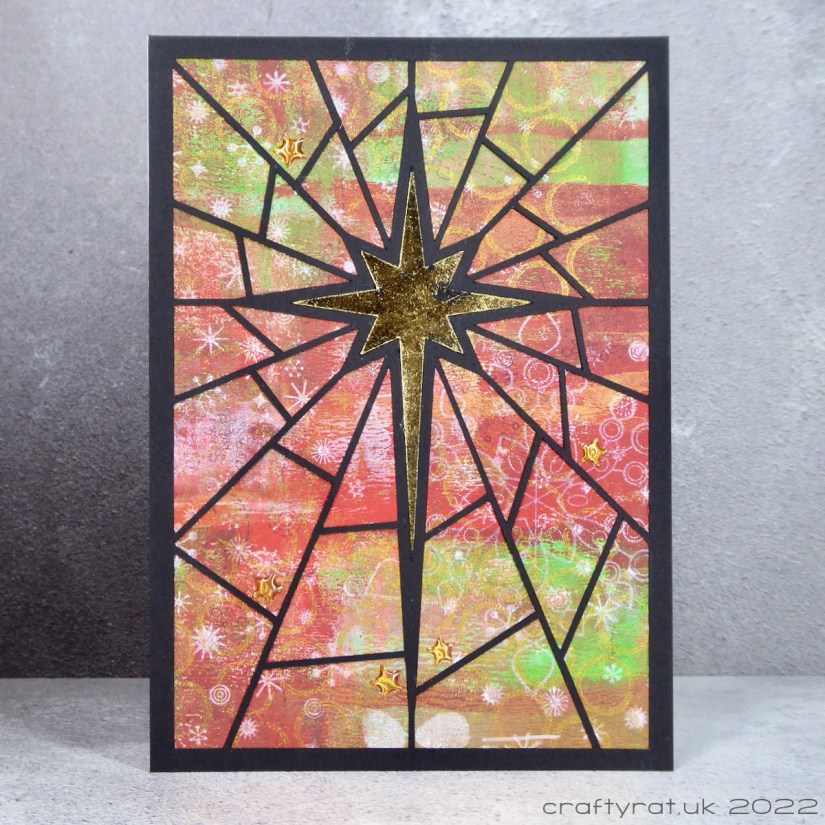
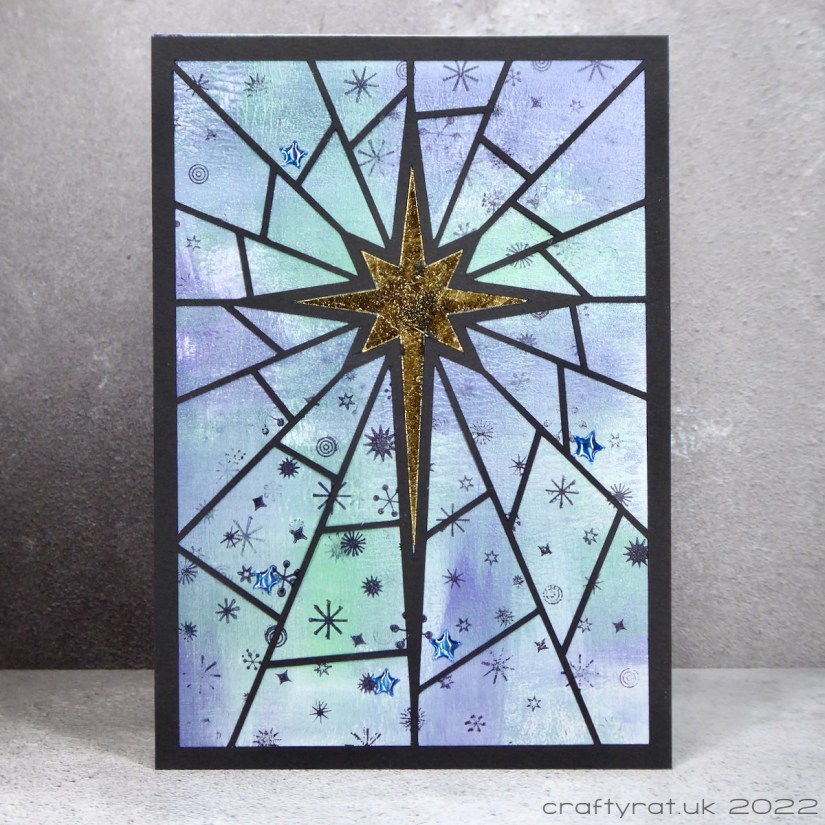
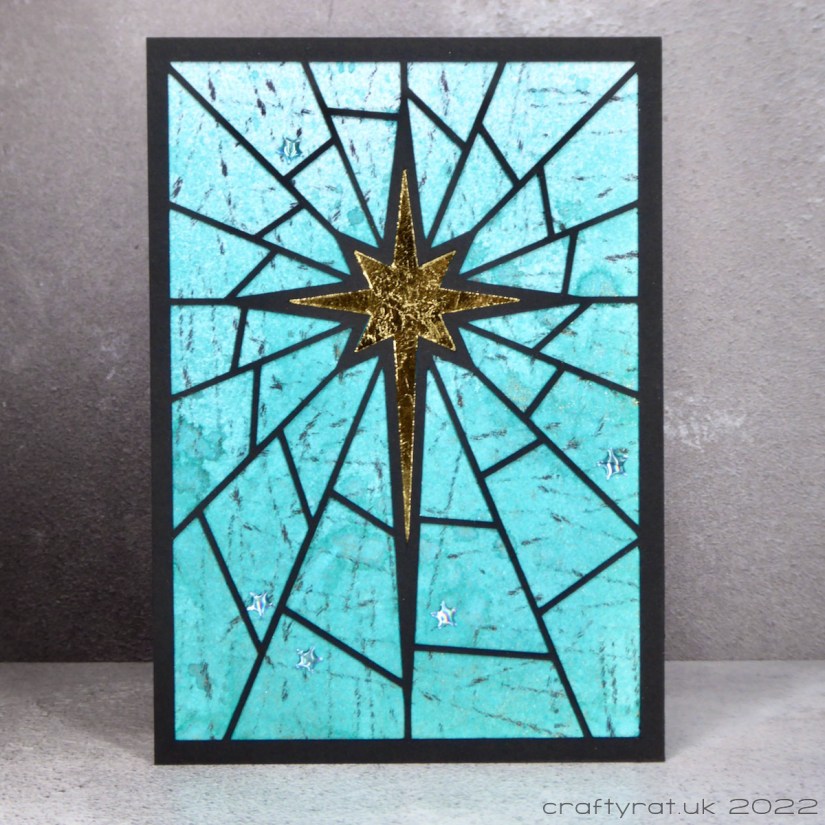
I was pondering designs for another set of Christmas cards and settled on the idea of a star on a stained-glass-style background. Over to Affinity Designer and I soon had a design I was happy with; I could have played with the exact position of the lines in the background for a lot longer, but, at the end of the day, these are Christmas cards that will only be on display for a couple of weeks and I am doing my best to not be a perfectionist about these sort of things.
I cut three of the designs out of black card with the Cricut Maker, put them to one side and turned my thoughts to the “stained glass” part. I did think about making some blended Distress ink backgrounds, but then I reminded myself that I have a box full of bits of card that have been coloured with acrylics, watercolours, alcohol inks, you name it, and it would be silly to make even more without checking in there first. So I selected a handful of suitable backgrounds and set about assembling the cards.
These three were straightforward to do; the hardest part was getting enough dots of glue on the card outline quickly enough that the first ones weren’t already dry by the time I’d finished! Once they were done, all I had to do was add some gilding to the stars and fix them in place. Oh and add a scattering of tiny adhesive stars.
Supplies:
- cut files:
my design – stained glass Christmas star - gilding:
Pebeo mixtion paste
Pebeo mirror leaf - embellishments:
Papermania – adhesive stars - paper and card:
black card
decorated papers from my stash - miscellaneous:
Cricut Maker
Discover more from Crafty Rat
Subscribe to get the latest posts sent to your email.

Those are awesome! Thanks for sharing!
LikeLike