The biggest problem I have when it comes to colouring digi stamps these days is deciding what to do for the background. Especially for images like this one which are crying out for a scene rather than a plain background. I used to be happy putting a bit of a shadow underneath, but then I started doing Sandy Allnock’s mini Copic classes and now most critters need a full scene. I’m sure this will pass and I’ll be able to leave some untouched paper, but for now… scene!
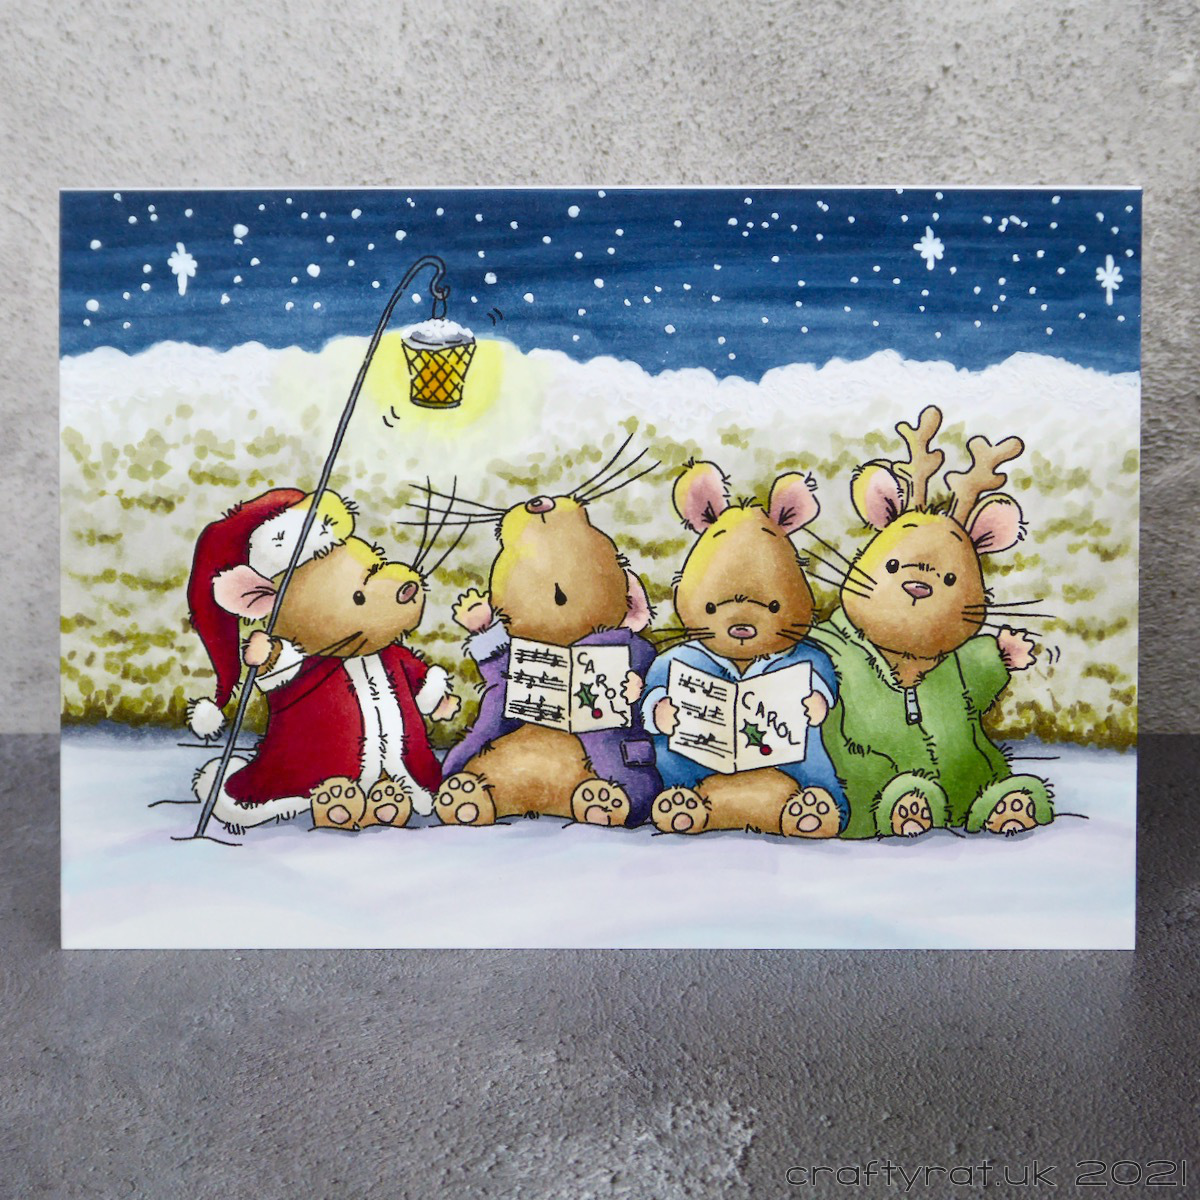
It took a while to come up with the right setting for the carolling mice. Trees would make them look like they were in a wood — not a traditional place to find carollers. A row of houses would be more accurate, but also a pain to draw and that much detail would distract from the main image. Eventually I settled on the idea of a snowy hedge, now I just had to figure out how to colour it.
Probably the most important thing I have gained from doing Sandy’s classes is the confidence to just try things and the experience to understand how layers of colour can be built up. I’ve never coloured a snowy hedge before, but I know enough to approach it without trepidation. And I made sure it was the first thing I coloured so if it went wrong I could just print out another one and try again!
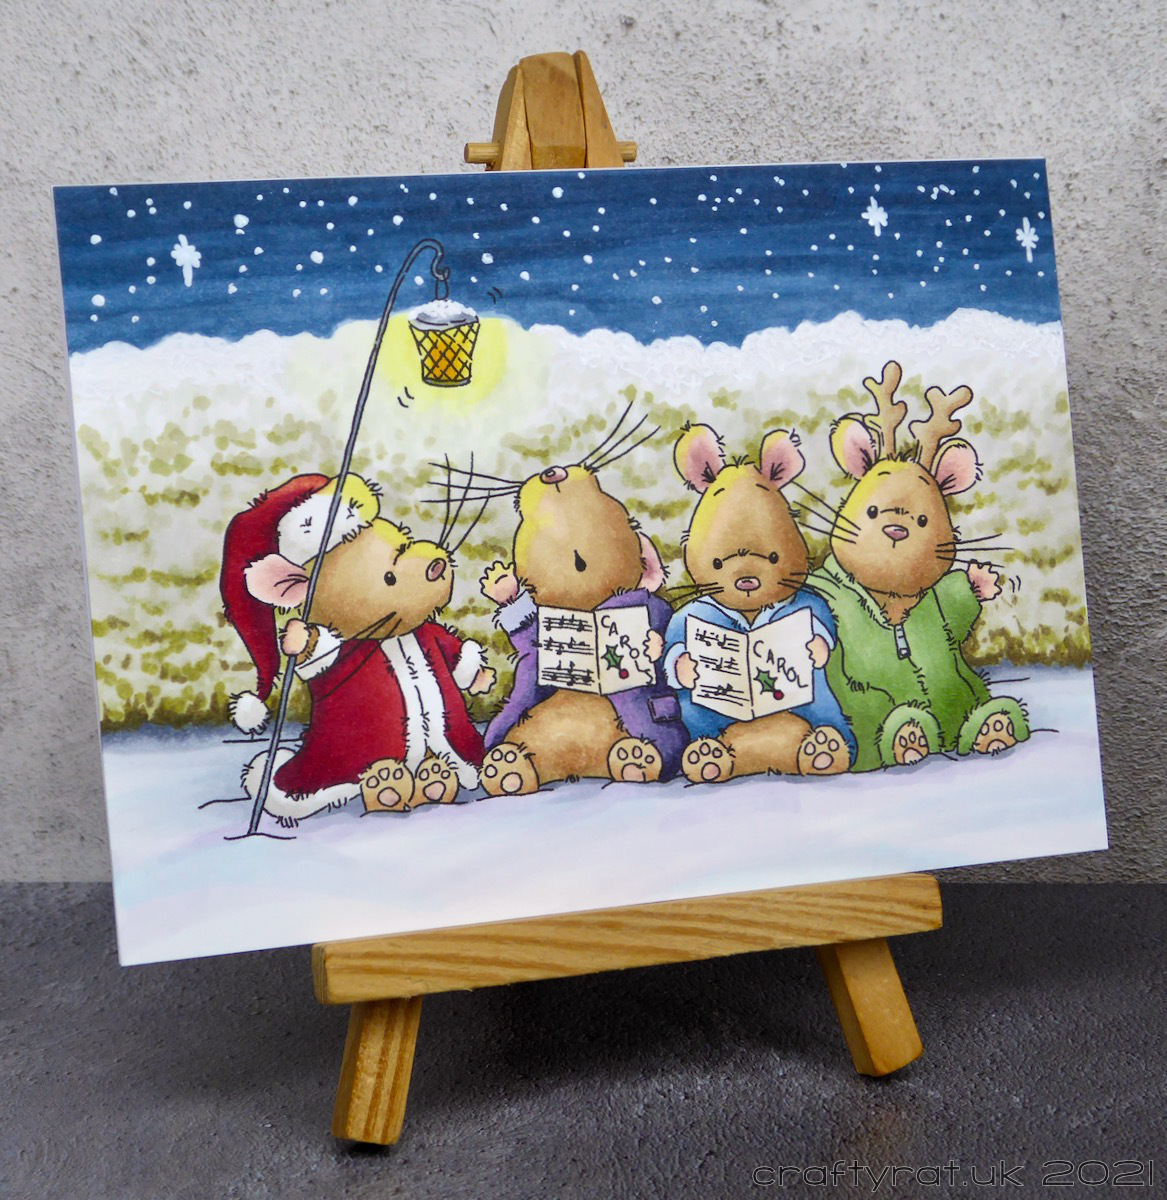
After searching for pictures of snowy hedges and getting a feel for what I actually wanted to create, I started with a very light marker and made random-ish scribbles and dots across the whole hedge (apart from the very top which would be completely covered in snow). This gave me a base to build the texture on. Then I used progressively darker markers to refine the areas where bits of greenery would be poking through the snow.
Snow is another thing I’m much more confident colouring. I love Sandy’s use of light blues and blue-violets and have happily adopted that palette for myself.
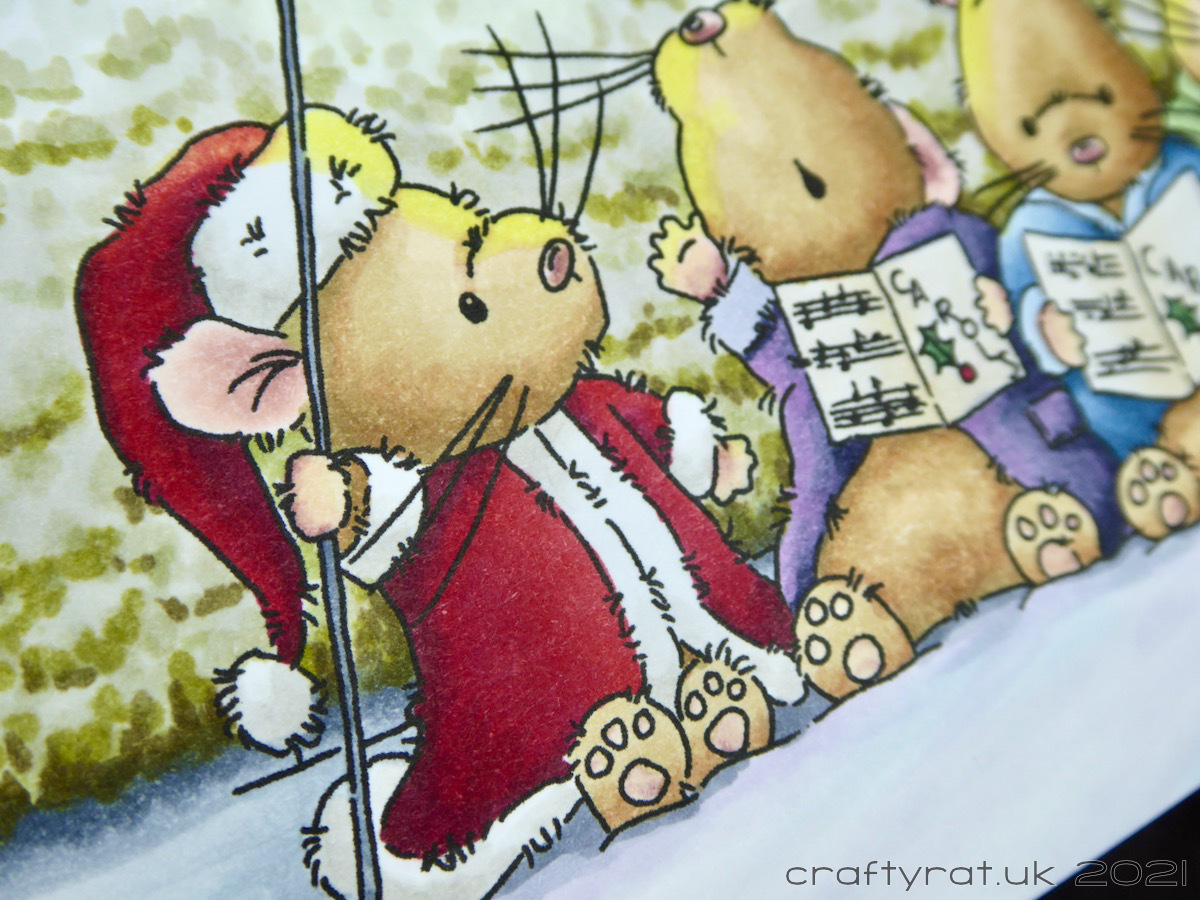
The mice were straightforward to colour, the only thing out of the ordinary is the reflected glow on their heads and that was simply done by layering yellow over the edges facing the lantern.
The card was finished off with the addition of stars and snow on the top of the hedge and lantern created with a white gel pen.
Copic markers:
snow – BV000, B00, C1
hedge – BG90, YG31, YG93, YG95, E87
shadows – C5, C3, C1
sky – B99, B97, B95, B93
fur – E84, E33, E31, E30
paws, ears, noses – E30, R00, E04
red suit – R59, R46, R27
trim – W3, W1
purple suit – BV29, BV25, BV23, BV20 glazed with V15
blue suit – B97, B95, B93, B91
green suit – G94, G24, YG61
antlers – E33, E31, E30 glazed with W1
yellow glow – Y11
lamp – C5, C3, C1, Y19, Y11, Y00, Y0000
carol sheets – E40, E41, G46, R29
Supplies:
- digital stamps:
Lili of the Valley – Christmouse carols - pens:
Uni-ball Signo UM-153 white - paper and card:
Neenah Solar White 216gsm
Papermill Direct White Super Smooth Card Blanks
Discover more from Crafty Rat
Subscribe to get the latest posts sent to your email.

So so cute!
LikeLike
This is so adorable! Great coloring! I’m going to check out that digi stamp! Thanks for sharing!
LikeLike