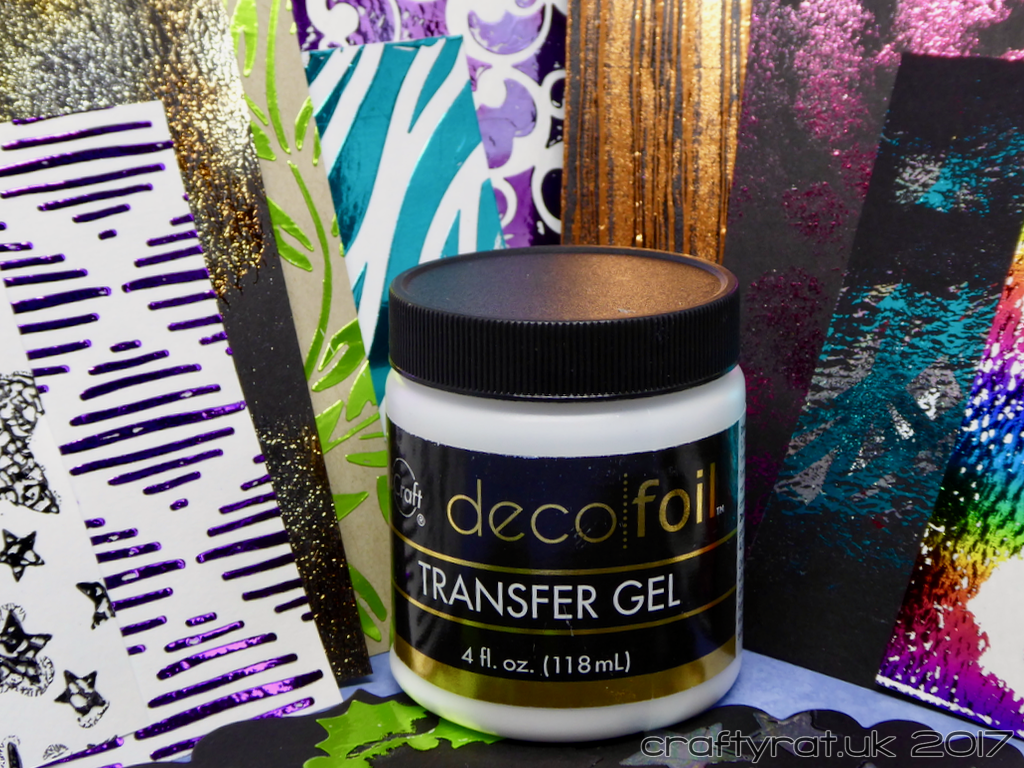
I like foil and I like stencils, so how could I not pick up a pot of Deco Foil Transfer Gel when I saw one of my regular shops had it in stock.
Rather than just grab a random stencil and quickly try it out, I thought I’d do a more thorough test with a couple of different types of cardstock and styles of stencils, and even applying it without a stencil.
[Warning: there are a lot of images in this post]
tl;dr summary
If you want the perfect results you get from foiling on toner then this is not the product for you. If you like a bit of distress and enjoy experimenting, it could be worth picking up a pot.
First impressions
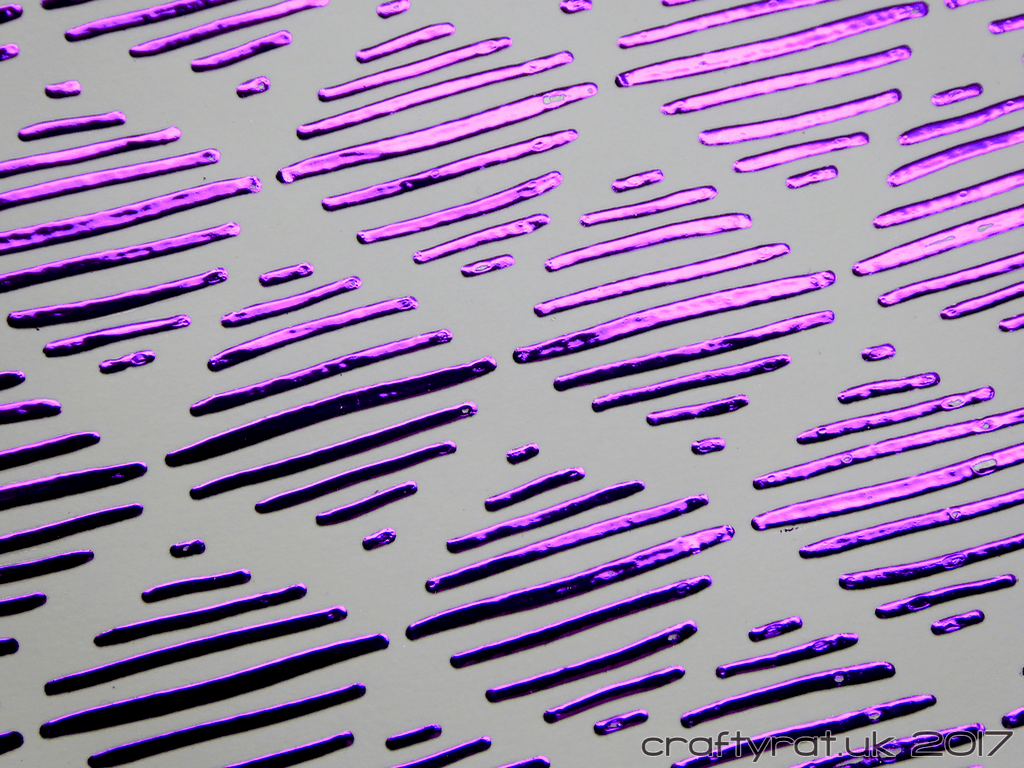
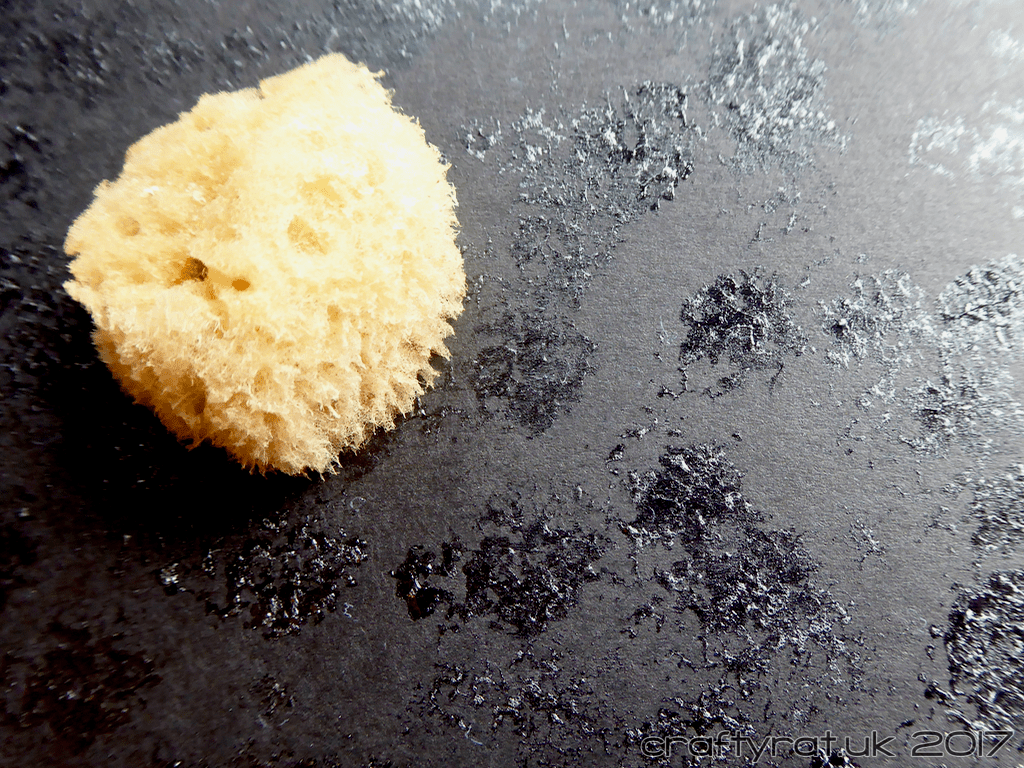
The gel is very light and creamy, far looser than texture paste. It spreads over stencils beautifully and it feels quite satisfying using it. And it’s easy to get into all the little corners.
But, there is a downside to this. It can ooze underneath some stencils quite easily. With care, it’s fine on reasonably solid stencils, even something like the endless swirls, but the Tim Holtz holly stencil was a bit of a disaster. Having said that, that’s not necessarily the fault of the gel, I have had problems with that stencil with other pastes and I think it really needs a spray with some repositionable adhesive before being used again.
Cleaning up
The holly wasn’t the only one where the gel spread under the stencil, though it was the worst, so I thought I’d see how easy it is to tidy up.
Once the gel was dry I used a Slice knife with a ceramic blade to scrape back the gel that had overflown — a craft knife or scalpel would have worked just as well, but the Slice is a little more forgiving. I wanted to see if the foil would stick to a really thin layer of gel… and it does. So you will still have to scrape off the excess foil.
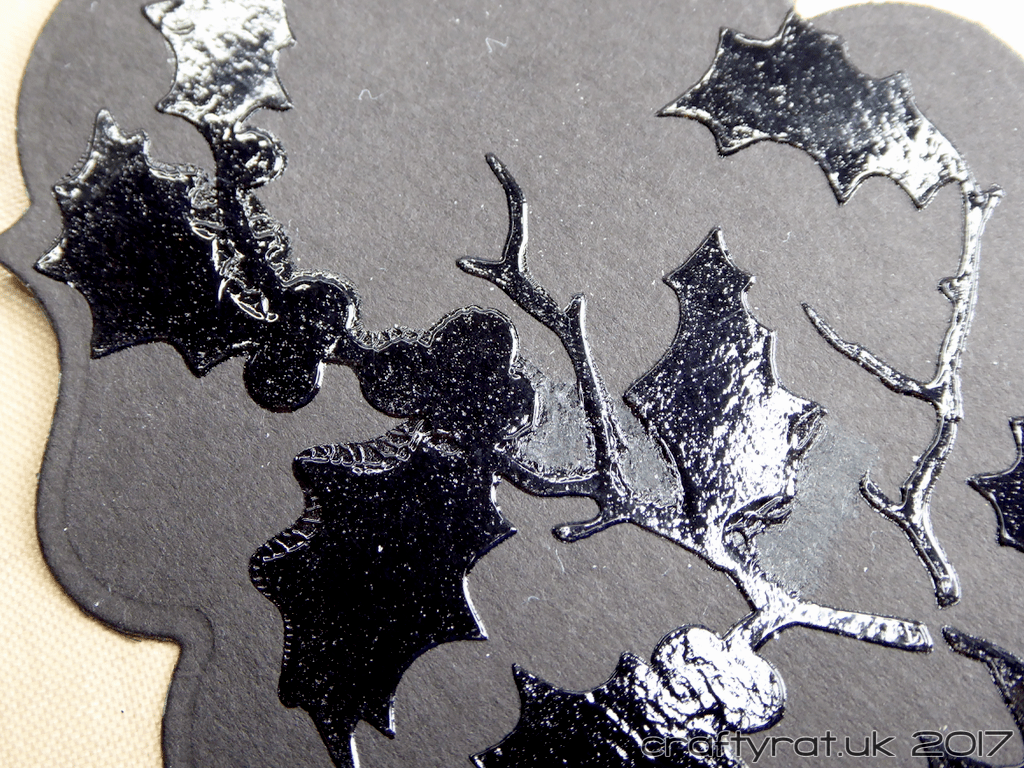
Even though you end up doing it twice, it’s still worth scraping the gel back before foiling as the heat from the Minc (or laminator) seems to set the gel and makes it hard to remove without damaging the card.
Foiling
All the foiling was done using a Minc mini set on level 4. I have no idea whether this really makes any difference but, for the thicker cardstock, I have got into the habit of running it through the Minc twice, once either way up. (I don’t think it does make much difference, but habits can be hard to break.)
Rather than go through each piece individually — this is long enough as it is — I’ll just show you the pretty pictures and give a few tips I picked up afterwards.


Hints, tips and observations
- Tape or hold your stencil firmly in place to prevent the paste getting underneath. Consider tacking particularly delicate stencils in place with repositionable adhesive.
- If you want a smooth finish, then you need a really smooth layer of gel. Imperfections will not be foiled, at least not with the Minc.
- Put stencils and tools in water as soon as you’ve finished using them. Even though it takes an hour or so to dry on card, a thin layer on a stencil will dry solid in minutes.
- If you’re the sort of person who likes to keep their stencils and tools looking like they just bought them (raises hand) then you will want to take extra care cleaning anything that comes into contact with the gel. You clean all the things and they look clean, but then the things dry and suddenly, oh look, more gel.
- Clean off excess gel before foiling — either before it’s dry if you have a very steady hand or afterwards if not — the foil will still stick to it, but it’s easier to remove if there’s only a thin layer of gel.
- Foil edges show up. Use a single piece of foil big enough to cover the whole thing you’re foiling otherwise you’ll end up with a narrow unfoiled line across it.
- You will probably end up with some flaky little foil overhangs on some of the edges, just get a soft cloth and give it a gentle polish to remove them. (Do make sure it’s a soft cloth, kitchen roll will scratch your foil.)
- Using different types of card doesn’t seem to make any real difference, other than watercolour card obviously has more texture. To avoid warping, I wouldn’t use anything too thin with a thick layer of gel, but everything I used dried flat.
Summary
Do I like it?
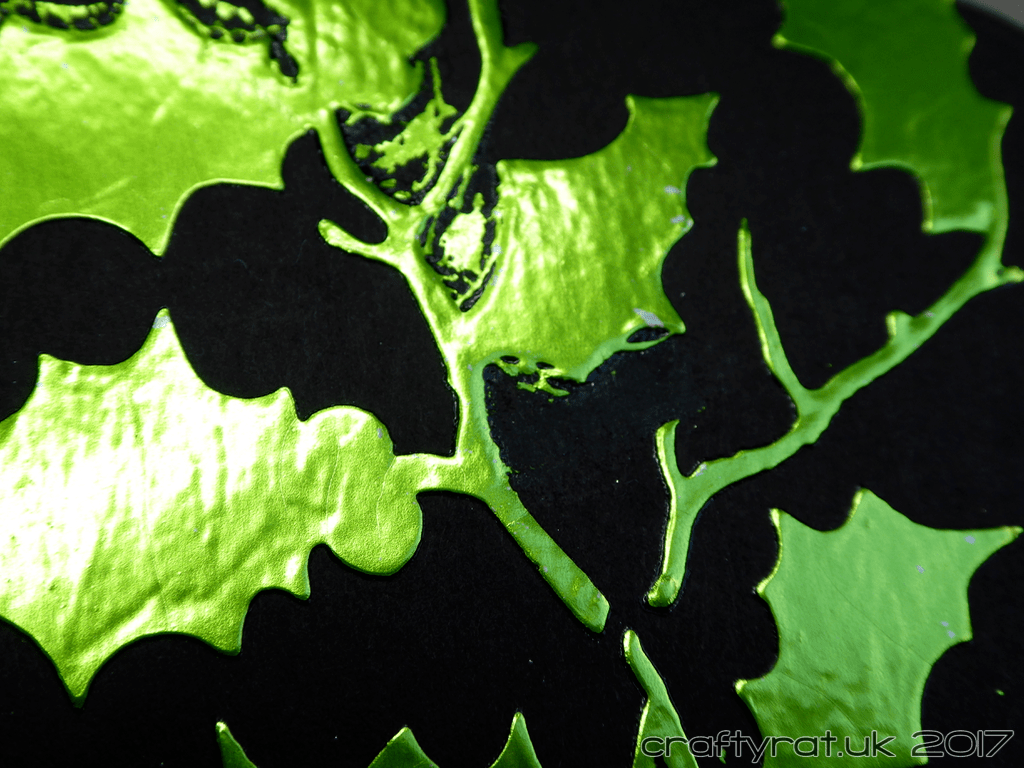
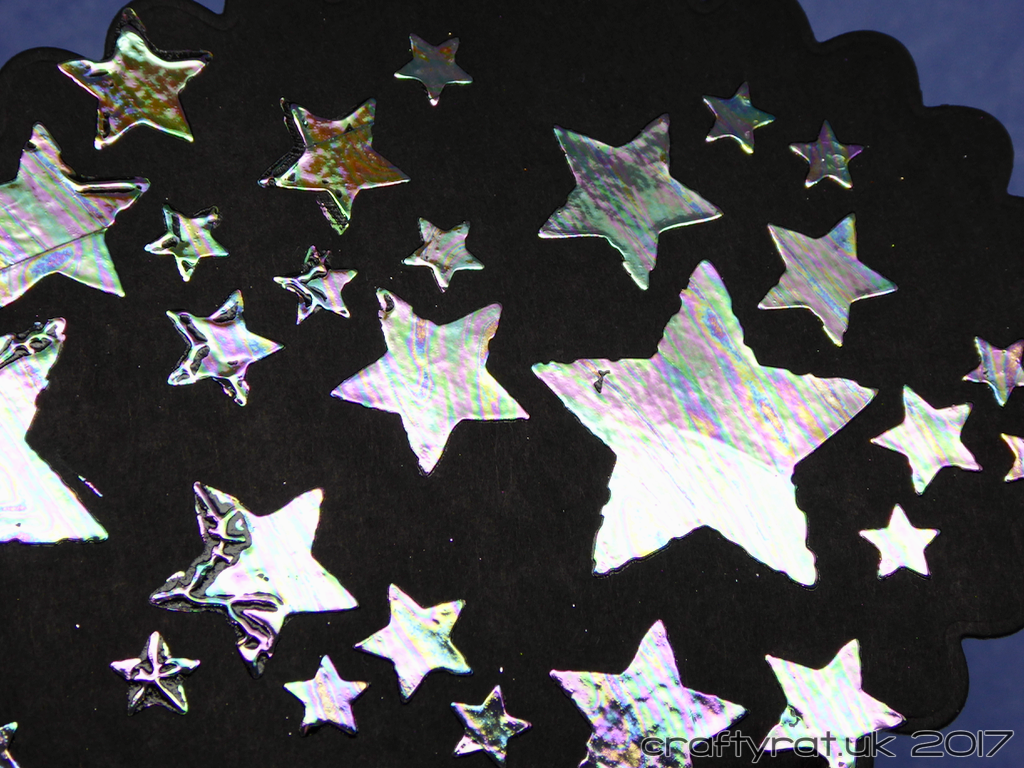
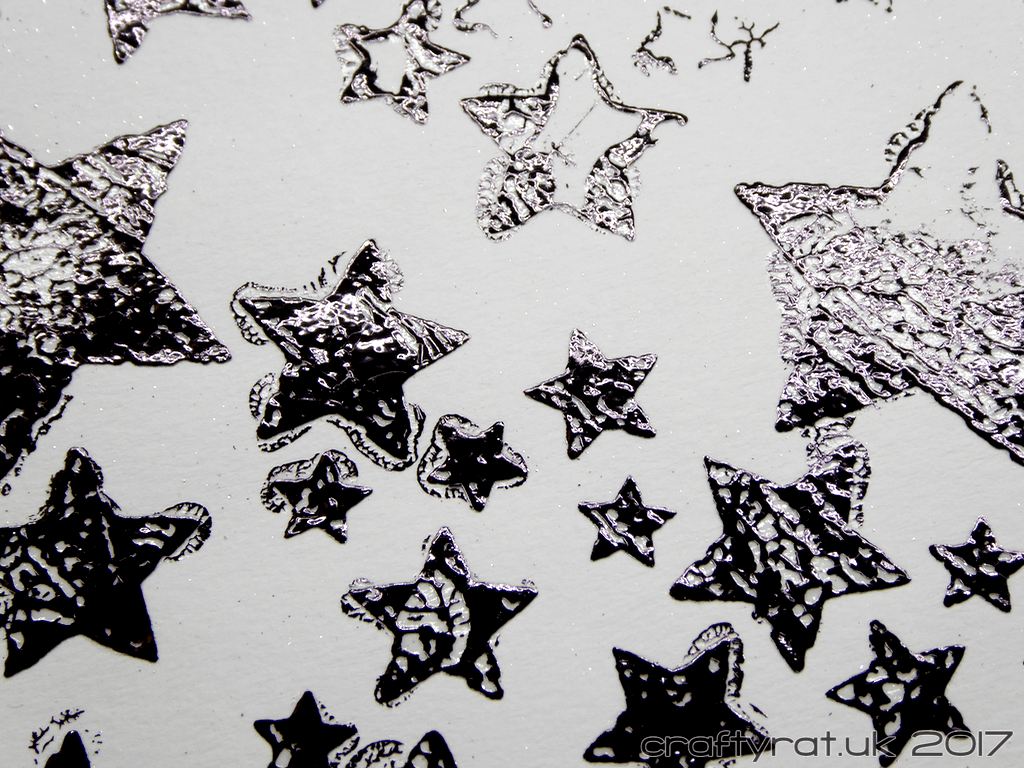
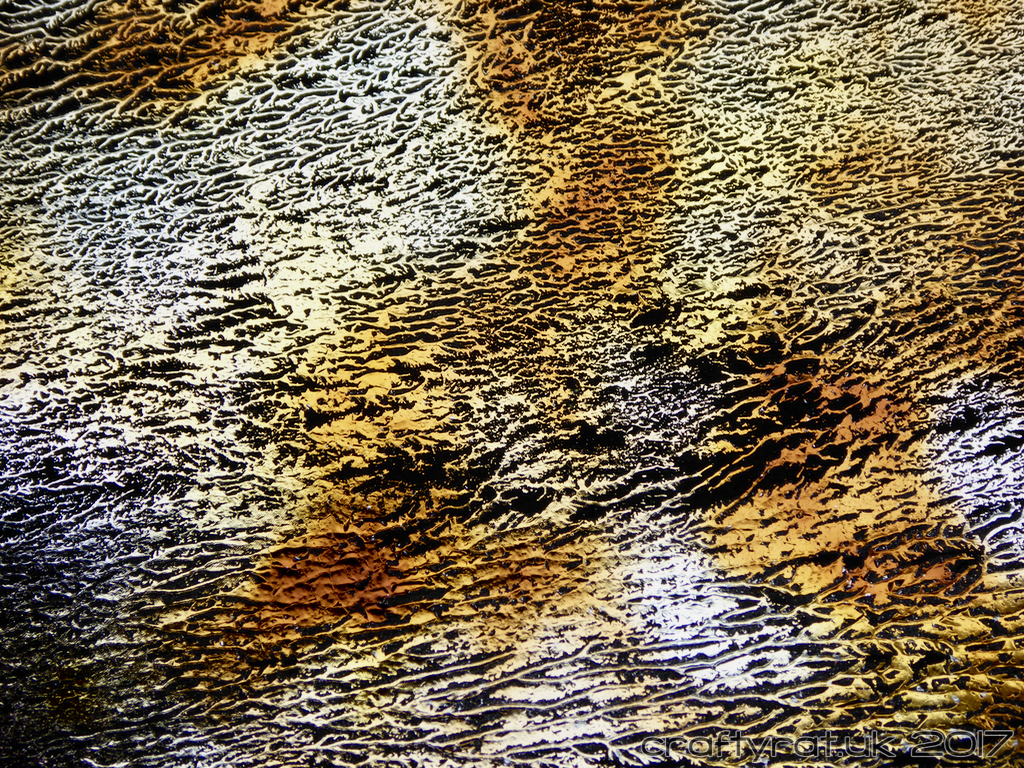
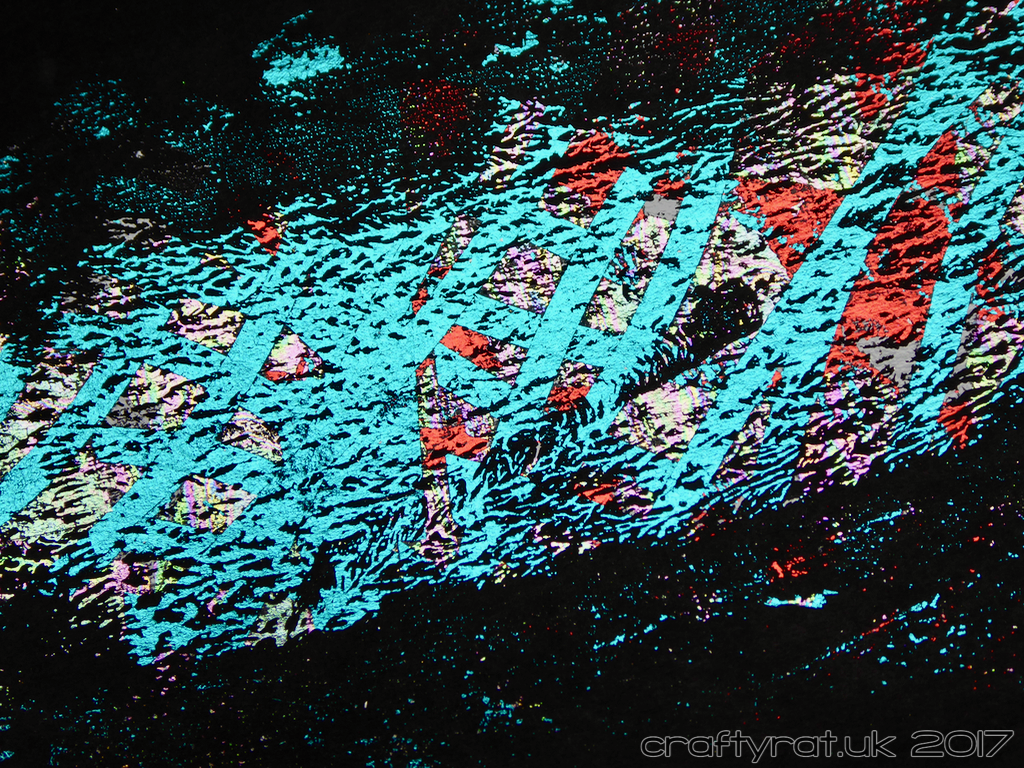
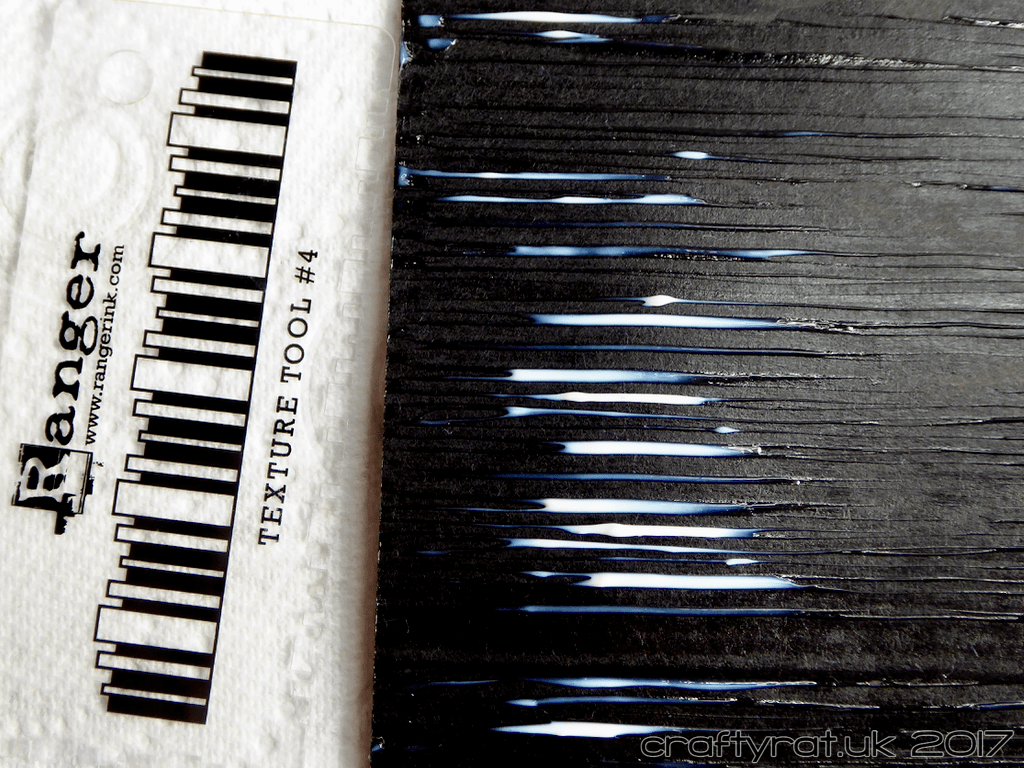
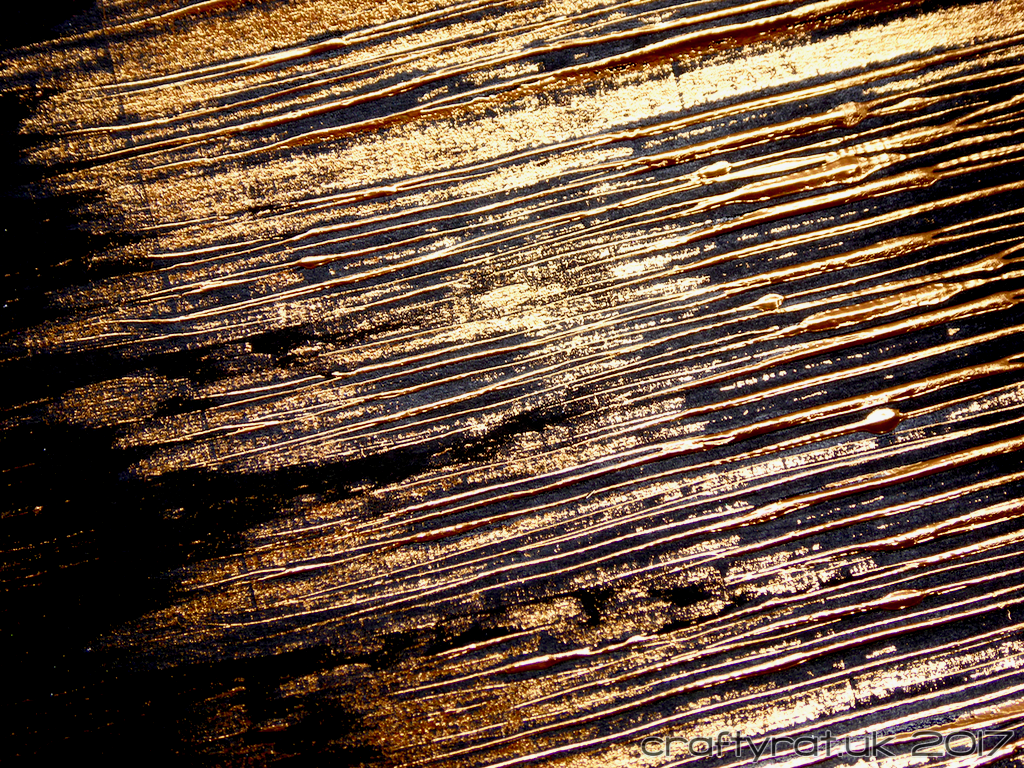
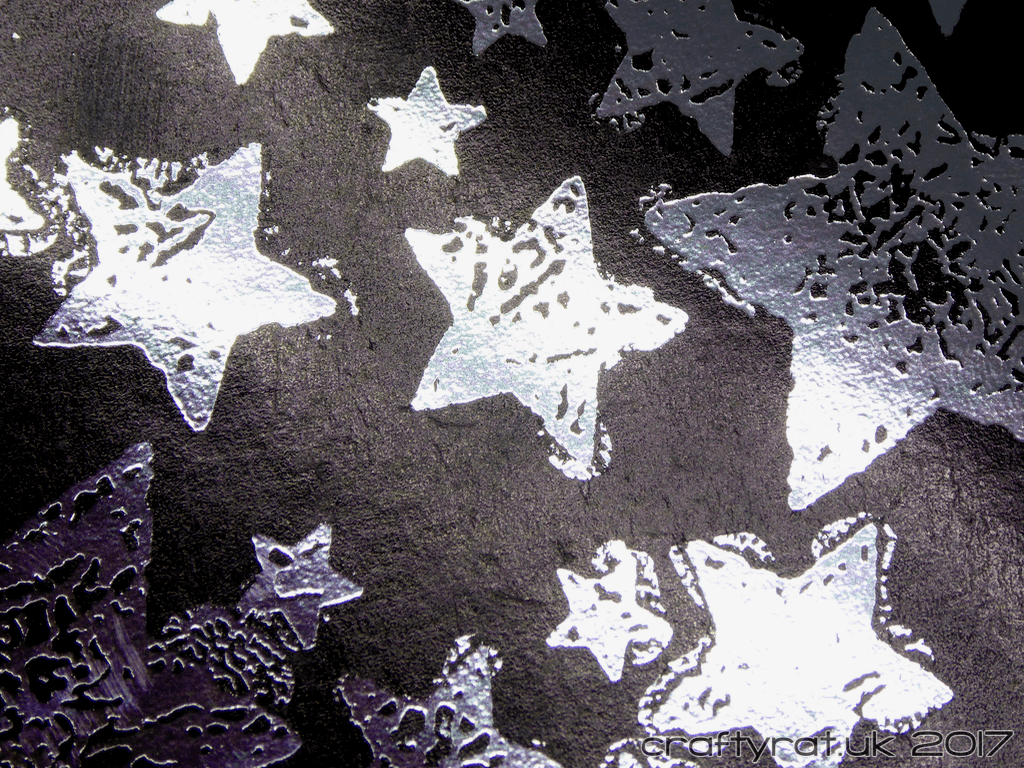
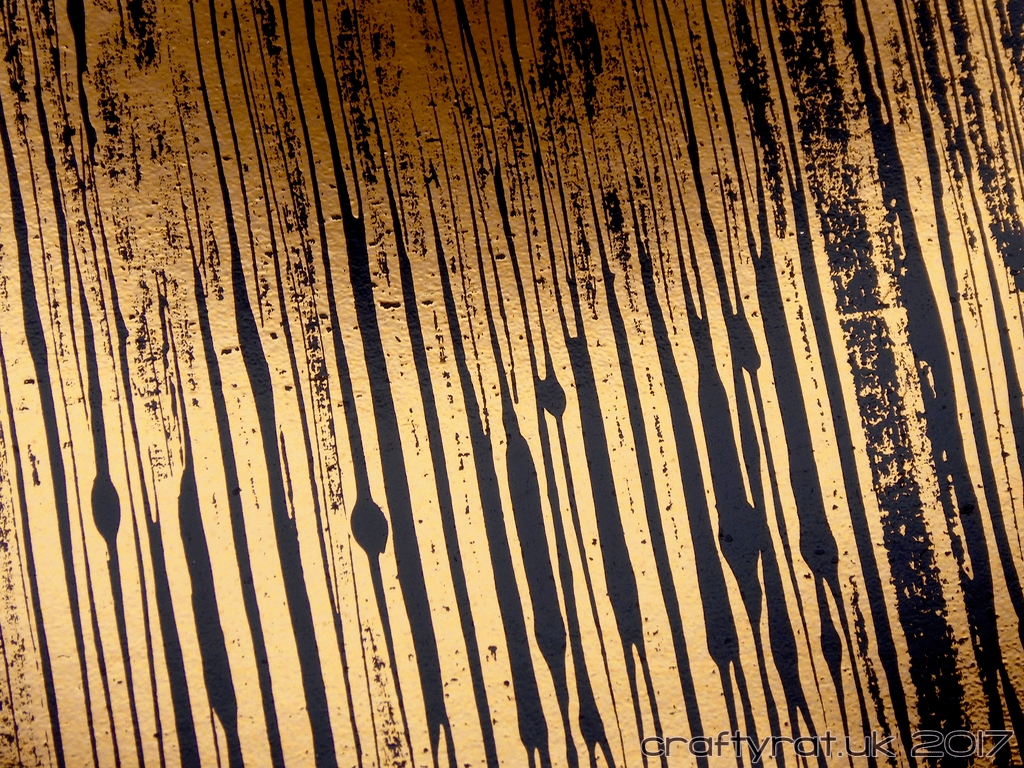
On balance, yes. I was initially a bit disappointed with how hard it was to get an unblemished finish and how even small imperfections wouldn’t get foiled, but I love how easily I can create shiny distressed foil panels. My absolute favourite is the copper “wood grain” made with the texture tool, but the brayered amber and the scruffy black stars really appeal too.
Is it worth it?
I paid £9.99 for mine, which seems to be the middle ground on price; I’ve seen it for well over £10 and as little as £8.99 from UK suppliers. I’d say I used just over a quarter of the pot in my experiments, which, given I covered around fifteen A6 pieces with varying amounts of foil, is pretty good going.
Would I recommend it?
If you want a reliable, perfect, clean stencilled foil finish then, no, I would not recommend it for that. With the right tool and the right stencil, you can get a good finish, but it is rather fussy. I suspect that Minc paint would give a better result, but I have yet to try that through a stencil. (Makes a note for a future test.)
If you like distress, if you like texture, if you like experimenting with new products and aren’t afraid of a few disasters then yes, give it a go.
Will I use it again?
Definitely. And now I have a better idea of how it behaves, I can see whether I can get a smoother finish through the stencils.
If you have any questions, do please ask, I’m sure I must have missed something writing all this up 🙂
Bonus pieces
All this foiling results in a pile of used foil sheets, but I hate to waste anything, so I grabbed a toner sheet and used a few of them to make more backgrounds.
Quick thoughts on foil
I used three different brands of foil during this test. They all applied equally well, the only differences are in weight, packaging and the range of colours.
Heidi Swapp: Lovely rich colours, but the foil is very thin which makes it annoying to handle.
Wow! Fab Foil: Nice colours and better weight, but I hate the way it is packaged; being wrapped around a sheet of card means strong folds every few inches and it’s hard to get it to lay flat. Also, much narrower pieces than the others.
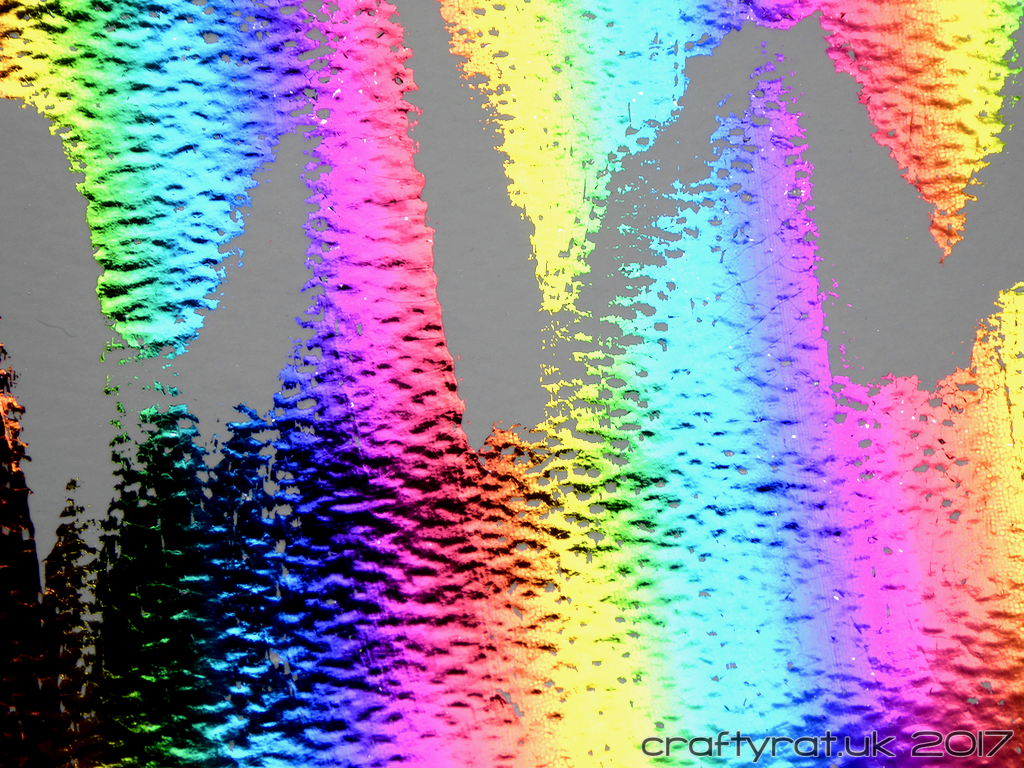
Deco Foil: My favourite by far; nice weight, gorgeous colours and patterns (the watercolours!), and it comes rolled up.
Supplies
- foil:
Deco Foil – opal, lime, purple, black, rainbow, amber watercolour, amethyst watercolour
Heidi Swapp – teal, hot pink
Wow! Fab Foil – red, white, silver, copper, gold - paper and card:
Derwent sketching paper 165gsm
Neenah Desert Storm 216gsm
Neenah Solar White 216gsm
Papermill Direct watercolour paper 300gsm
Ranger blackboard cardstock
Deco Foil peelnstick toner sheets - stencils:
Altenew – sketched lines
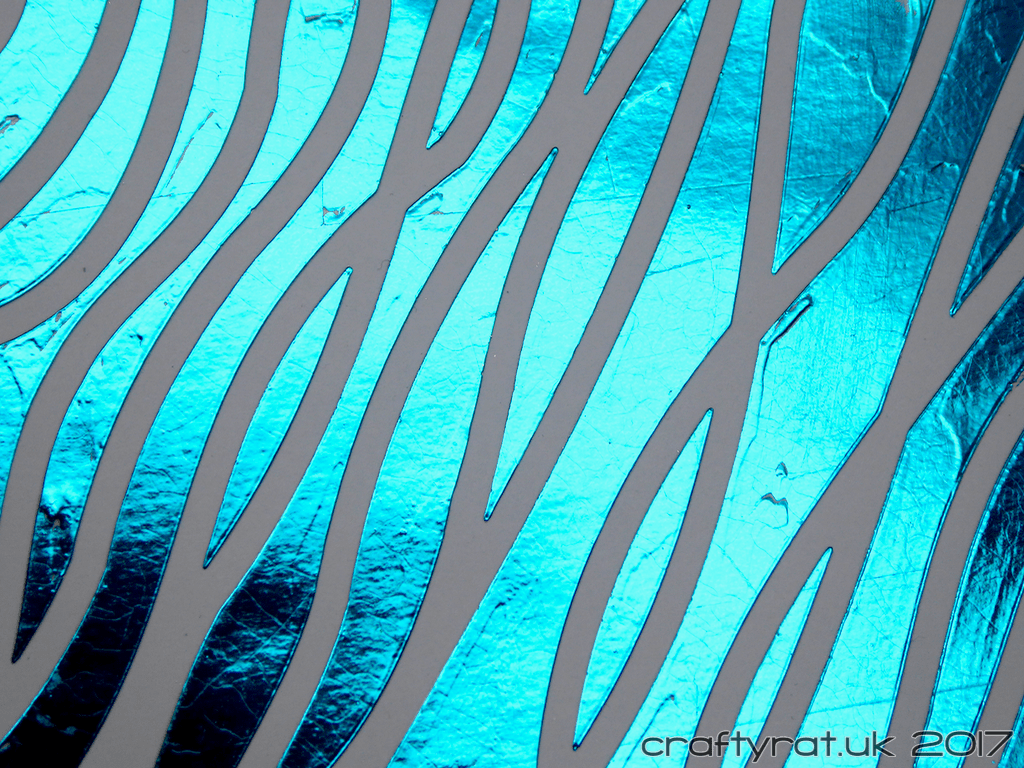
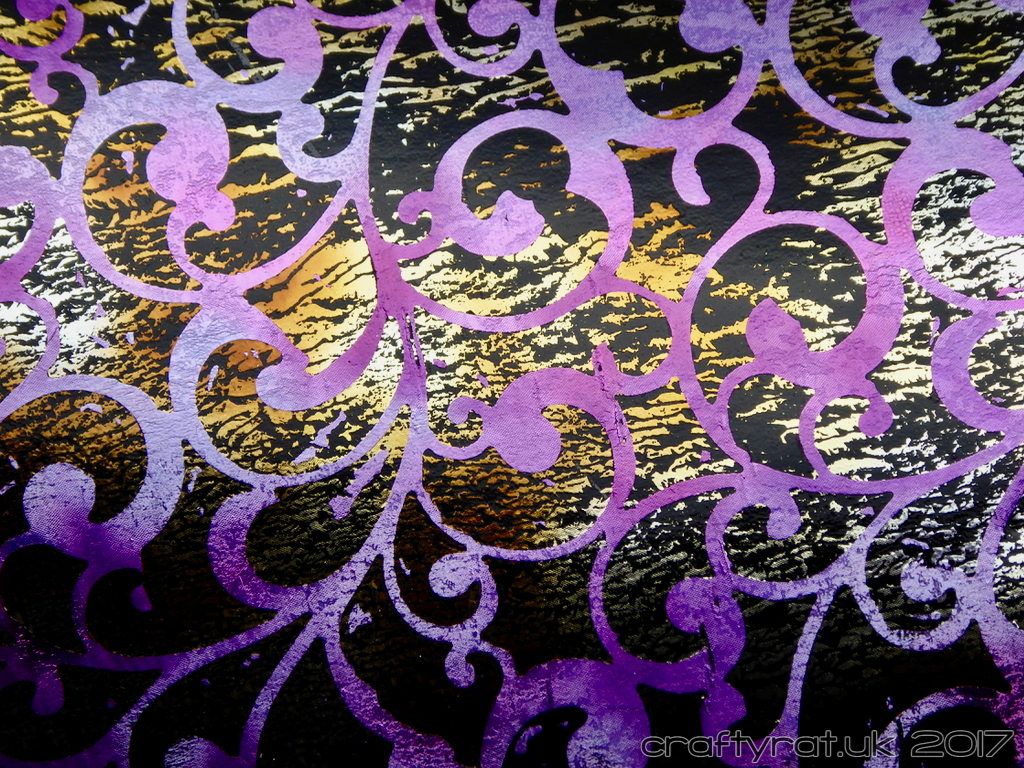
The Crafter’s Workshop – mini endless swirls
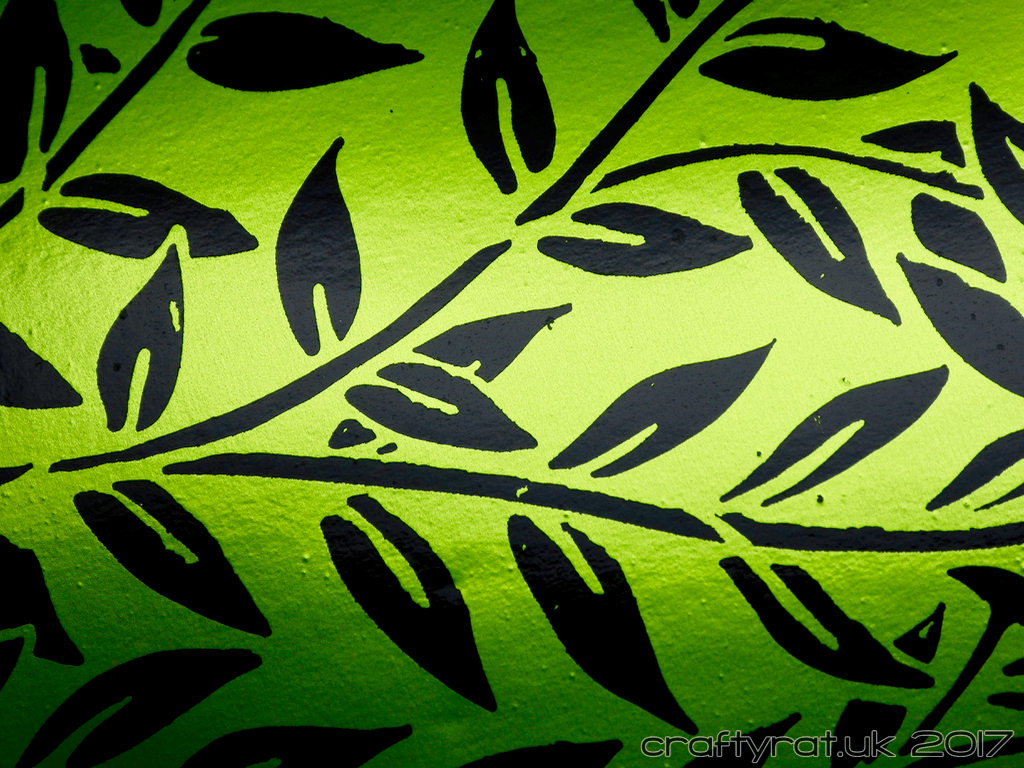
The Crafter’s Workshop – mini jungle vines
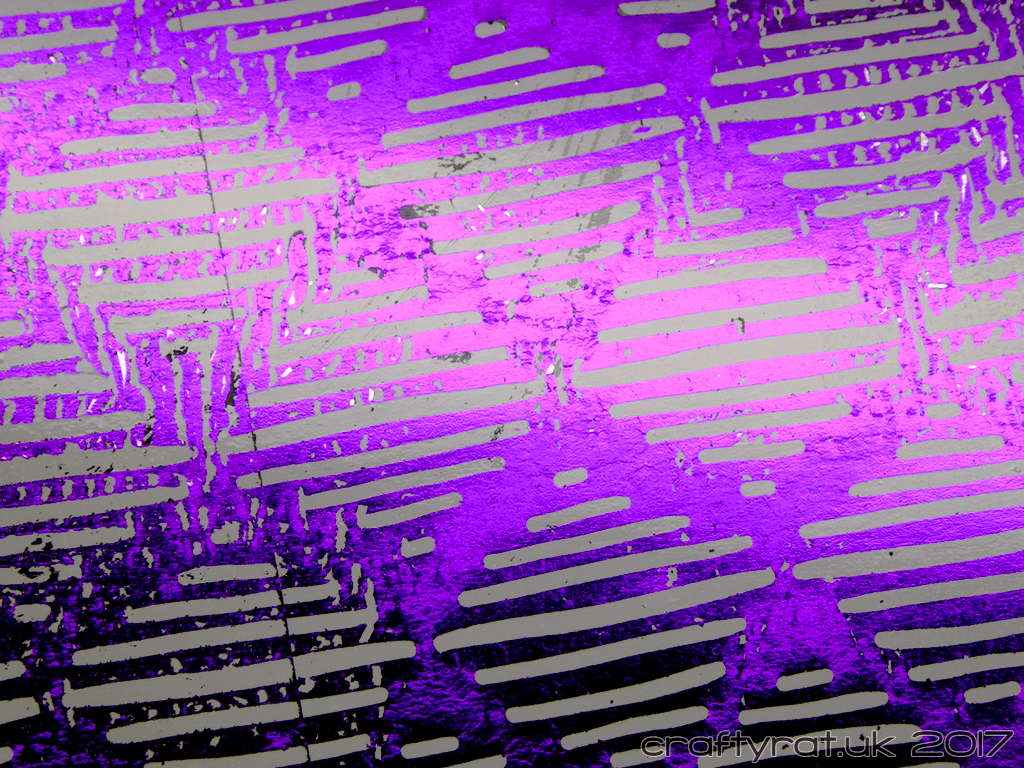
Create A Smile – waves
Dutch Doobadoo – A5 stars
Tim Holtz – holly bough
Discover more from Crafty Rat
Subscribe to get the latest posts sent to your email.

Oh thanks so much for sharing this! I have the gel and have tried a few experiments. I seem to have trouble getting the foil to cover evenly. The gel did work the best for me. Maybe on smaller pieces I will have better luck. Thanks for all the tips. I will certainly try some of them. 🙂
LikeLiked by 1 person
I want to try using some different tools to apply the gel… see if I can get a smoother finish, which seems to be the requirement for good foil coverage…
LikeLiked by 1 person
Please share when you do. I would live to find out what you think works best.
LikeLike
me end project ended up blurry, did i have too much gel.
LikeLiked by 1 person
With most stencilling, less is better. Also don’t overwork it – the more you try to spread it evenly, the more likely you are to get gel under the stencil. And be careful not to smudge it when you lift the stencil. It is hard to get a really clean finish with the gel though.
LikeLike