
I never really got a lot of use out of my Brother Scan-n-Cut — it was always hard work trying to get a clean cut from it — in theory it should have been great, but in practice I just didn’t get on with it. Then my other half bought me a Cricut Maker and I was determined that it wouldn’t just sit taking up desk space. And it is so much easier to use. There is still a bit of experimenting finding the right settings for some materials, but once I have, it works reliably.
I’d had a few little plays with it, but I thought I should give it a proper run and use it to make a batch of Christmas cards. There are so many Christmas tree cut files out there, but after a bit of browsing I found this set of six, paid my money, downloaded, and promptly ignored them for a few weeks.
With Christmas getting closer, I finally woke up the Cricut, did a little test cut, and cut them all out. No problem.

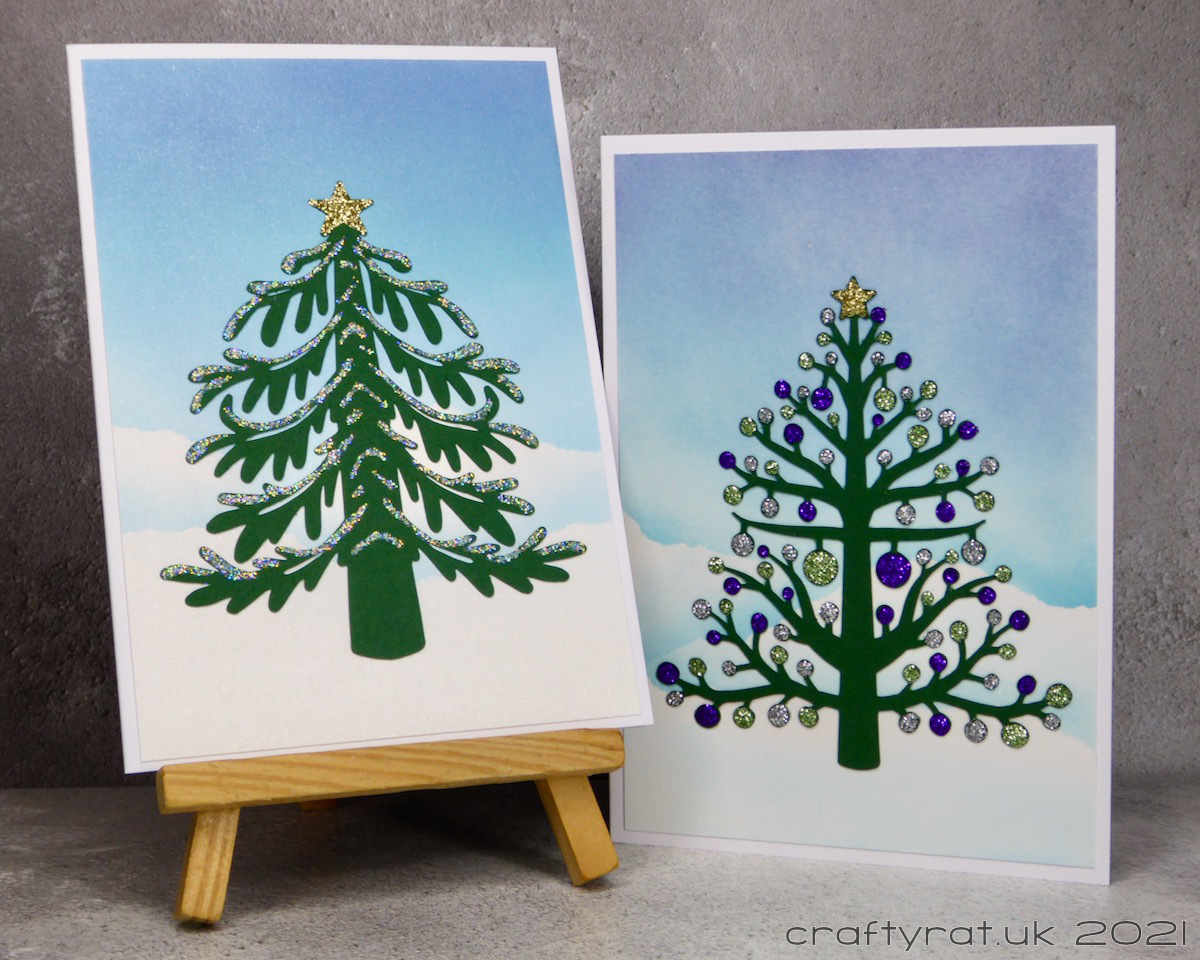
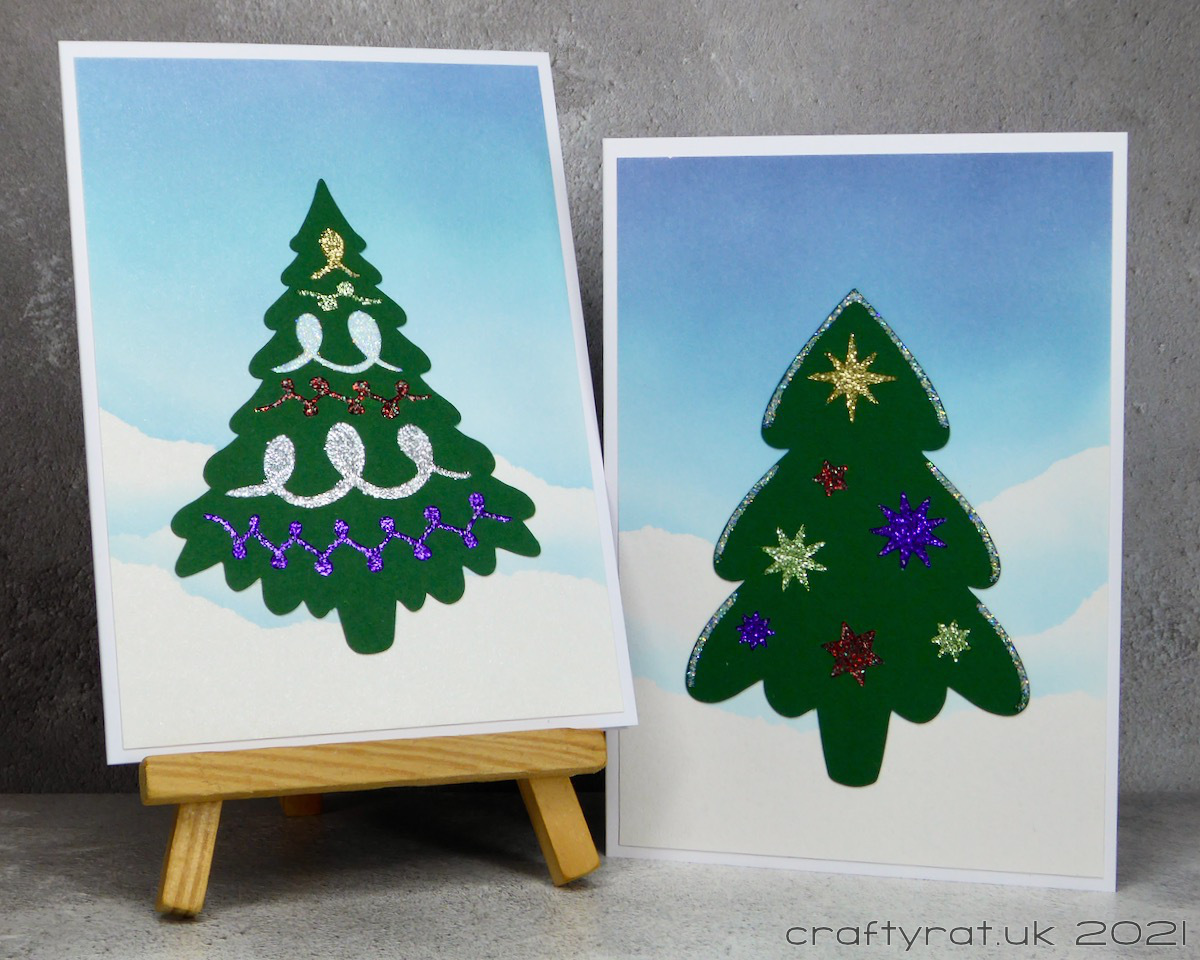
The card design was simple: use torn paper as masks for the snowy landscape with a selection of blue Distress inks, add the tree, and then add the glitter.
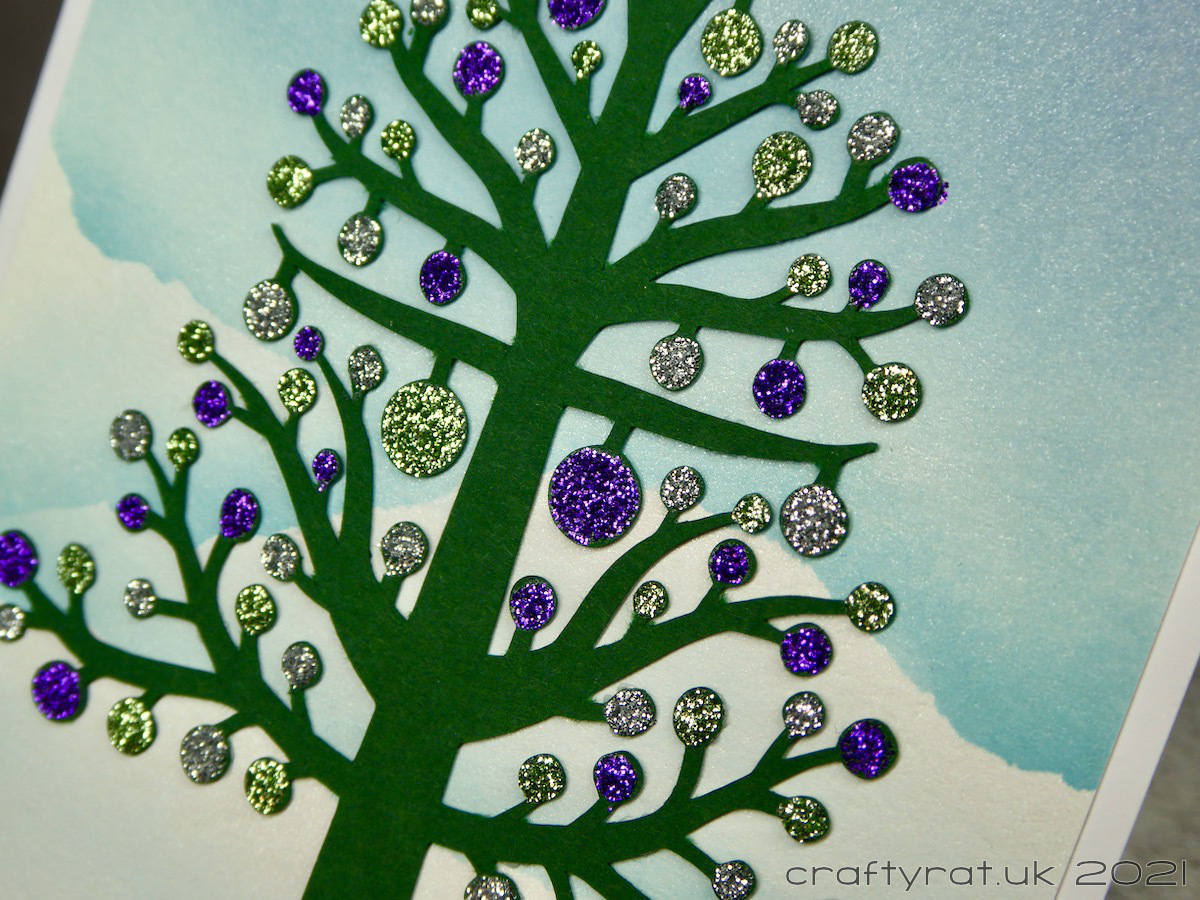
Simple, but not quick. Adding all that glitter did take a while and some of it was quite fiddly — a cocktail stick was the perfect tool for easing it into some of those narrow spaces — but it was satisfying to do and I really like the result.
Supplies:
- cut files:
Christmas Trees SVG Cut-Files - inks:
Distress oxides – tumbled glass, broken china, faded jeans, chipped sapphire - embellishments:
Imagination Crafts detail sparkle – silver gilt, gold gilt, golden sage, purple velvet, berries, white shimmer - paper and card:
Papermill Direct – plain dark green
Papermill Direct ultra white pearlised card
Papermill Direct White Super Smooth Card Blanks - tools:
Cricut Maker
Discover more from Crafty Rat
Subscribe to get the latest posts sent to your email.

Such pretty cards! I had a Circuit (one of the first ones) but sold it to my niece and purchased a Scan N Cut a couple of years ago. I love mine….after I figured every thing out!
LikeLike