
So many new ideas to try in this class. The next step on from just having a plain acetate card base is to have an embossed one; it’s an interesting technique, but it does warp the acetate so, depending on the embossing folder used, it could be more appropriate for creating embellishments.
How:
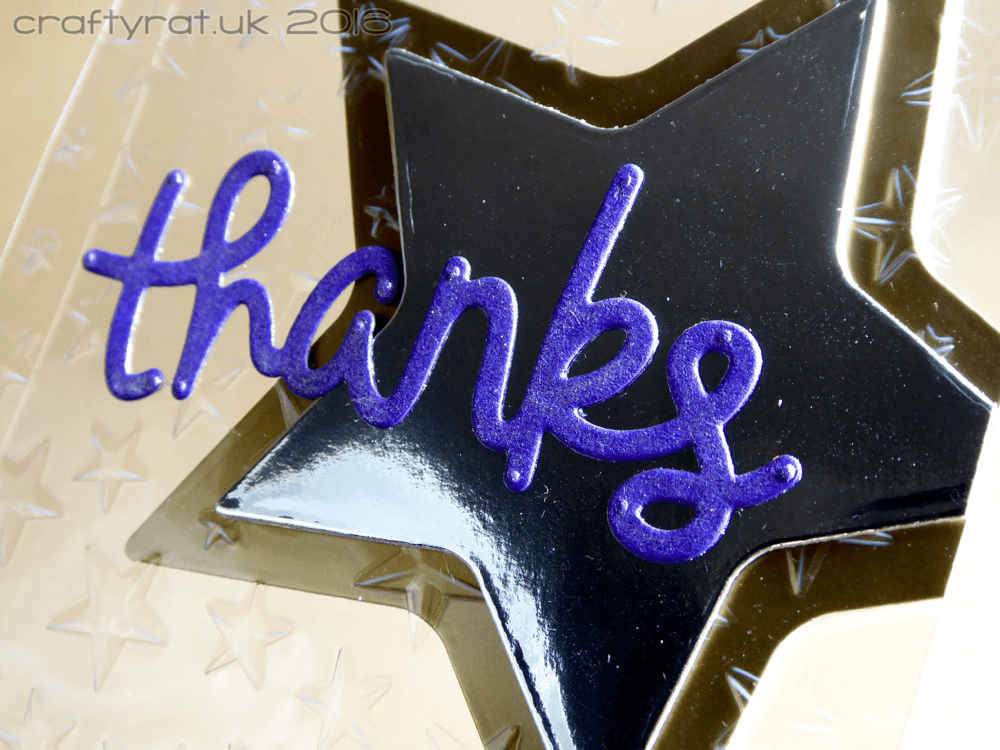
For the first card, I used my stars embossing folder on a small acetate card base. I die cut two sizes of stars in silver and gold, along with two of the larger size in white card. The small silver star went on the front of the card with the gold star behind it on the inside of the front of the card base. The two white stars sandwiched the rear of the card base, giving somewhere to write a message. I die cut the “thanks”, gave it a coat of Wink of Stella and glued it over the silver star.
The second card was made in the same way, but I used a rose embossing folder, Spellbinders labels dies, and a hugs word die that I heat embossed. The rose embossing folder did cause quite a bit of warping on the acetate, especially around the centre of the rose, but it still stood up on its own.


Class:
Online Card Classes – Clear and Sheer
Supplies:
- dies:
Spellbinders – labels 24
Creative Dies – stars
Lawn Fawn – scripty thanks
Lawn Fawn – scripty hugs - inks:
Versamark - embossing powder:
Judikins – iridescent sparkle - embossing folders:
XCut – stars
Simply Cards and Papercraft magazine – sweet roses - embellishments:
Spectrum Noir – sparkle pen – clear - paper and card:
Stix2 – extra thick acetate
scraps of white and coloured card from my stash
Discover more from Crafty Rat
Subscribe to get the latest posts sent to your email.

Love it! I love seeing you using the freebies from he magazine too – gives me loads of ideas. You’ve really done brilliant things with this course. Xx
LikeLike