What:
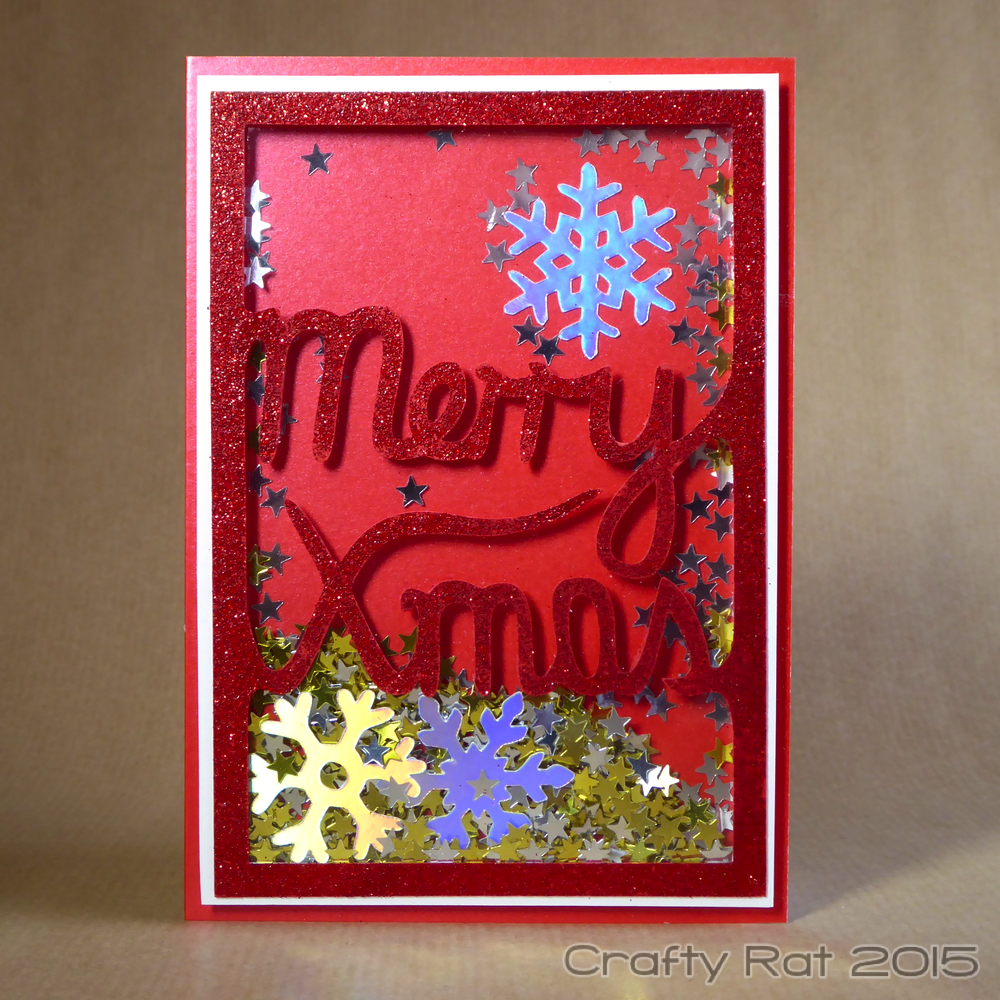
My first attempt at creating a full-size shaker card using my new Brother ScanNCut.
How:
The first thing I had to do was create the design for the front of the shaker.
I started by sketching the Merry Xmas design on paper and inking over it. If I had been happy with it at this point I could have simply scanned it straight into the ScanNCut, but it needed tweaking so I scanned it into the Mac instead. I then used a vector app (Affinity Designer) to trace and refine the curves. I imported the final file into the online Brother Canvas software, resized it and exported it in the right file format to transfer to the ScanNCut.
As well as using the ScanNCut to cut out my shaker front from some red card, I also cut a few snowflakes out of mirri card using the built in patterns.
I coated the shaker front with Versamark and heat embossed it with red glitter embossing powder. That was layered on top of a piece of acetate and a white card mat. A couple of layers of foam tape created the shaker space and the filler was made up of tiny gold and silver stars and two of the cut-out snowflakes; the other snowflake was glued to the card base. The only thing left to do was to mount the shaker on the card base.
Supplies:
- inks:
Versamark - embellishments:
small metal stars – gold and silver
Papermania – embossing powder – tinsel red - paper and card:
Papermill Direct – plain – Christmas red
mirri card – festive rainbow
Hunkydory – heavyweight acetate - tools:
Brother – ScanNCut CM300
Discover more from Crafty Rat
Subscribe to get the latest posts sent to your email.
