
I’ve been meaning to write this for a while, but every time I so much as think of scheduling blog posts something happens and my plans go out the window. Also, my process has changed since the first couple of paint and stitch cards, so I had to do a new set of photographs. I finally managed to ignore the other stuff on my todo list long enough to process the photos, tidy up the words and get this posted.
Supplies:
- Embroidery with a design sized to fit within a 9cm square.
- Card base – 14cm x 28cm card, scored at 14cm, with a 9cm square aperture cut in front of the card.
- Aperture cut-out – 9cm square.
- Thin card for backing – 12.6cm square.
- Double-sided adhesive sheet or tape as wide as the aperture.
- Double-sided tape – 0.5” wide.
- Acid-free tape – 1” wide.
- Masking tape.
Process:
Paint and stitch the design.
Transfer the design onto the fabric.

I put the cotton in a hoop and use a light pad and a pencil. There are lots of ways of transferring designs, but this works for me for embroidering simple designs on light-coloured fabric.
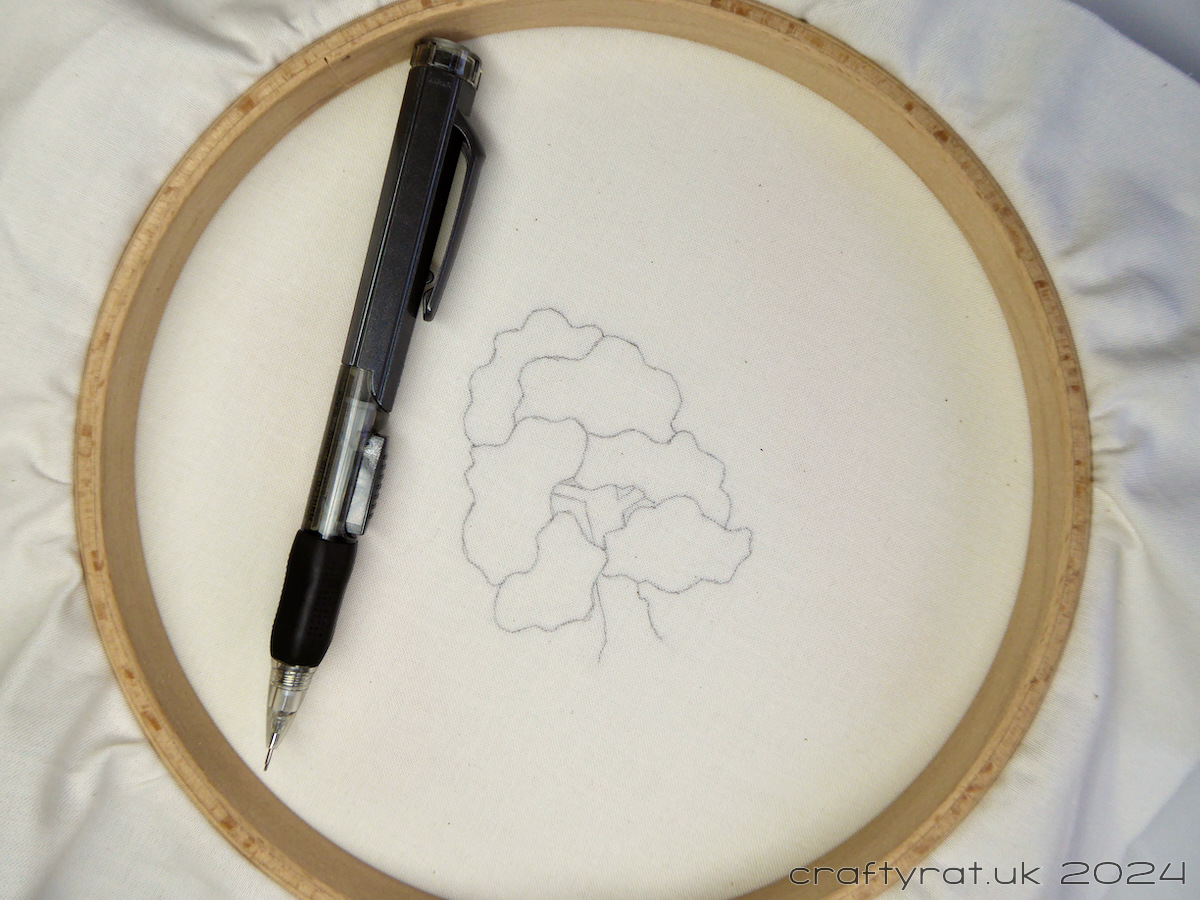
Then I have to flip the fabric over in the hoop. This is an annoying necessity as it can be tricky to get the tension right again and avoid distorting the image. I am experimenting with ways of doing the tracing with the hoop the right way round.
Add colour.
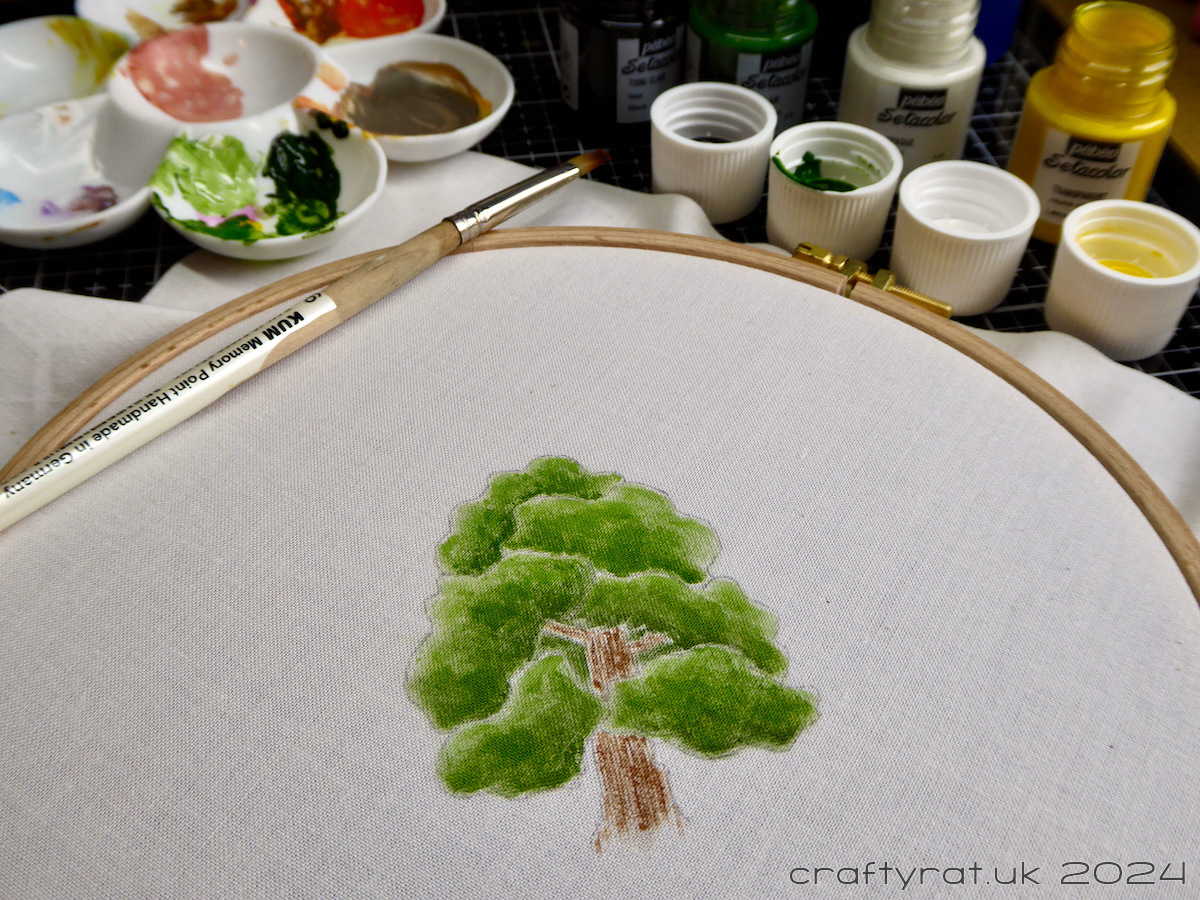
At the moment I’m using Pebeo Setacolor fabric paints for this and just adding a light covering of paint. So far I have managed to avoid the colour bleeding outside of the lines. I let it dry completely before continuing.
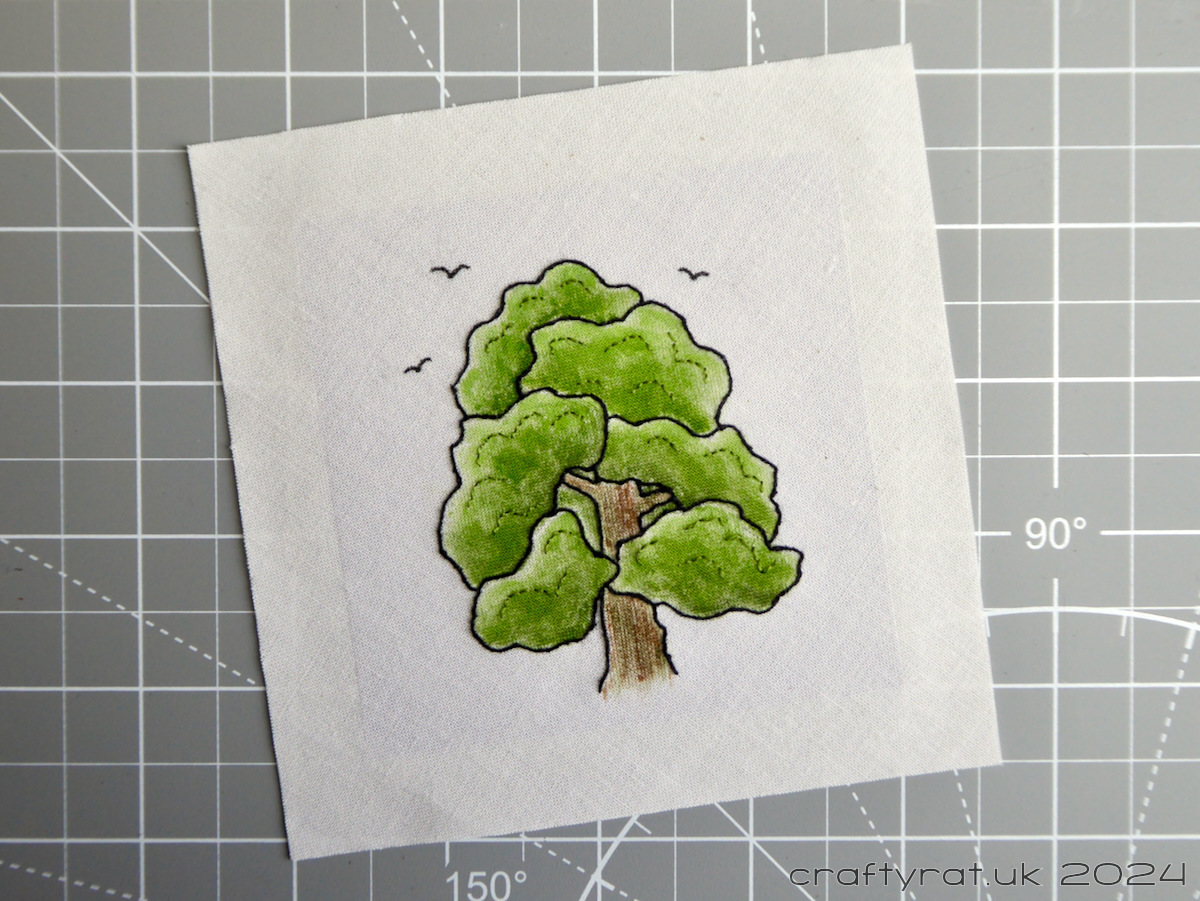
Embroider.

Mostly I use a simple back stitch and one strand of embroidery floss to go over the design outlines. For the main elements, I also whip the back stitch to create a more solid and smooth line.

Occasionally I’ll use other colour threads for small details like flowers and stars. I added some green lines to this tree.
Complete the embroidery and leave it in the hoop.
Because I embroider these mostly in black on a single layer of cotton, I am very careful to keep the back tidy so that no stray threads show through. The paint can hide the hints of threads, but not all of the designs have as much paint on them as this one.

So, the last thing I do is trim the thread ends short on the back and use the tiniest amount of fabric glue to stick them down along the lines of stitching.
This is very important: leave the embroidery in the hoop. Fabric is floppy and hard to stick to card smoothly. It is especially difficult to keep the design the right shape. Keeping it in the hoop solves that problem.
Now for the card making part.

Cut card base and score, but don’t fold yet.
For these cards, I cut a 140mm x 280mm piece of card and score it at 140mm. I don’t fold along the score line yet because it is a lot easier to mount the embroidery on a flat piece of card.
Cut an aperture in the front of the card. Keep the cut-out piece.
This is a 90mm square in my case. I’ve made a few of these cards now and I have a template that I use to draw the aperture so I don’t have to measure it every time. I could use the Cricut Maker to cut out the base, but it really doesn’t save any time, so I just use a steel rule, a sharp craft knife, and a steady hand.
One thing I try to remember to do is to mark the top of the piece I have cut out so that I know which way round to put it back later on. If I’ve cut a perfect square then this is irrelevant but, even with a template…
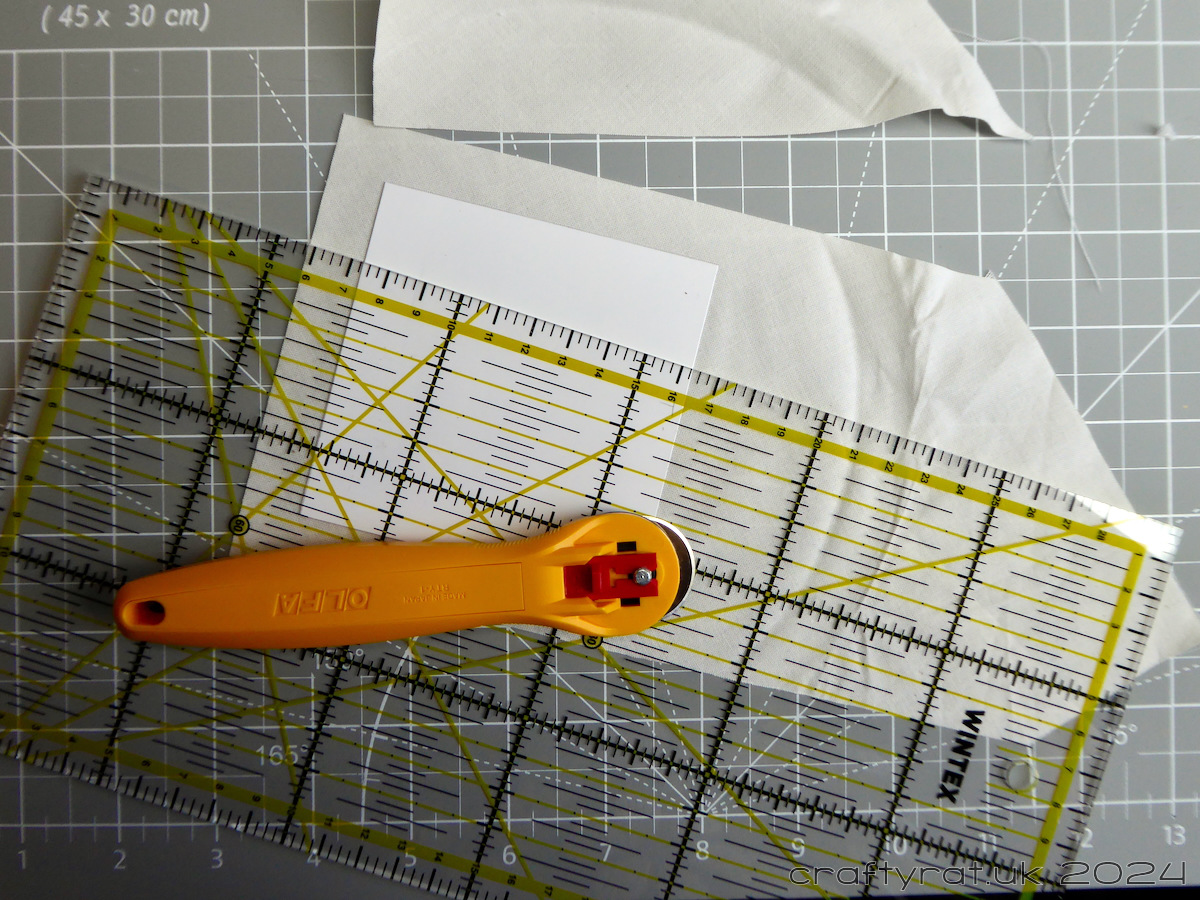
Cut a square of lightweight card.
While I’m cutting card, I also cut a 126mm square from lightweight card. I’ll use this later to cover the back of the mounted embroidery and make everything look tidy.
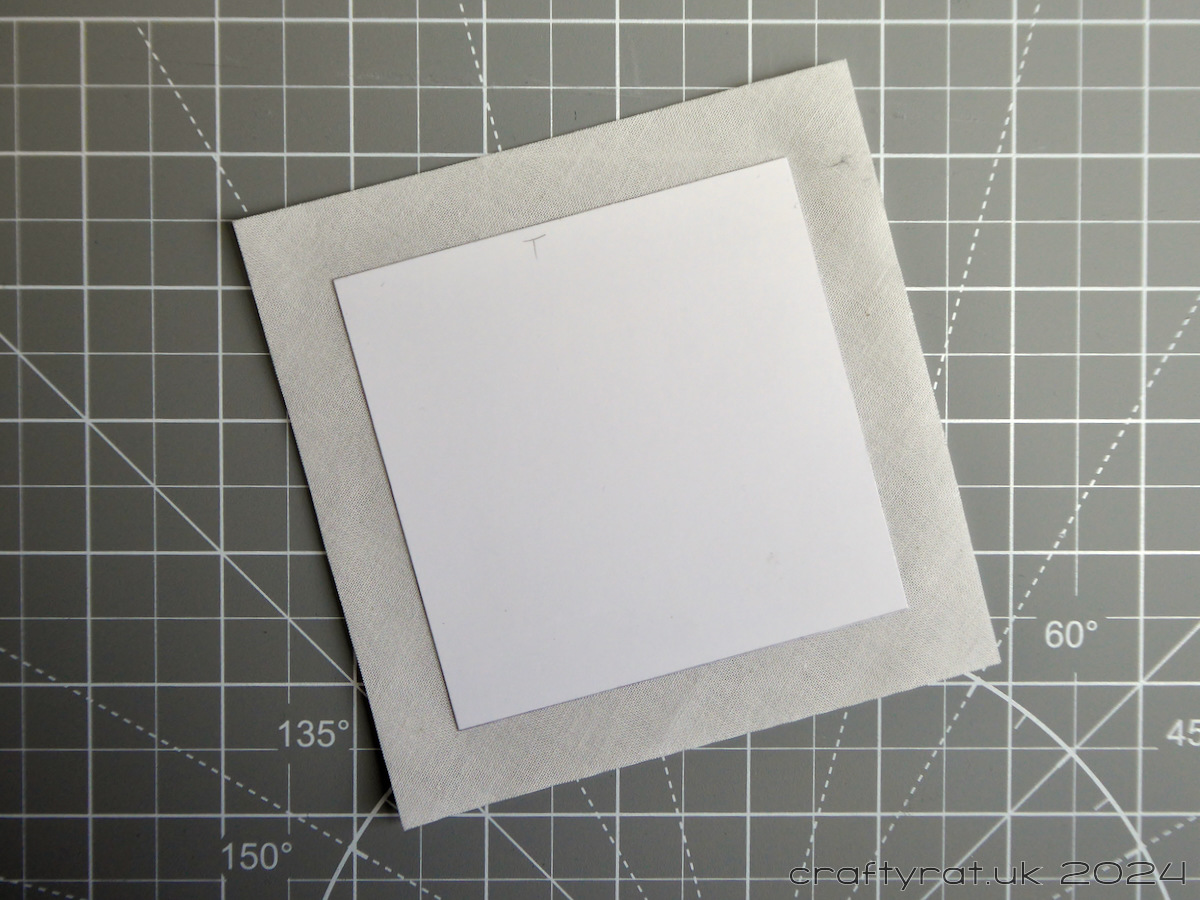
Cover one side of the aperture cut-out with double-sided adhesive.

The side that you cover is the side that will show through behind the embroidery. I use single-sided card for my card bases, so one side is white and the other is coloured. Either side can be used, depending on the design and what effect you want, you could even add a design onto the cutout for a hint of a background through the cotton (always assuming you’re embroidering on a white or ivory cotton or similar).
I use sheets of double-sided adhesive because I don’t have any tape that is wide enough to cover the card in one strip and it is much easier than trying to get strips of tape lined-up perfectly. Any gap in the adhesive will be really obvious from the front.
Attach the aperture cut-out to the back of the embroidery.
This can be fiddly, especially if the design doesn’t have any obvious verticals or horizontals to line the design up with the square. So this is what I do:
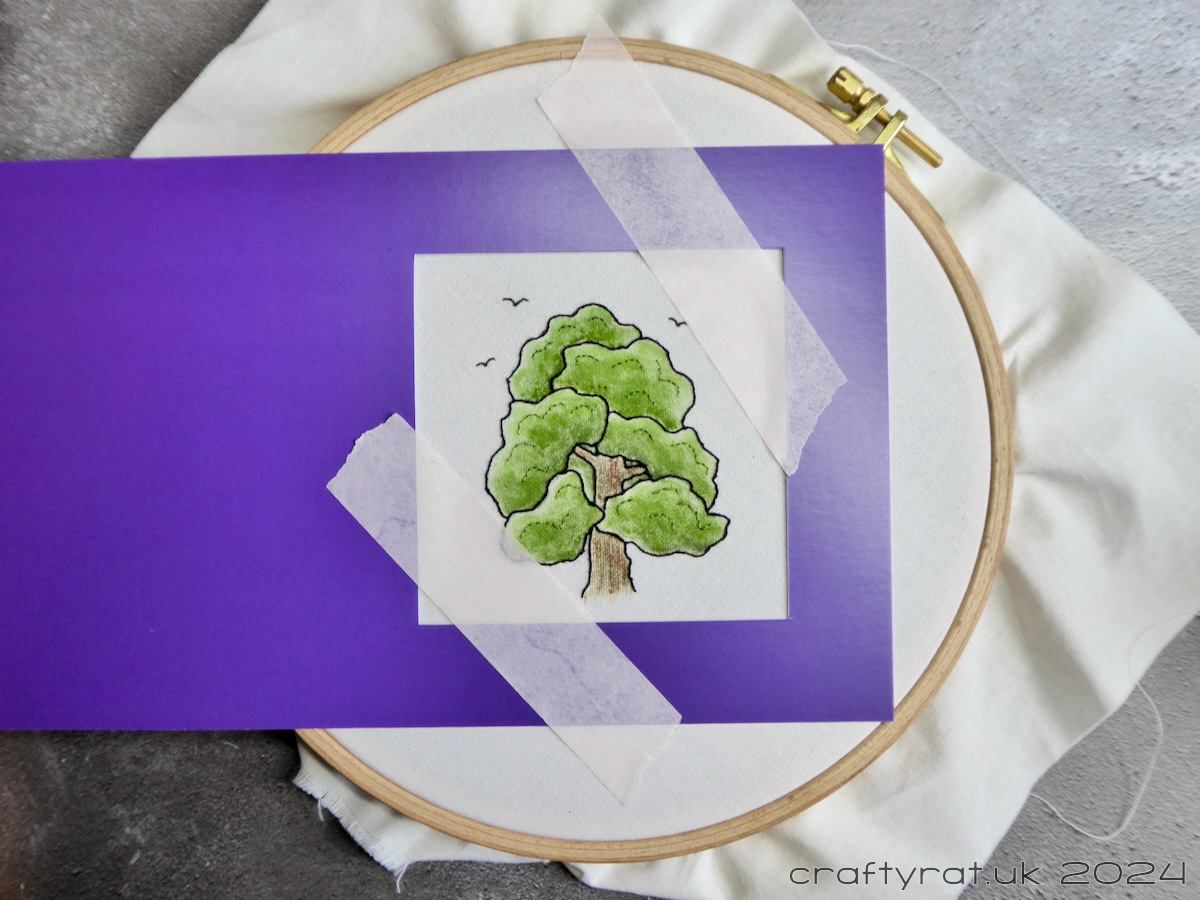
Lay the embroidery (still in the hoop) face up and position the card base with the aperture where you want it over the design. Hold it in place with a bit of masking tape.

Carefully turn it over and lay it face down on a light pad.

Lightly place the adhesive-covered card in the aperture and press down firmly when you’re happy with the placement. I use the light coming through the gap around the small square to make sure it’s lined up correctly.
Trim the fabric.
Now I can take the embroidery out of the hoop. The card on the back will stabilise the design, but this type of adhesive is really designed for paper and I treat it like a temporary adhesive on fabric.
Next I trim the excess fabric away, cutting about 15mm away from the edge of the card.
Position the design in the card base.

First, I add some strips of double-sided tape right along the edges of the aperture in the card base, leaving the backing in place. I make sure to put the tape right up against the edge of the card. Just putting it along the edges of the aperture — rather than overlapping it on the corners — makes it easier to stick the fabric down.

Then my trusty light pad comes in handy once again. With the card base face down on the light pad I position the embroidery (also face down) in the aperture. The light pad shines through the gap between the base and the embroidery backing so I can line them up perfectly.
I stand an old agate bookend on top to stop anything moving — I have a pair of them and they are high on my list of ordinary things that are surprisingly useful in the craft room.

Then, one side at a time, I carefully lift the edge of the fabric, remove the backing from the double-sided tape, and smooth the fabric back down onto the tape. Once all four sides are done, I remove the bookend and put the light pad away.
Tidy up inside

The embroidery is now in place and it looks great from the outside, but there are raw fabric edges threatening to shed inside the card.

This is where I take the lightweight card and tape it in position, hiding all the untidy edges.
And finish

And now, after finally folding the card along the line I scored way back up there, I add any finishing touches. I’ve got into the habit of adding a paper insert into these cards and, occasionally, I will add a bit of trim around the aperture on the front of the card. The one thing I do with all of my cards is to add a handmade by Sarah sticker on the back; I’ve printed my own labels in the past, but I bought a sticker book from MOO for the latest version of this label.
This process has changed as I’ve made more of these cards, and it may well change again in the future.
Discover more from Crafty Rat
Subscribe to get the latest posts sent to your email.

Lovely!
LikeLike
What a great card! Thanks for sharing all of your steps! So informative!
LikeLike