
On a whim I signed up for the interactive Clear and Sheer class from Online Card Classes; I’ve always stuck to the self-paced classes before. It will be interesting to see everyone else’s creations at the same time as making my own.
How:
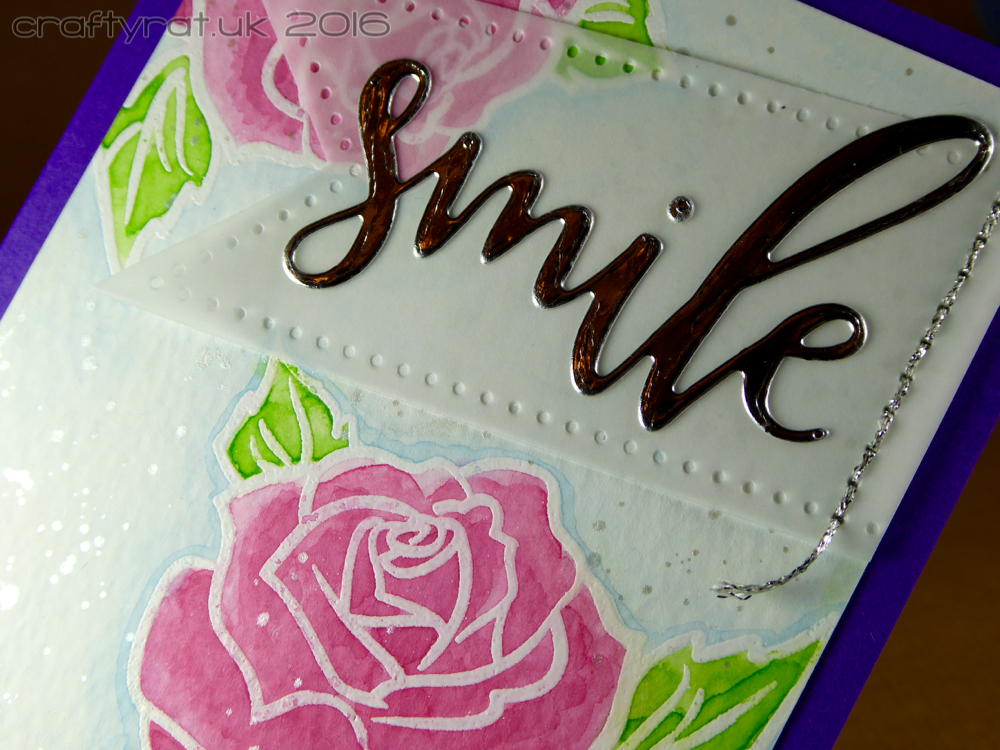
I started by stamping the rose twice with Versamark and heat embossing it with fine white embossing powder. Then I loosely watercoloured the roses, adding a very pale blue background and a blue outline around the main rose. I used some of the silver paint to create some fine splatters over everything.
I die cut a banner from vellum and the smile sentiment from a scrap of silver card. I worked out where I wanted the banner to sit on the panel and used a paper piercer to create an even line of holes through both the vellum and the watercolour paper, then I hand-sewed the two together with some silver thread.
After gluing the silver smile to the vellum and hiding a couple of dots of glue on the back of the vellum behind the letters to stop it flapping around too much, I attached the whole panel to the card base.
Class:
Online Card Classes – Clear and Sheer
Supplies:
- stamps:
Simply Cards & Papercraft – beautiful rose - dies:
Avery Elle – dotted elle-ments
Impression Obsession – smile - inks:
Versamark - embossing powder:
Wow! – super fine – white - colour:
Gansai Tambi watercolours – 34, 36, 51, 95 - paper and card:
Papermill Direct – luxury artist watercolour paper
Papermill Direct – plain – dark violet
Pergamano parchment paper 150gsm
silver card scraps - miscellaneous:
silver thread
Discover more from Crafty Rat
Subscribe to get the latest posts to your email.

What a gorges card – I recognised the rose and it works perfectly here. I love the blue outline and am so impressed you hand stitched he banner on, it gives it an extra hand made feel which is lovely. Am loving all your posts on IG! Xx
LikeLike
I was going to break out my sewing machine to do it, but then I realised it would take an age to work out the best settings for sewing card 🙂 Having a ruler with piercing guide holes in it makes it easy to get impressively neat results…
LikeLike